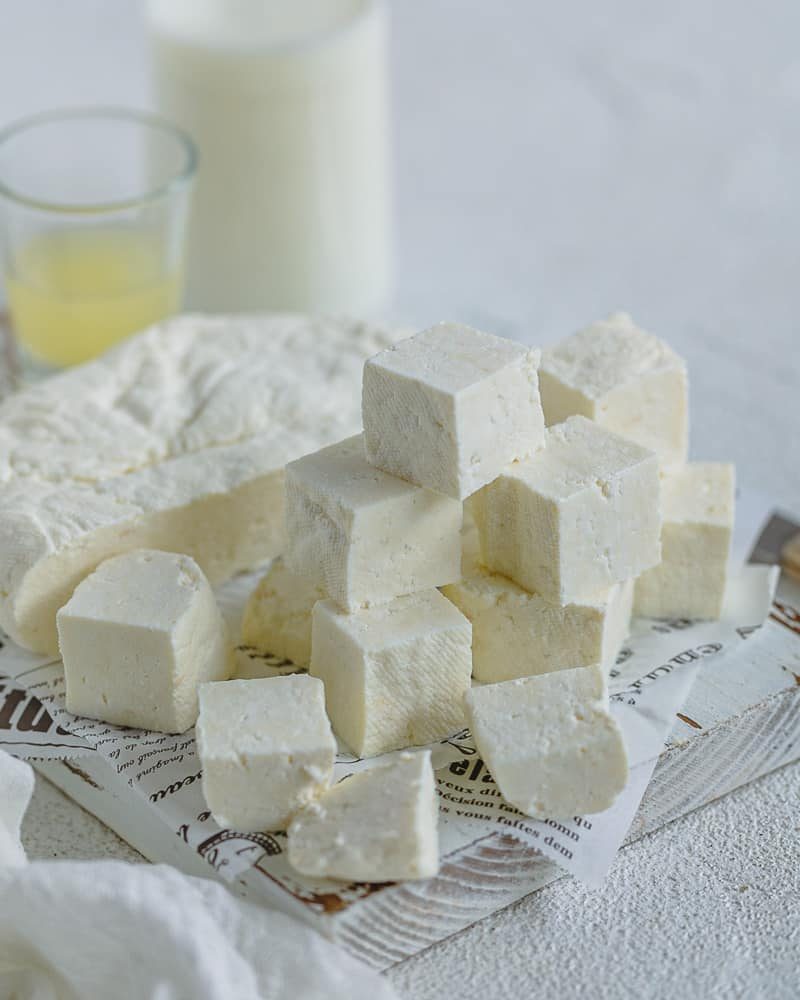
Homemade paneer is really easy to make and so much more softer and tastier than a store bought one. A key ingredient in Indian cooking, paneer is a versatile delicacy. We show you how to make paneer (Indian cottage cheese) step by step with just two ingredients.
I love Indian vegetarian dishes made with paneer. Palak paneer, aloo paneer tikki or in a butter masala to name a few. Having eaten these dishes in India many times, I know what a good paneer should be like.
Finding good paneer where I live, is next to impossible. The only one I can find, is in the supermarket which is rather hard in texture and comes mostly frozen. Therefore by making my own paneer, I no longer have to buy it from the supermarket, instead I can enjoy eating a soft and creamy paneer anytime I want! The homemade one reminds me of the paneer I enjoy eating in India!
Recently we worked on a new recipe with paneer as the hero ingredient. We used our homemade paneer and the result was a perfect cheese for a perfect dish! Make this paneer and potato kofta recipe with your first homemade batch, you will be amazed with how good it tastes and looks!
Homemade fresh indian cottage cheese is not only healthy but also cost effective. Here is all you need to know how to make your own!
HOW TO MAKE INDIAN COTTAGE CHEESE PANEER
The origin of paneer traces back to the times when Persians and the Afghans ruled North India in the 16th century. They introduced paneer to Indian cooking, primarily in the Northern region.
The word "paneer" comes from the word "peynir" which simply means "cheese" adapted from the Persian language.
WHAT IS PANEER?
An Indian cheese made from curdled cow or buffalo milk, using lemon juice or vinegar.
It is a fresh, unsalted white cheese that's vegetarian! Perfect for the meat-free diet of many in India and hence makes paneer a very popular ingredient for curries, particularly in the north. It might come to you as a surprise, but paneer is not limited to only savoury dishes. It is also used in popular Indian sweets like gulab jamun, rasgulla and sandesh!
Indian cuisine offers many tasty dishes like paneer, when cooked with the right spices and ingredients, packs a flavour punch. That is why, Indian cuisine is fast becoming the go to food around the world, especially for those who don't eat meat. So, If you want to make a quick and easy vegetarian recipe, with a creamy and soft textured homemade cheese, then you have to try to make it!
What does Paneer taste like?
The taste of Paneer is mild and milky. I would say, it is closest to a mozzarella in taste though the consistency resembles pressed ricotta cheese.
Why is paneer referred to as Indian cottage cheese then?
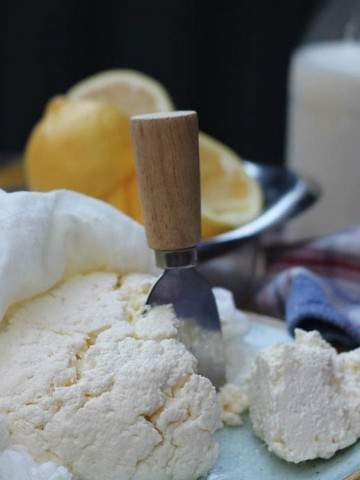
Well, paneer is referred to as cottage cheese, as it made the same way, except the pressing of the cheese.
As you know, both these cheese are fresh cheeses. That means they go through the same process of heating and curdling the milk after adding a souring agent. Only their texture differs due to the pressing of the cheese.
2 INGREDIENT RECIPE FOR MAKING PANEER
In average, yielding about 140g (½ cup) of paneer per 1ltr (4 cups) milk we based our recipe on 3ltr (12 cups) milk.
Here are the ingredients and the tools you will need to make it:
- 3l (12 cups) full fat milk
- juice from 1 ½ lemon
- wooden cooking spoon
- muslin cloth (cheese cloth) or a clean kitchen towel
- a large sieve over a bowl
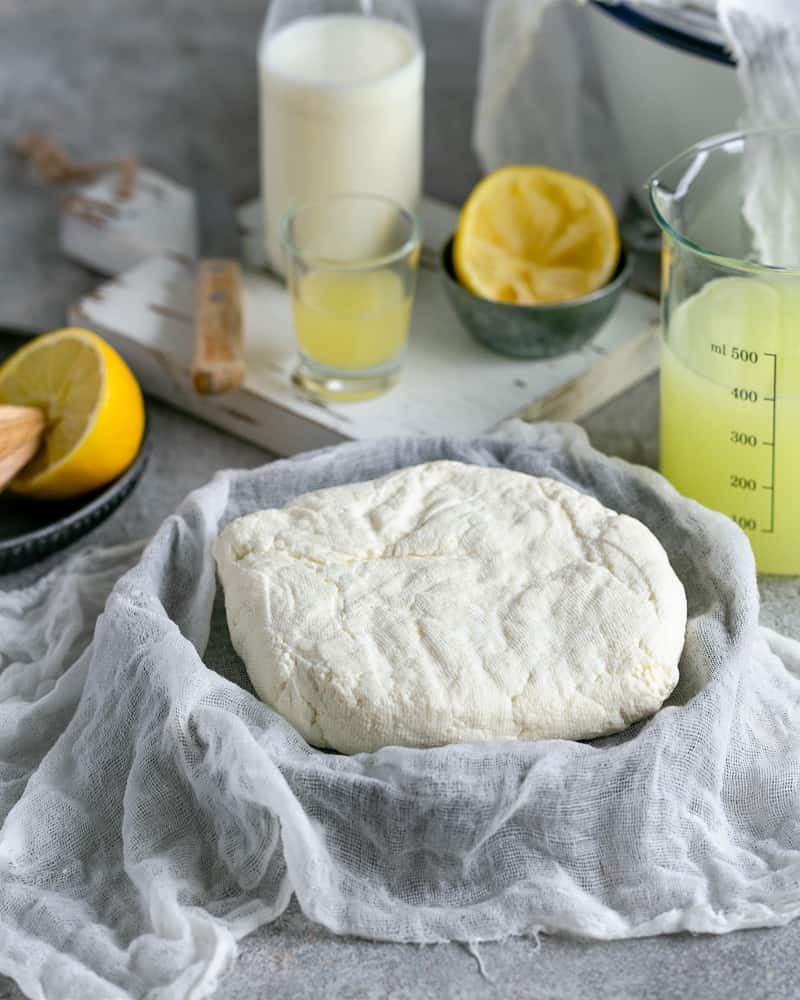
AS A NOTE: Recipe will vary depending on the kind of milk you get where you live as milk doesn't always react the same way. At times you might not need to add as much lemon juice and at other times you might need to add just a bit more than the recipe stated, so best you have some extra juice at hand.
Can you substitute full fat milk with skim or low fat milk?
Make sure you use pasteurized full fat milk to make paneer as skimmed milk will not give you the desired results. A cheese made with skim milk will tend to be much harder than that made with whole milk.
STEP BY STEP GUIDE TO MAKE PANEER
Step 1
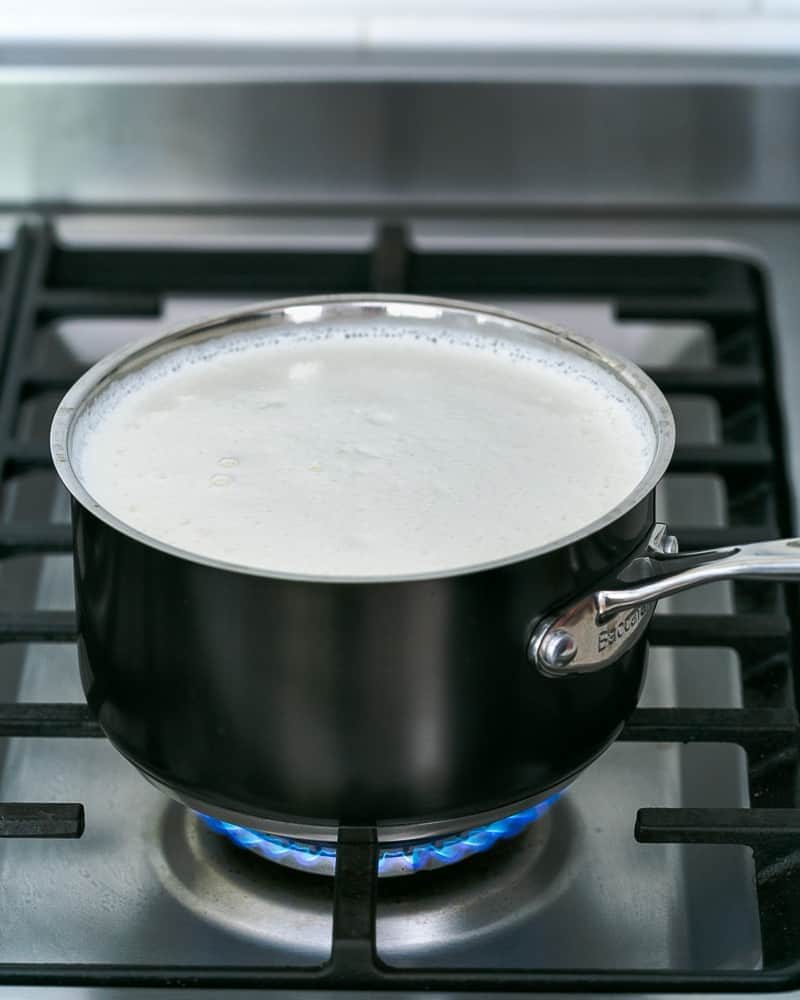
- Slowly heat the milk.
- Bring the milk to almost boiling point but avoid the milk from boiling over. At this point, the milk should look foamy and steamy.
Step 2
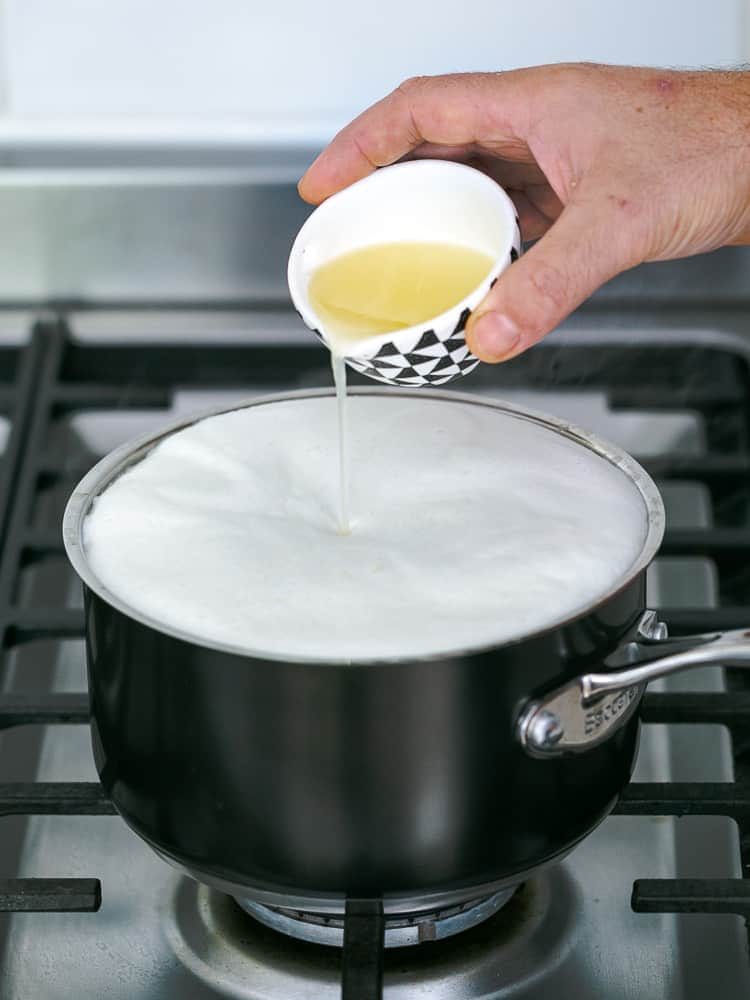
- Add the lemon juice in small amounts and stir carefully with a wooden spoon. Do not add all the lemon juice at once.
- Keep adding lemon juice until the milk starts to curdle.
Step 3
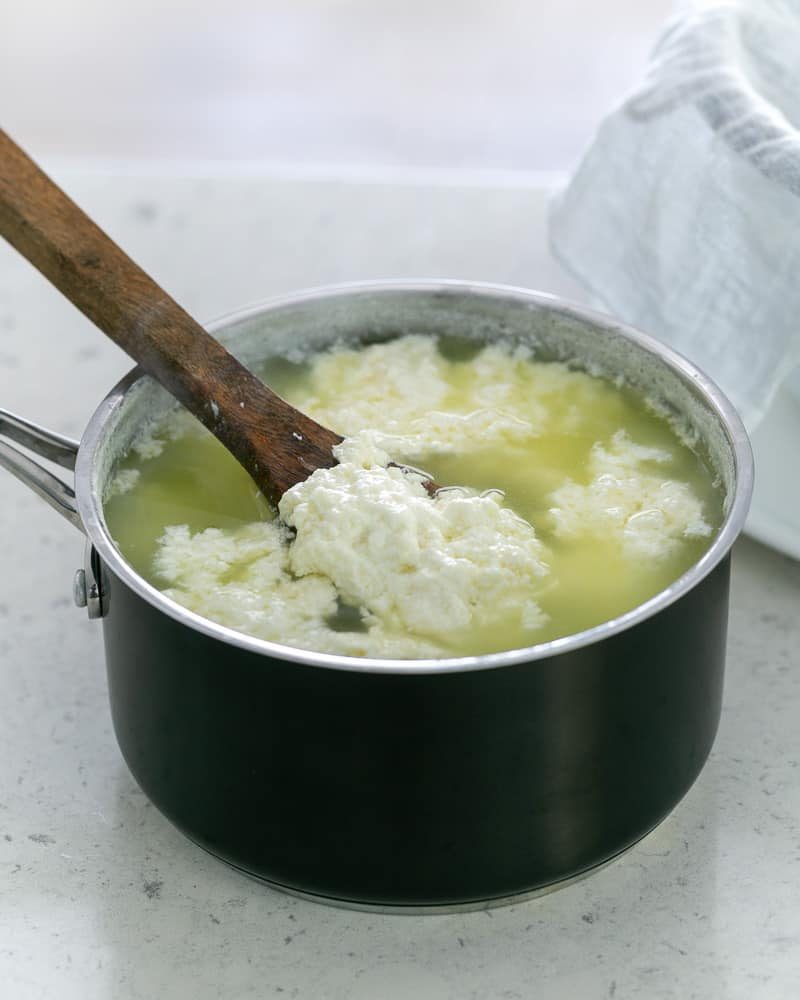
- If it doesn't separate into curds and whey properly, bring the milk back to a simmer for a few seconds.
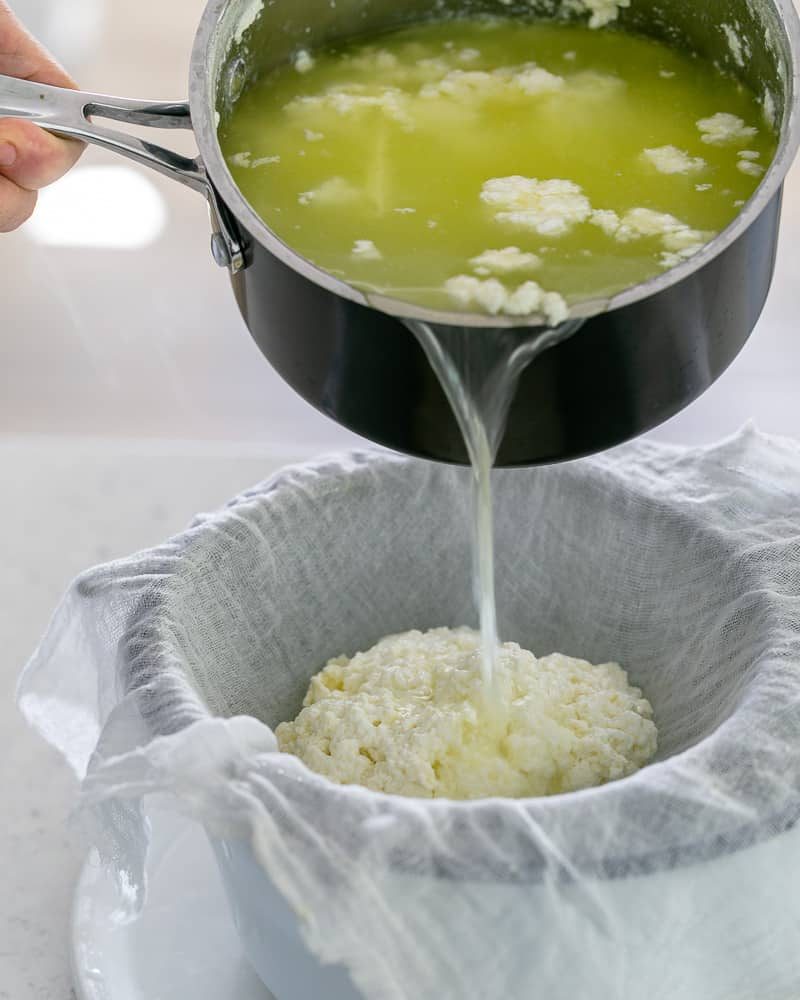
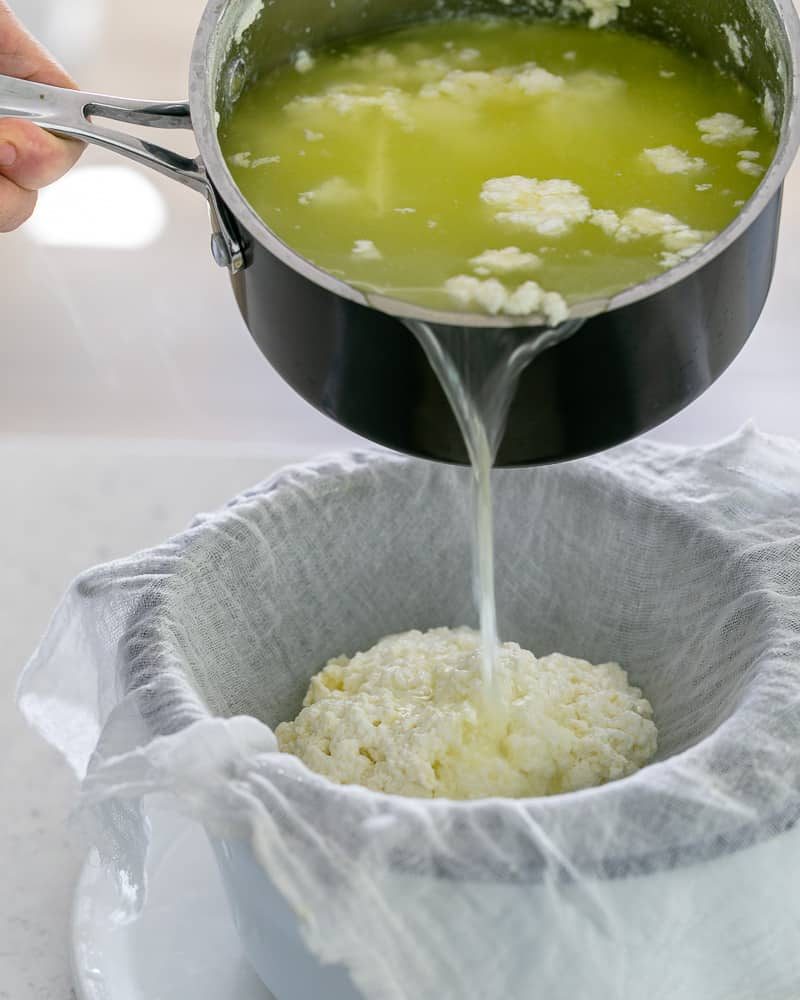
- Remove from the heat and let it sit for at least 10 minutes. At this point you should see the curds separating from the whey (the whey will be a green-yellowish in color)
Step 4
- Prepare a sieve over a bowl and line with a muslin cloth (cheese cloth).
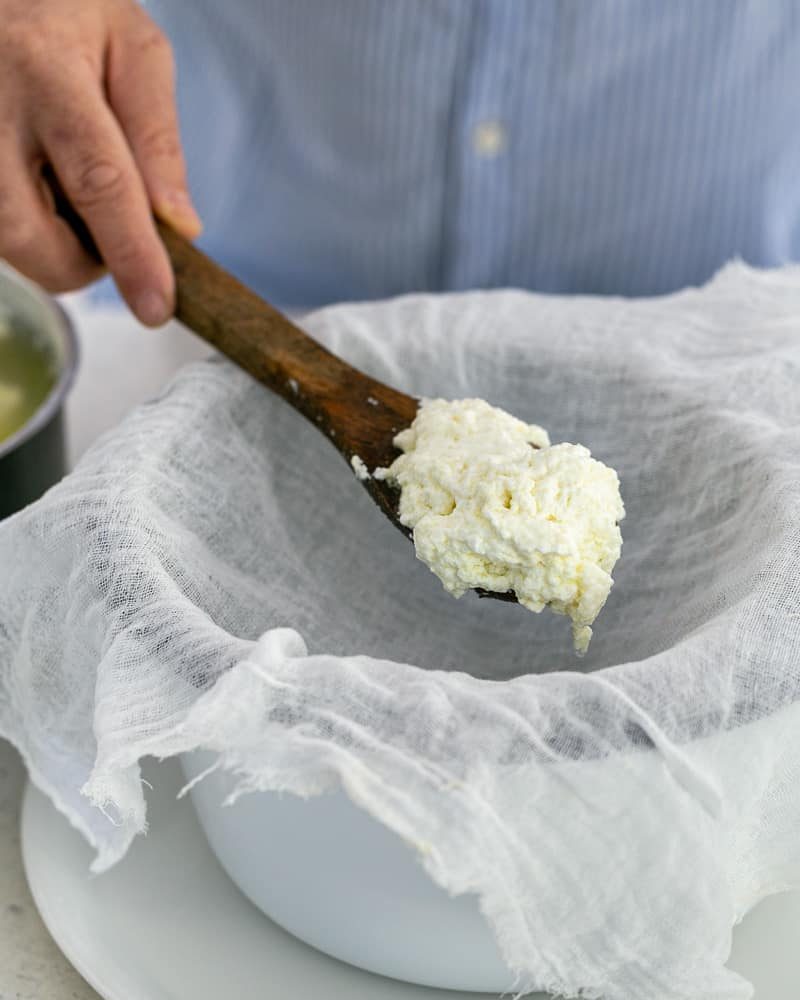
- Using a wooden spoon, add the curdled milk into the sieve and pour the remaining whey over.
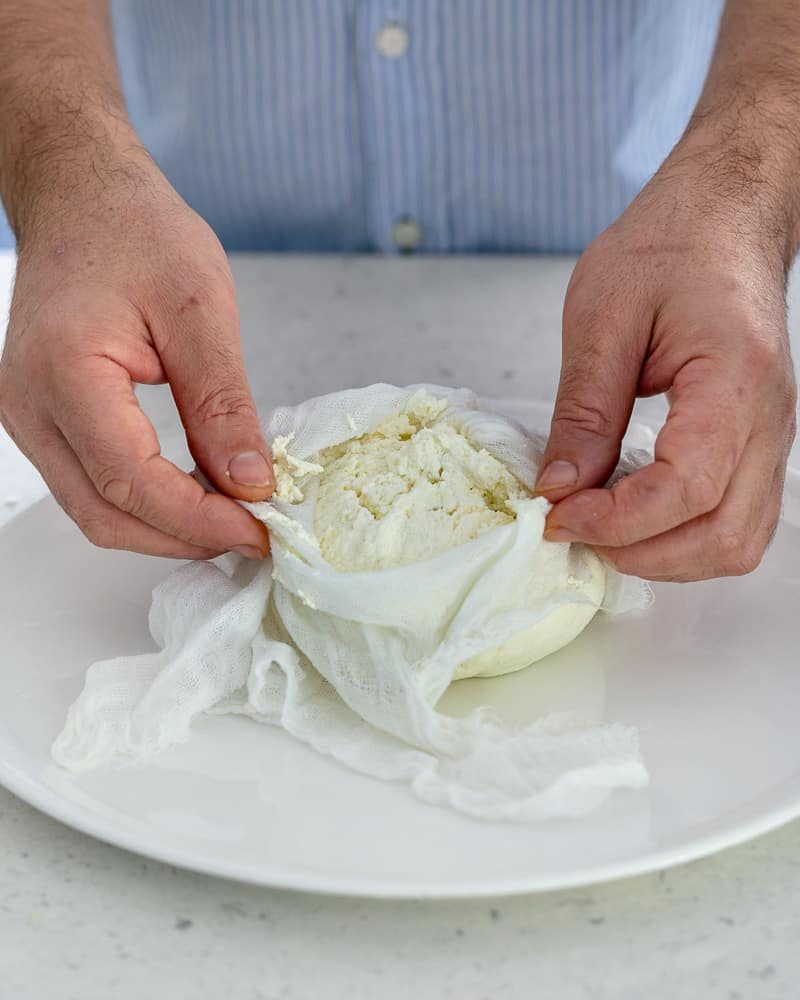
- Gather the corners of the cloth together (like a money bag) and lift over the sieve to let the whey drip down.
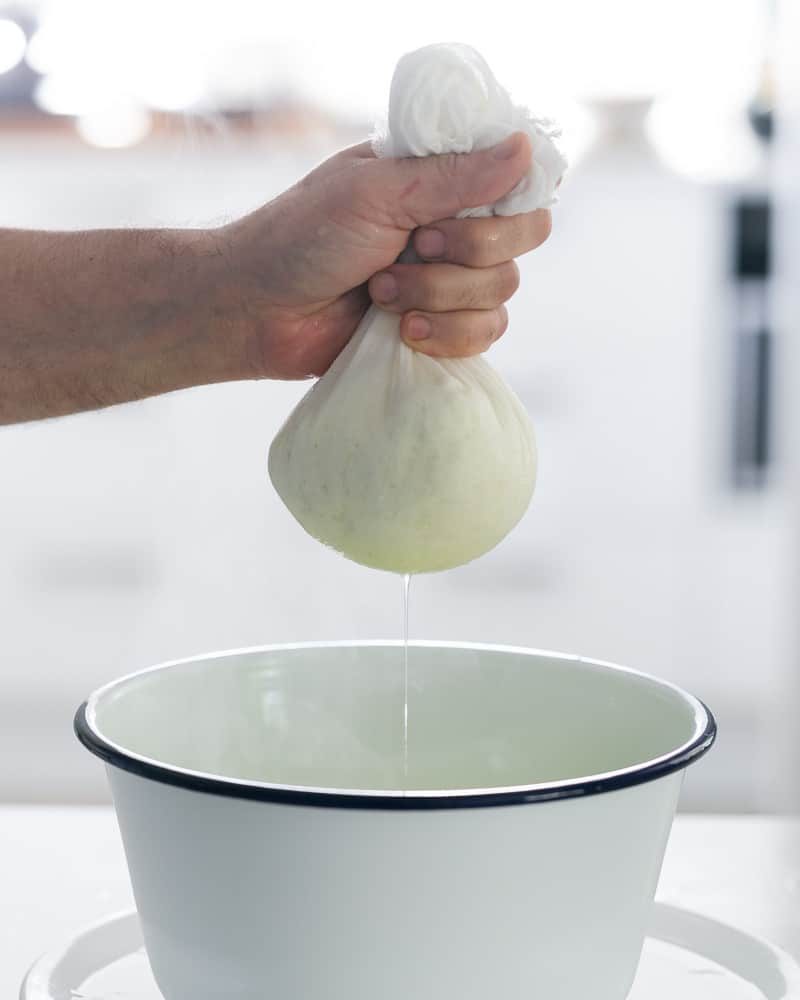
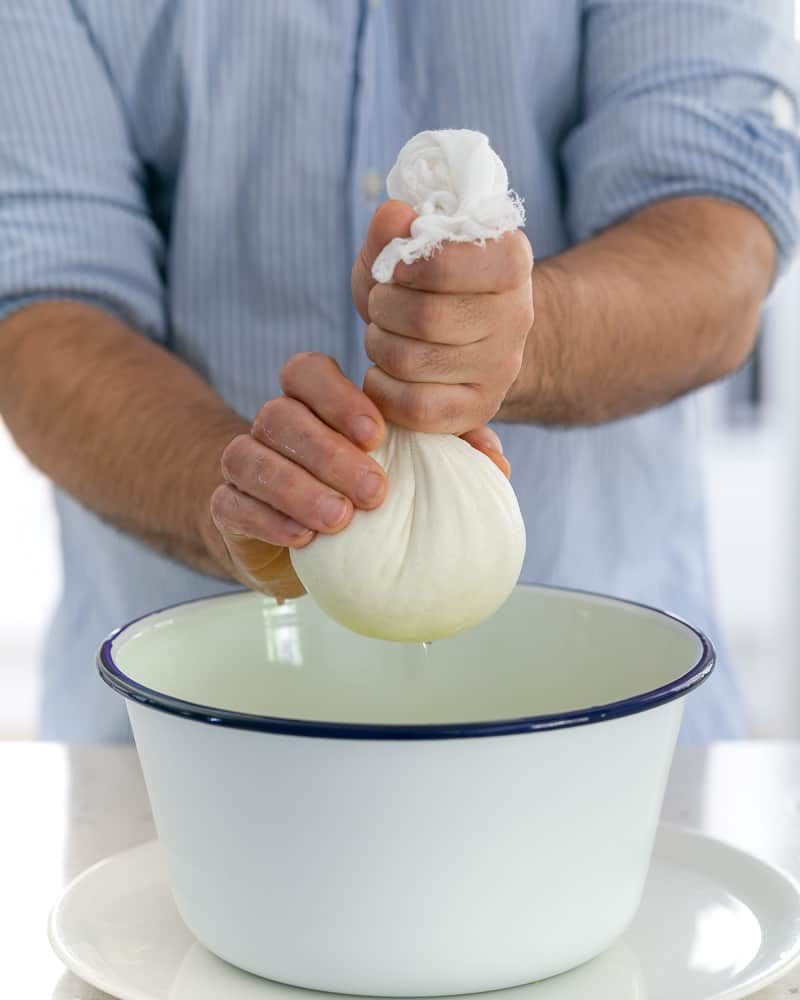
- Squeeze out the excess whey with your hands keeping in mind it might still be hot. You can also rinse the tied cheese bag under cold water and then squeeze out the whey.
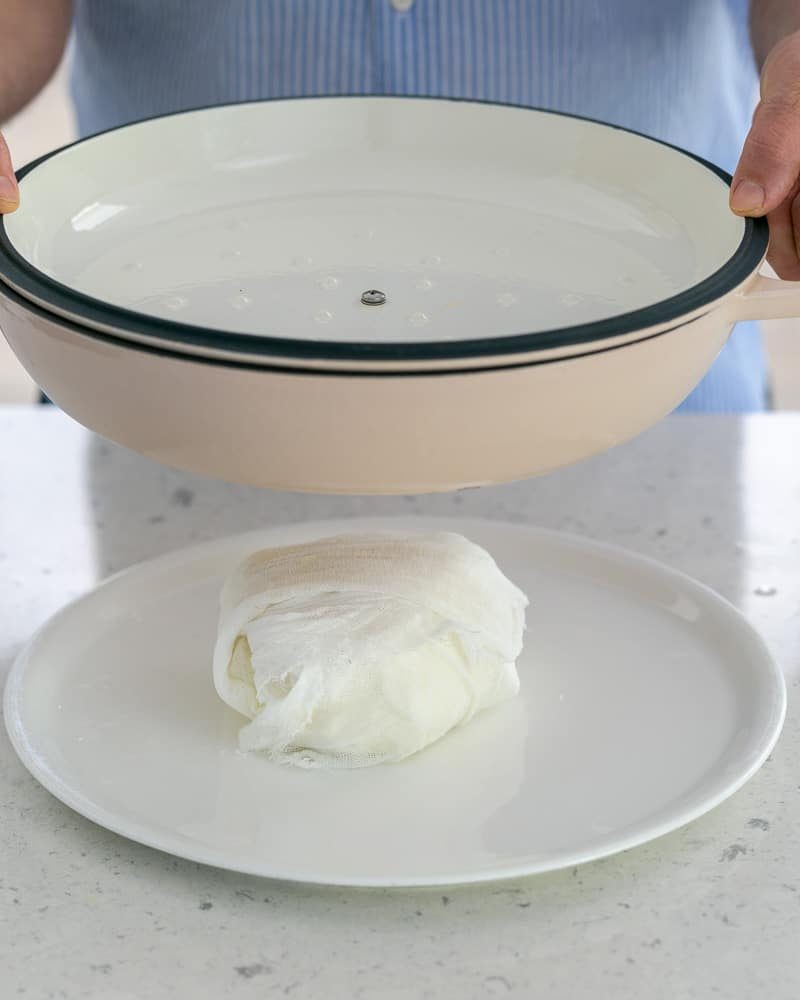
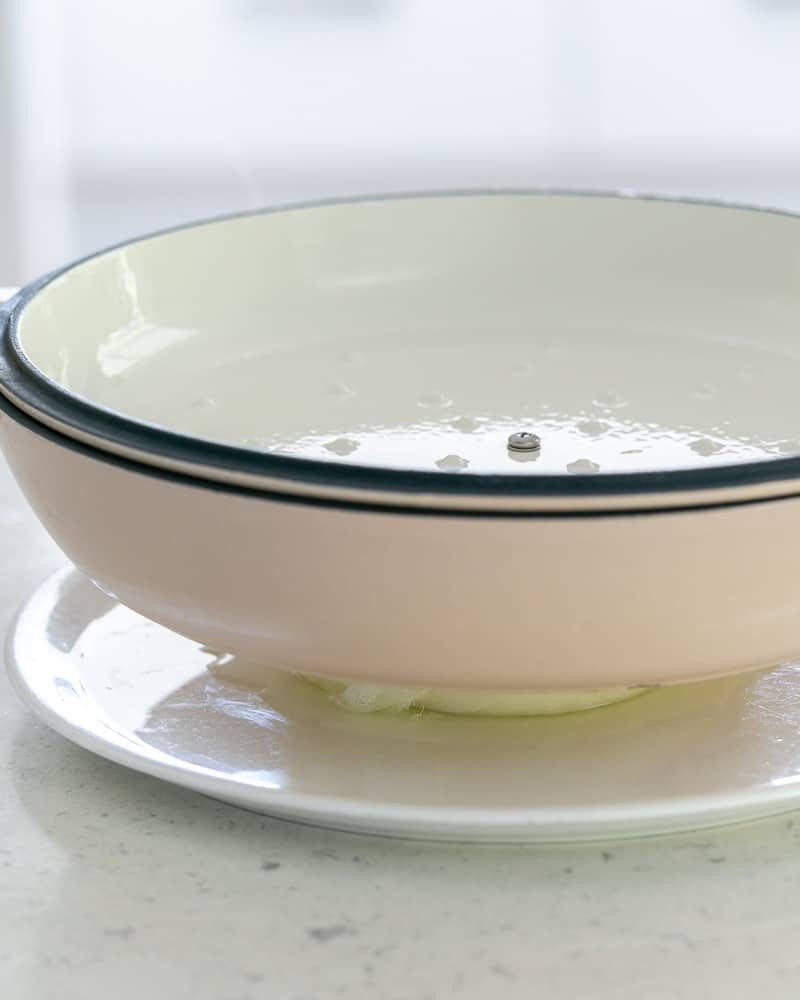
- Wrap the Paneer in the muslin cloth in a square shape. Add weight on top by keeping a heavy plate on top. Allow the paneer to flatten for at least 2 hours at room temperature.
How to store paneer?
When storing in the fridge, keep the paneer immersed in plain water. This will keep it soft and moist. If you are storing it for more than 2-3 days then best to change the water again. Use the fresh cheese max within a week of making it. If you made a large batch you can also freeze the paneer for up to 3 months.
AS A NOTE: You can add different flavours to the milk and change the outcome. To keep it Indian, you could experiment with spices or herbs like coriander, turmeric or cardamom. Rosewater and saffron work well too if you make sweets.
MISTAKES TO AVOID WHEN MAKING PANEER CHEESE
For us, making this fresh cheese has been a learning curve. It took us a few attempts to understand the process. It wasn't all smooth sailing from day one! So to avoid challenges similar to ours, keep the below points in mind when you are making this recipe:
Simmering
The simmering of the milk is vital! Even though it might look as if it is close to boiling point, it might be far from that. Simmering means, the milk has reached at least 90 degrees and is foaming and moving. Only then will the curdling effect take place by adding some acidity.
Don't loose heart, if you have followed the steps to the tee and the milk has still not curdled. We have gone through the same but bringing the milk back to a strong simmer and adding more lemon juice has always done the trick for us!
As mentioned before, there is no exact recipe as the milk you are using can have varying results. Just keep trying and perfect it, it's worth the hassle. We got it right on our fourth attempt and thereafter we haven't looked back!
Adding weight or Pressing technique
Another tip worth mentioning is the pressing. If pressed for more than 2 hours, the paneer can turn a bit dry. If you are making a curry or even a dry preparation like paneer tikka, you want it to be soft and creamy so best you press it no longer than 2 hours.
WHAT CAN YOU USE THE WHEY FOR
What is Whey?
Whey is the liquid that separates from curds after making cheese or yoghurt at home. Most people just throw it away not knowing what to do with it! I would recommend, instead of pouring it down the drain, try to incorporate it in your cooking somehow as it is packed with probiotics and healthy bacteria's. Your digestive system will thank you for it!
Here are few ideas of how to use the whey:
- In doughs and breads instead of water
- As a soup base instead of stock
- Or for even cooking rice
- Add it to your smoothies or juices
- And for all the pet owners, add some whey to your dog’s food to give an extra protein boost.
What does Whey taste like?
Whey has a tangy, acidic taste! When had on its own, it can take some getting used to! Alternatively, make a tasty and healthy drink by adding some natural sweetness in form of a fruit juice or just vanilla!
WHAT CAN PANEER BE USED FOR
Paneer is a versatile dish however it is most commonly used in Indian recipes. Some popular uses are:
In curries:
-Palak paneer (Indian vegetarian dish made with paneer in a thick paste of pureed spinach and cooked with spices)
-Mattar paneer (Dish from Northen India made with peas & indian cottage cheese in a tomato based sauce & spices)
As a stuffing:
-paneer paratha (Popular pan fried North Indian flat bread, stuffed with spices & grated paneer )
-paneer naan bread (Indian flat bread made with flour, yeast, salt, and water)
In Indian desserts
-Paneer burfi (traditional Indian dessert made by cooking the indian cottage cheese with sugar & nuts and then spread on a baking tray)
-Paneer laddu (made with evaporated milk solids or semi-solid paneer. Made for festivals or special occasions)
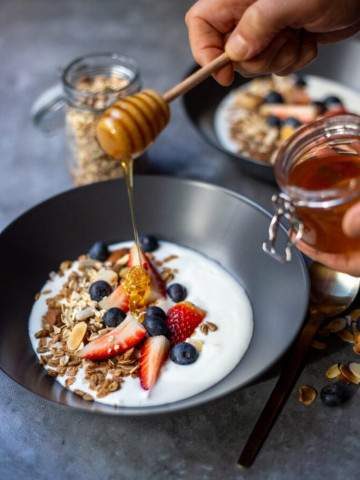
Ways of using paneer are endless as creativity has no boundaries! Even though I'm up for an Indian meal any day of the week, I enjoy eating this fresh cheese in a non traditional way - Like for breakfast! A few slices on a sourdough with salt and pepper and maybe some tomatoes and cucumber on the top! Ahem...that's the German in me coming out I guess!
What did you use it for? Let us know in the comments below. And If you are looking for more Indian inspired recipes, do try our homemade naan bread, Rajma curry and Pumpkin Soup.
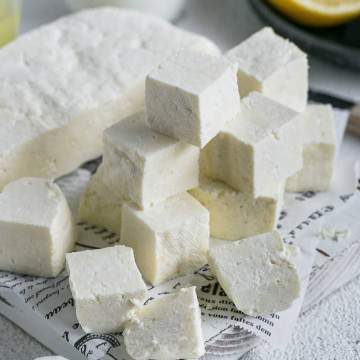
How to make Indian cottage cheese paneer
Equipment
- large pot
- wooden spoon
- sieve (colander) sitting on bowl to collect the whey
- muslin cloth (cheese cloth)
Ingredients
- 3 l full fat milk
- 1½ lemon juiced
Instructions
Making the Paneer
- Pour the milk in a heavy bottom pot and bring slowly to a simmer. Stir occasionally to avoid the milk from catching on the bottom.
- Let the milk reach "almost" boiling point. The top should be foamy and rising and the milk should start moving.
- Reduce the heat to low. Add lemon juice in small amounts and carefully keep stirring with a wooden spoon in between batches.
- If the milk has not curdled, bring the milk back to simmer point until it completely curdles.
- Remove from the stove and allow to sit for at least 10 minutes.
Straining the Paneer
- Using a wooden spoon, transfer the curdled milk to the muslin cloth on top of the sieve. Pour the remaining whey over the curdled milk and allow the whey to drain through the muslin cloth into the bowl.
- Gather the corners of the cloth together and lift over the sieve to allow the whey to continue draining
- Squeeze out the excess whey with your hands but be careful as it still might be hot.
Pressing the Paneer
- Form a square shaped patty out of the paneer in the muslin cloth itself and keep on a large plate.
- Place another plate, pot or any other heavy item on the top which will flatten the paneer and drain out the remaining whey. Leave the paneer under the weight for at least 2 hours at room temperature.
- When storing in the fridge, keep the paneer immersed in plain water. This will keep it soft and moist. If you are storing it for more than 2-3 days then best to change the water again. When ready to use, drain the water and cut the paneer into desired shape.


Claude VAUTE
Thank you !
Renu
Well made!
Sarah
Who knew paneer was this easy to make at home?! Definitely be whipping this up for a curry next Indian night 🙂
Shilpi & Etienne
I grew up eating homemade paneer but still for some reason never made my own, until recently!
Such a game changer! Definitely give it a go for your next curry night! It might take one or two attempts to get it right but I promise it will be worth it!
Sylvie
It looks so easy to make, I will have to try it! Thanks for all the tips and tricks too, you make it look super easy 🙂
Shilpi & Etienne
Happy to know you find the tips useful. It is a simple recipe but might need one or two attempts to get the lemon juice to milk ratio right.
Depending on where you live or the milk brand you buy, the lemon juice can react differently! But please let us know how you go when you make it😉
Shri Amarnath Milk Foods Pvt. Ltd
Nice post Deeply defined: how to make Indian cottage cheese paneer.