This creamy, velvety-textured caramel custard (Petit Pots), paired with soft poached pears and topped with a crunchy macadamia crumble tastes like everything you want in a gourmet dessert. Stunningly presented in a glass, it's a dessert to impress when entertaining at home.
Going through my chef books recently, I came across a small booklet from my time in Paris, filled with pastry recipes for ice creams, crème brulee and tarts. That's where I found this recipe for petit pots.
Petit pots are flavoured custards set in glasses. Back at the restaurant, that I worked at in Paris, we used to serve three tiny glasses in one portion with vanilla, chocolate and pistachio flavours. We made these fresh every two days, so there were lots of leftovers for me to enjoy😋
Now, making a petit pots recipe for you, I was aiming for a restaurant style look that you could easily replicate at home. I based this delicious dessert on a caramel custard, paired with perfectly poached diced pears, topped with some whipped cream and finally dressed with a sprinkle of crunchy macadamia crumble! Drooling yet??! Well, we were by the time we finished putting the dessert together! The look and taste of it, deserved nothing less than a 10/10!
Let's show you how you can make them too😉
How to make restaurant style caramel petit pots
The base of this dessert is the caramel custard. Here, we only need cream, milk, salt, egg yolks and vanilla essence, ingredients most of us have in our kitchens at any time. I have broken down the method, of making this creamy caramel custard in three steps for you:
First step - place the egg yolks in a bowl, whisk lightly and set aside. Next, heat up the cream and milk together with the salt and vanilla essence. Here the salt is important for the taste of the final dessert. As with most salted caramels, salt acts as an enhancer of flavour and balances out the sweetness of the dish.
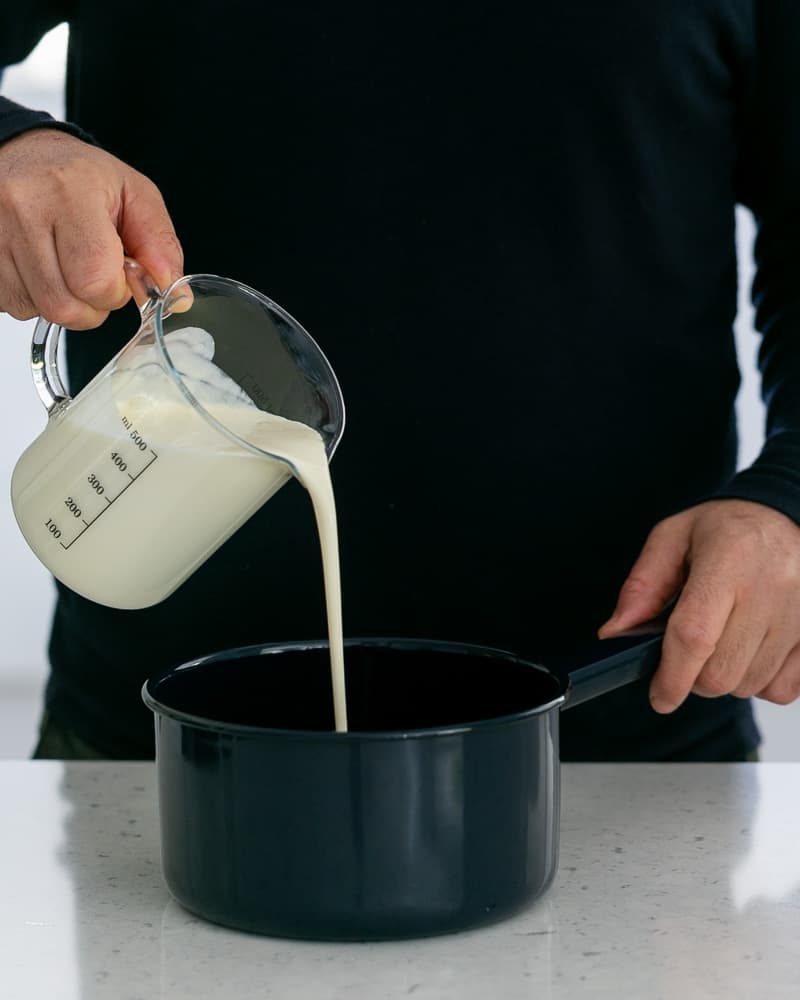
While the cream and milk mixture is heating we can start the next step.
Second step - time to make the caramel. Here it is important to add the cream and milk mixture to the caramel at the right time. You want an amber colour, more on the dark side but be careful not to take it too far as it might burn. Once you have reached that point, add the cream and milk mixture and whisk well. There can be parts of caramel which harden, just melt them again and continue cooking the mixture.
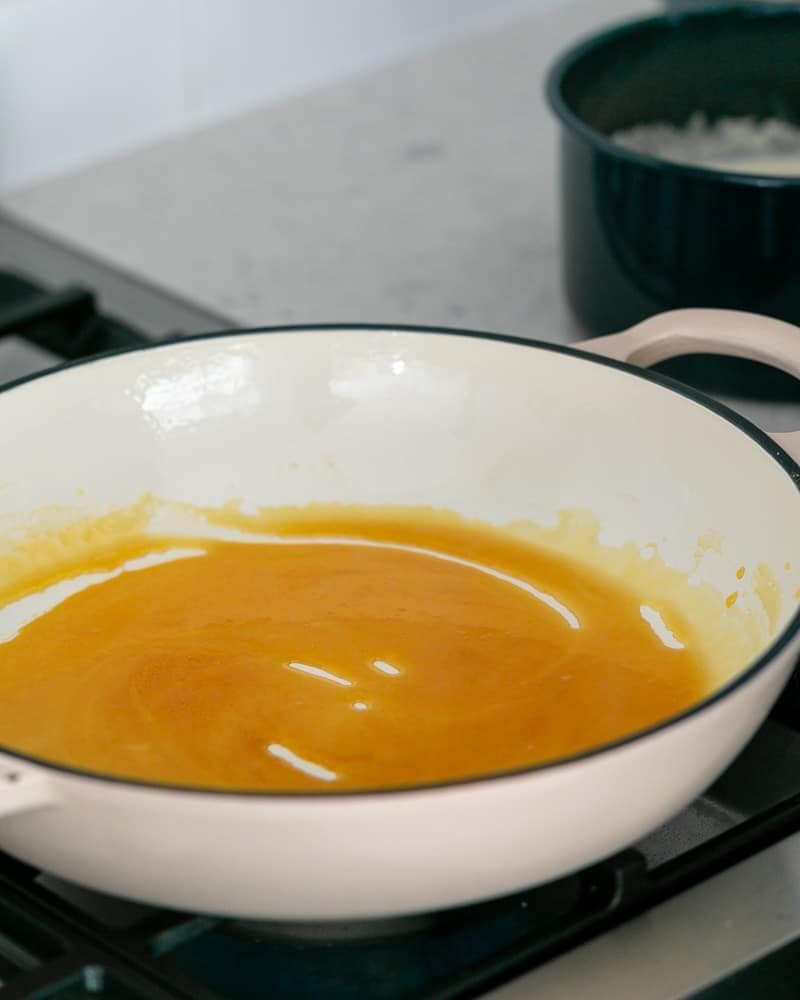
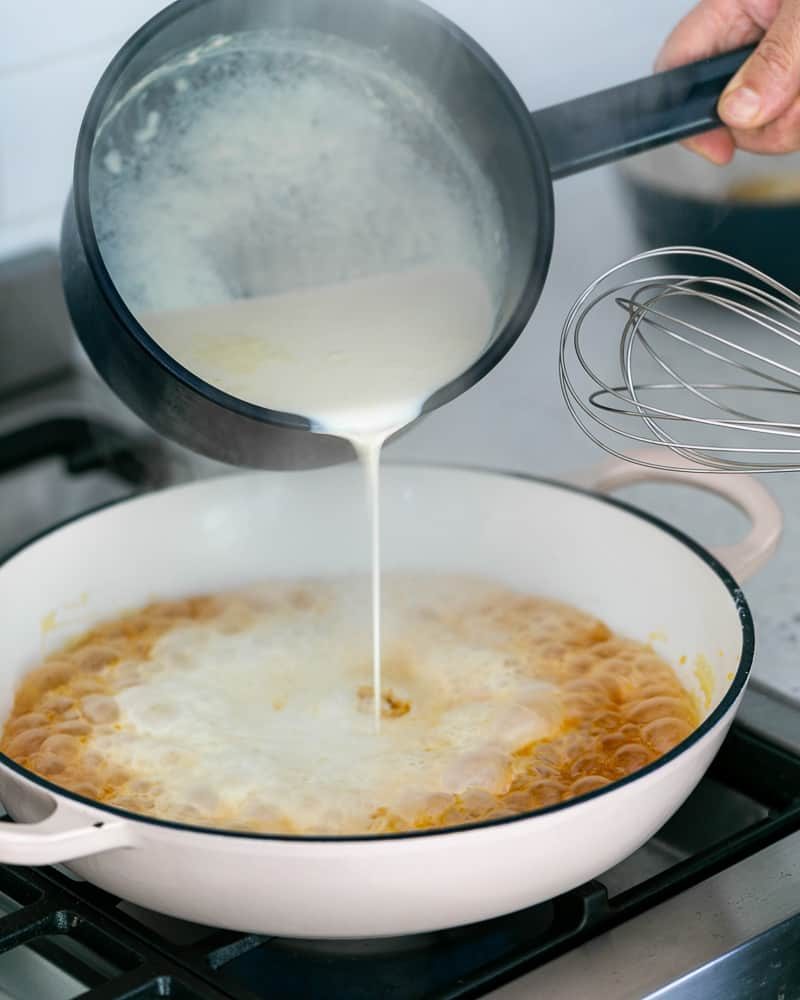
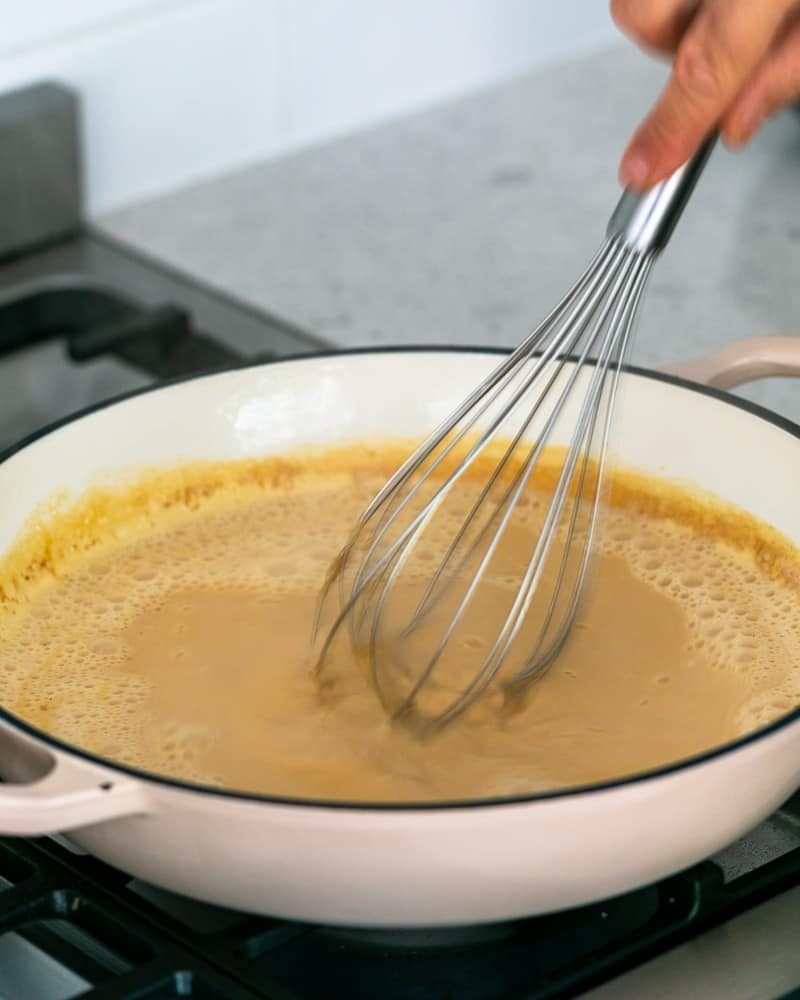
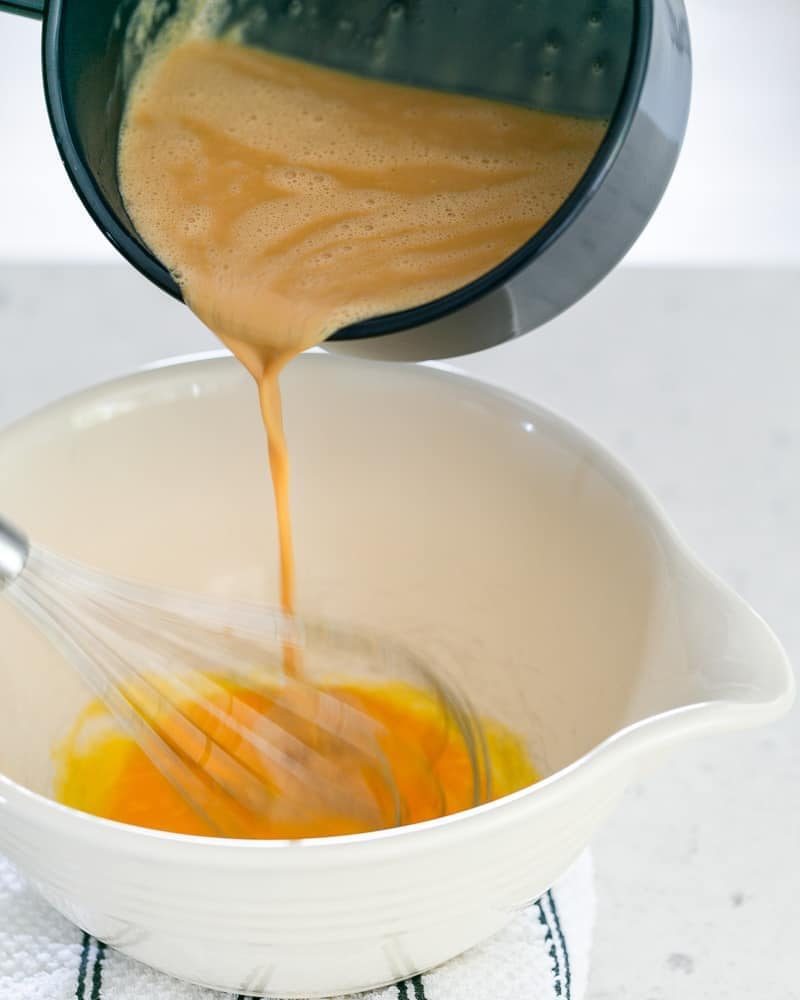
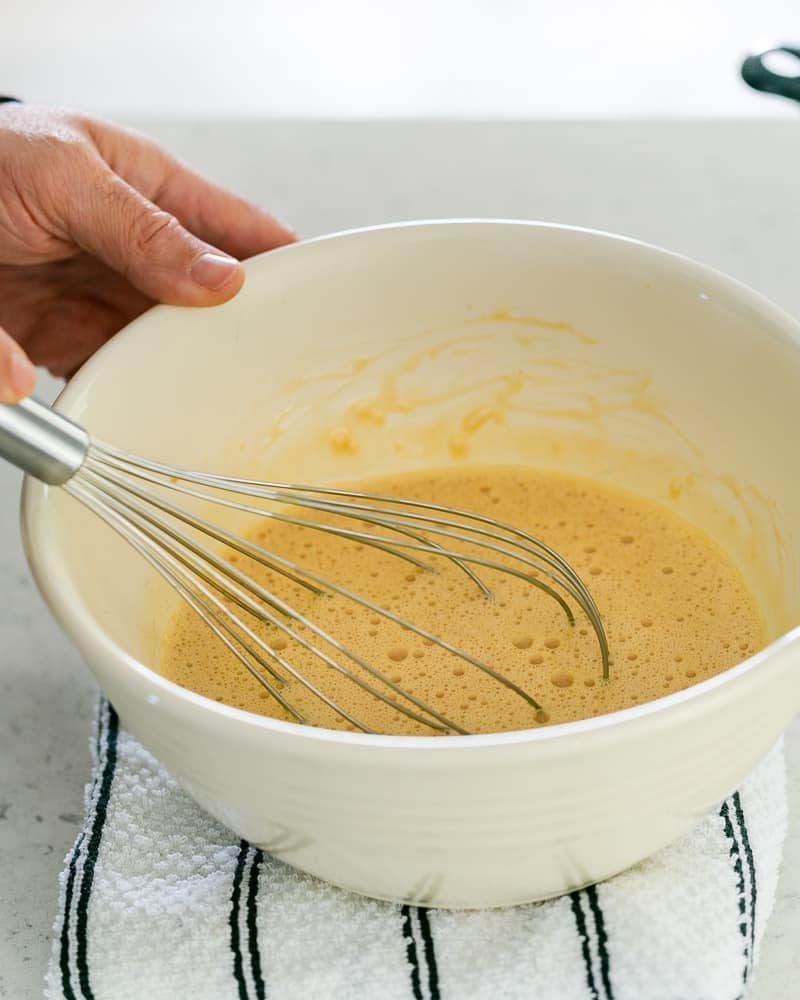
Third step - Once the caramel is smooth, pour it slowly over the eggs in the bowl while whisking. Now, pour the egg and caramel mixture back into the pot and bring back to a simmer point.
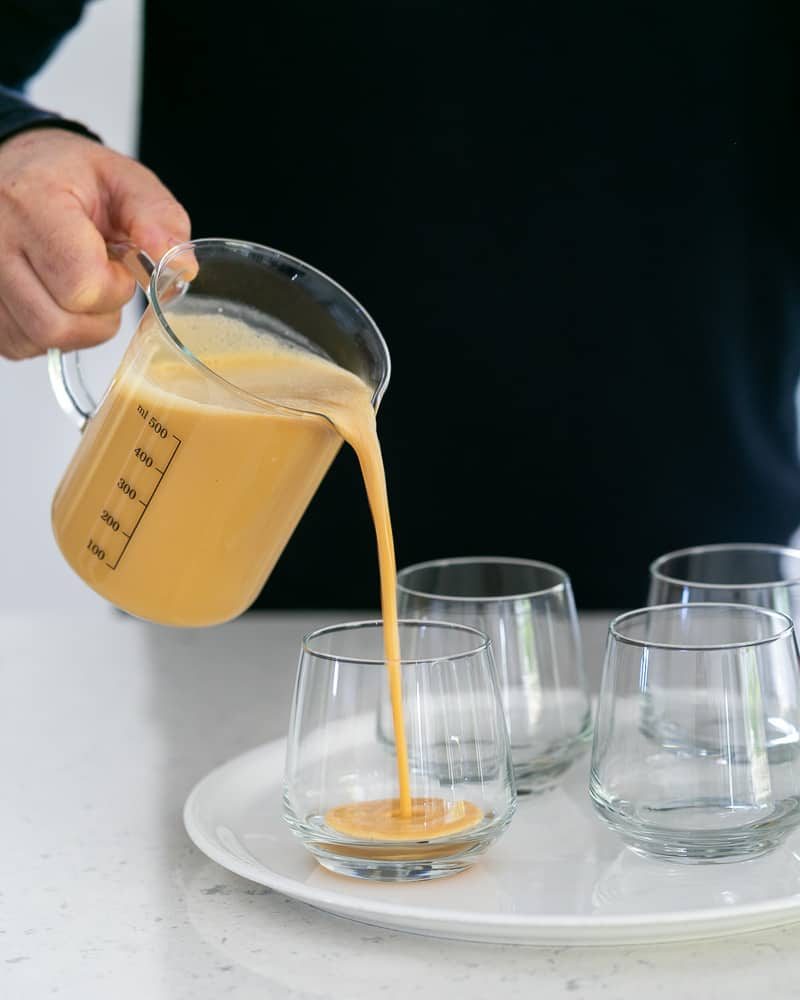
Run the caramel over the back of a spoon to check it it has thickened, it should coat the spoon when it is ready. Pour the custard in glasses and let sit in the fridge for at least 2 hours.
What can go wrong making a caramel custard
I have encountered many failed attempts making an egg custard but it certainly can be avoided if you follow the steps in the recipe carefully. One common issue you might face, is that the custard hasn't set. One reason can be, that the egg mixture has not reached the right temperature to thicken up.
How can we fix this?
Pour back the mixture from the glasses into a pot and heat up again. Here, you have to be patient and wait for the mixture to come to a temperature between 70 and 80 degrees. If you don't have a thermometer, a sure way of checking if the custard is thick enough or not, is by coating the back of a spoon. It should hold the shape of a line when you run a finger over it.
On the other hand, what happens if the custard has gone too far and the egg has started to scramble?
Well, firstly, don't panic! Just blend the custard in a food processor and it will still set😉
For best results, heat the mixture with the eggs slowly on low heat. You will have to keep stirring with a whisk to make sure the custard is heating up evenly.
Cooking notes:
- We used tumbler glasses for this dessert and filled them with 140ml custard to leave room for the pear and the garnishes. Traditionally you would use yoghurt glasses, "Petit Pots" instead. Any dessert bowls will work too.
- Plan the dish well ahead. If you are making the caramel pots with poached pears on the same day for dinner, allow at least 4 hours in the fridge to make sure they have set properly.
- Watch out when cooking with caramel! Adding the cream mixture to the caramel, can cause hot caramel splashing on your hands which can give you second to third degree burns.
How to make poached pears
Diced pears are poached in sugar water, flavoured with lemon juice and star anis. For this recipe, I used Packham's pears which are well known in Australia. Other varieties good for poaching are Bosc and Anjou, as they are firm enough not to fall apart.
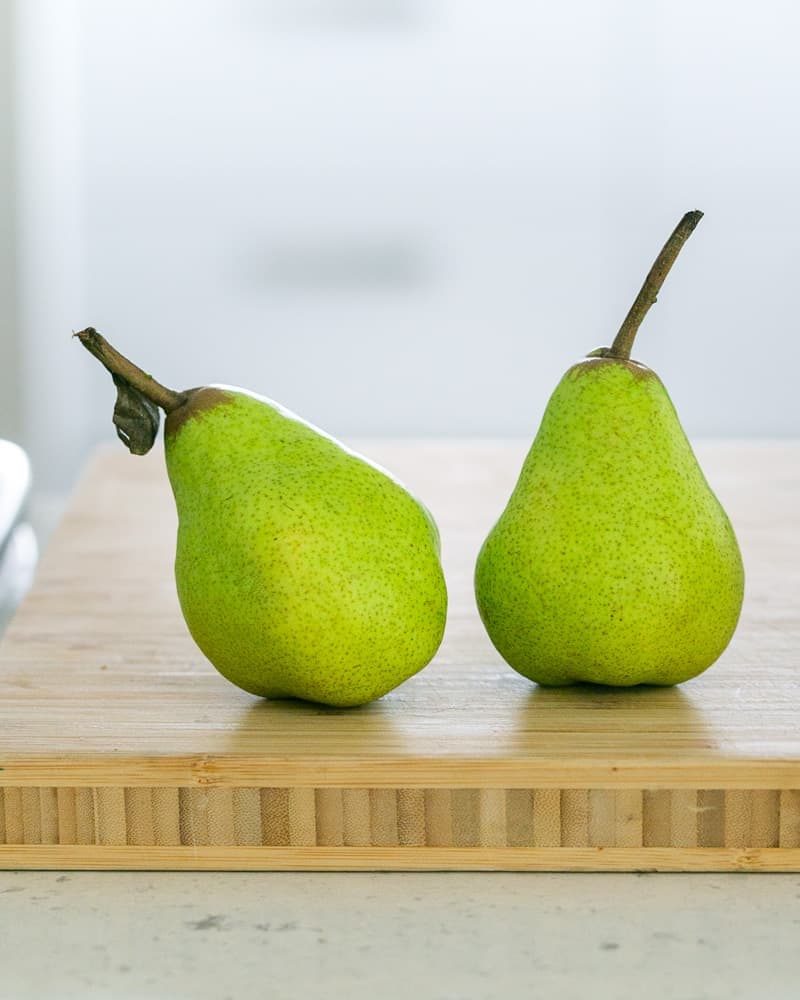
Since we are using a glass for the dessert, we want to show some beautiful layers so cut the pears in evenly sized cubes. Besides looking visually pleasing, these can be easily layered on top of the custard.
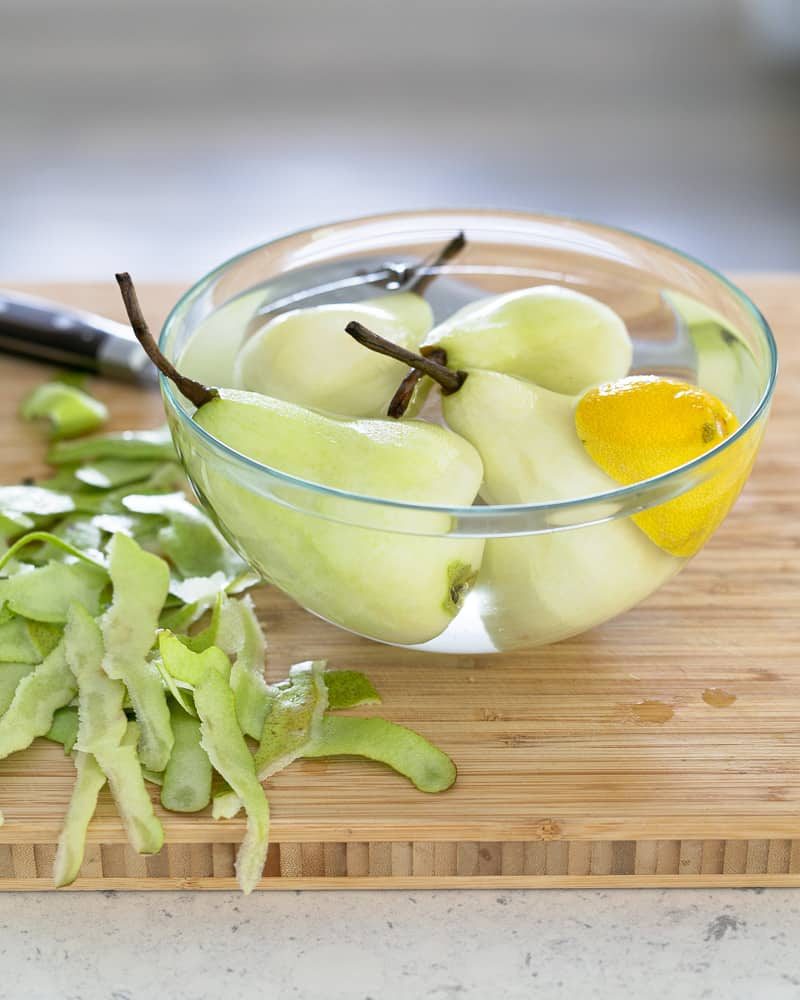
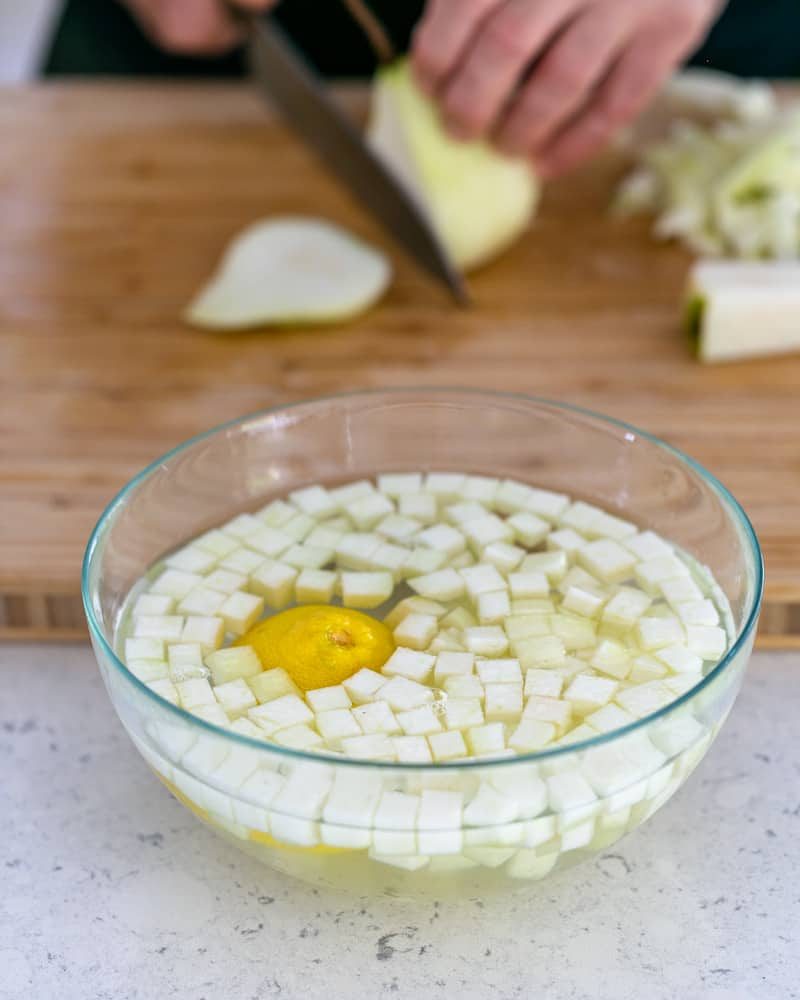
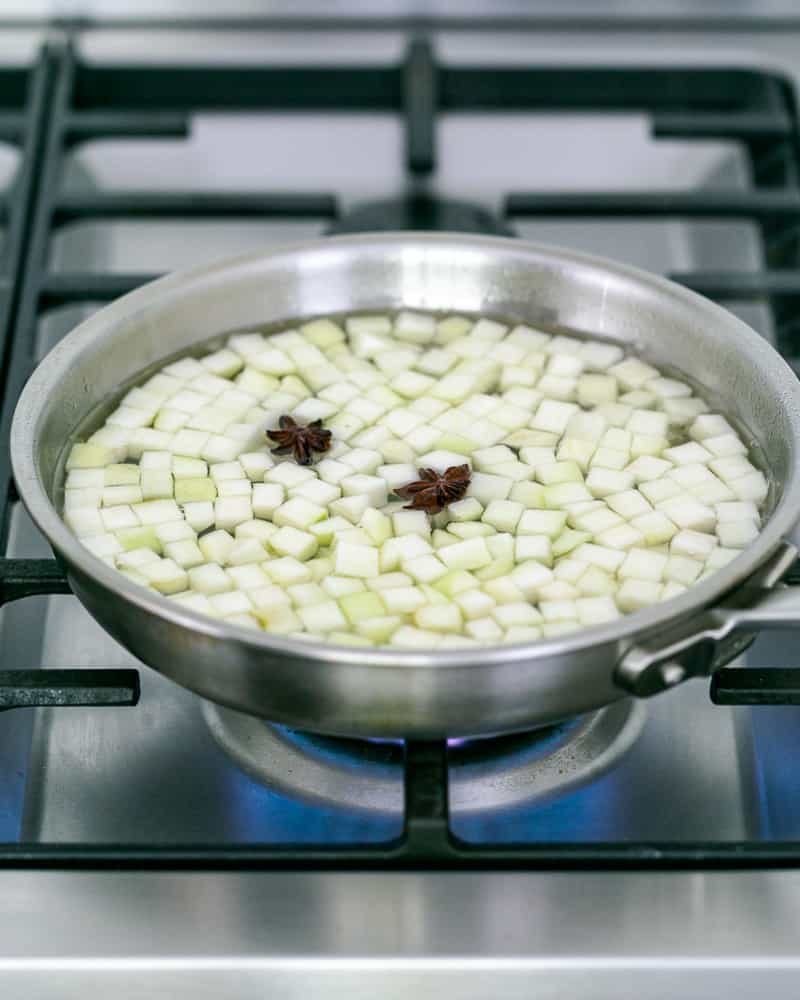
As a tip: Dicing the pears instead of poaching whole pears, minimalizes the handling after they have been poached. Another benefit of cutting the pears into dices is that it reduces the poaching time to just 8 minutes on a simmer.
Once the pears are cooked, leave them to cool in the poaching water. The longer you leave them in the poaching water, the better they will taste.
Alternatively, you can leave the pears whole or just cut in half. Poach them the same way in the sugar water and cut them afterwards.
Macadamia brittle crumble
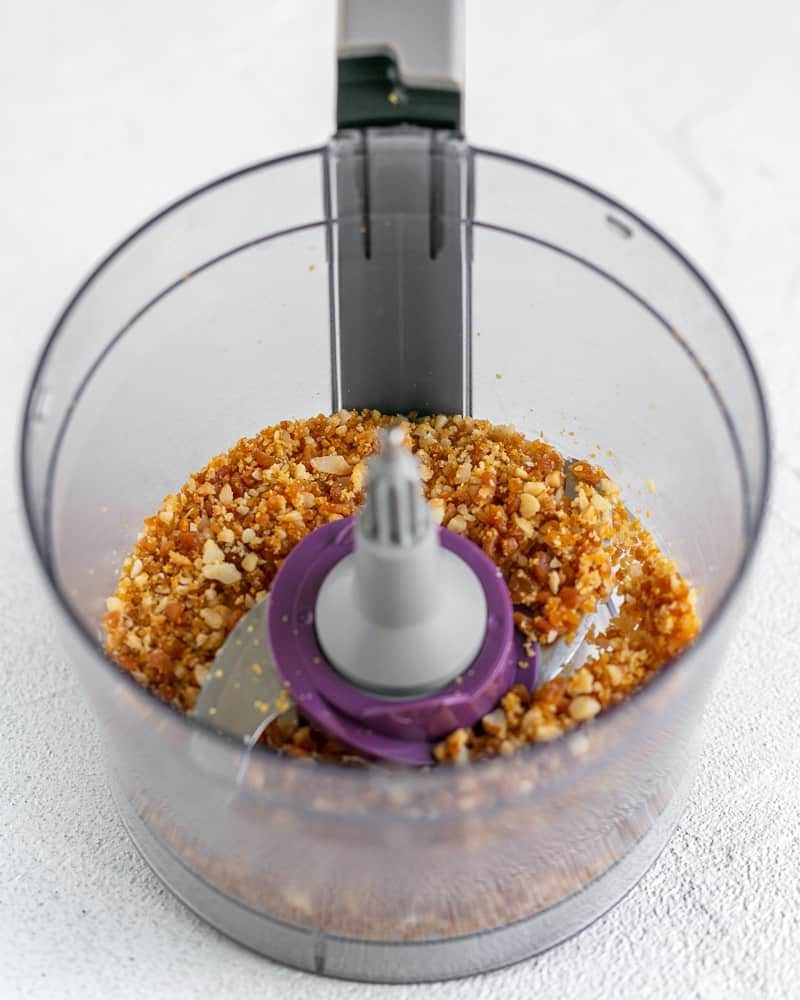
We had leftovers from our macadamia brittle recipe, which we used to make a crumble. Ideal topping for the caramel petit pot with poached pears.
If you have a food processor, just mix them on pulse until they crush into small pieces resembling a crumble. Be careful not to over mix as we do not want a powder but a more crumbly-crunchy texture.
Other ways you could garnish the caramel pot with a crispy element could be this sesame tuile, it looks stunning too.
How to assemble the caramel pots with poached pears like in a restaurant
Start with the caramel in the dessert glass as your base, then build up the dessert by adding a layer of poached diced pears. Next, add some whipped cream to give the dessert a bit of creaminess.
Finish the dessert by sprinkling the crumble over the top - this will give the dessert a lovely crunch, giving it the much needed texture.
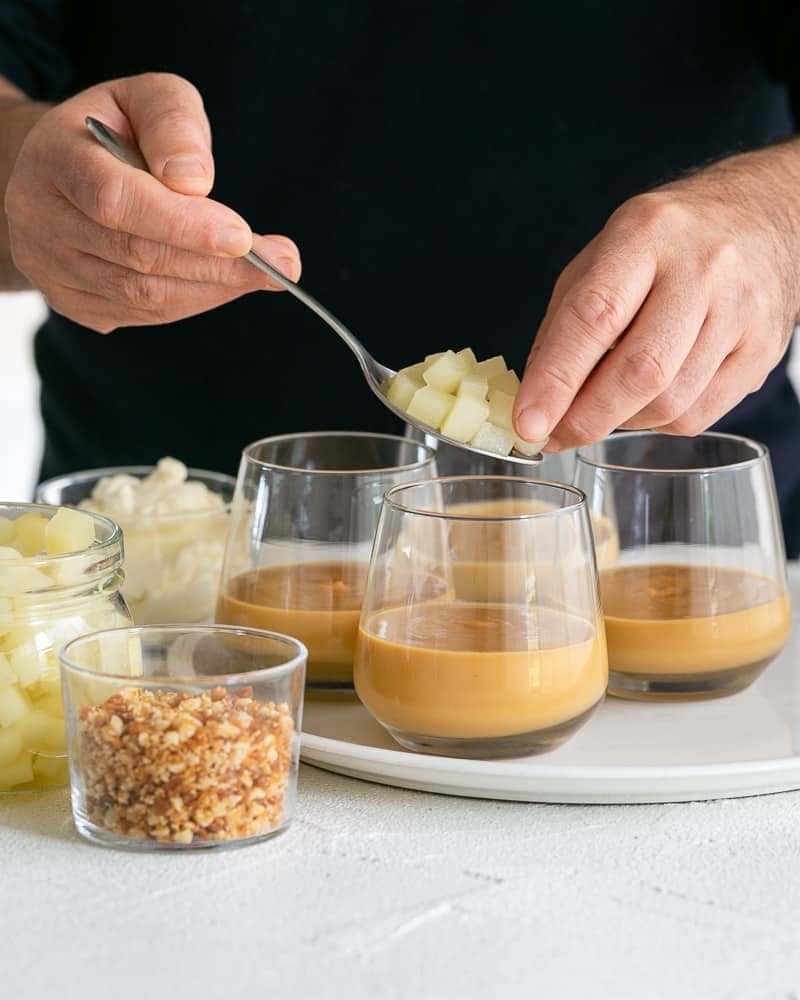
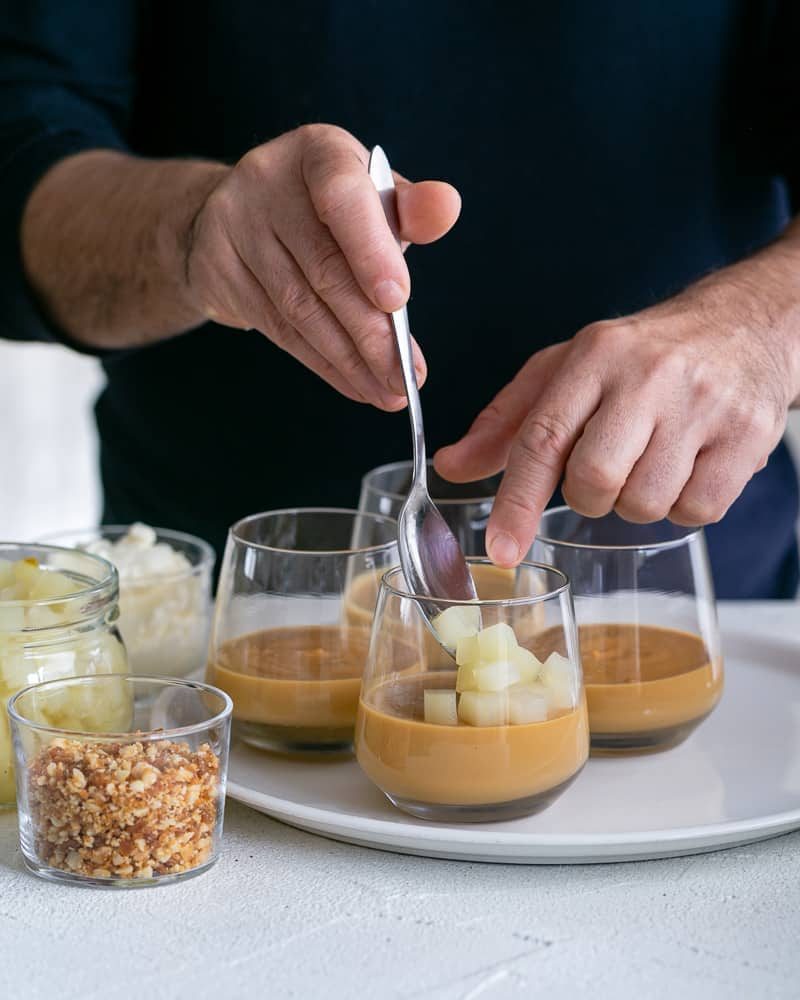
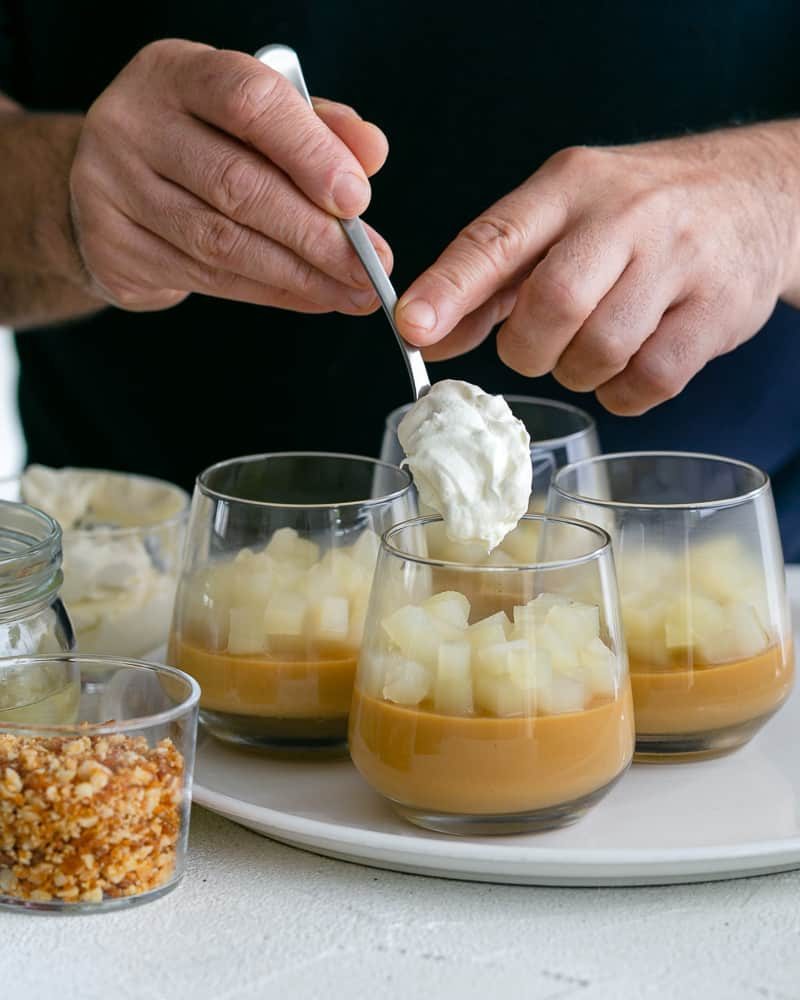
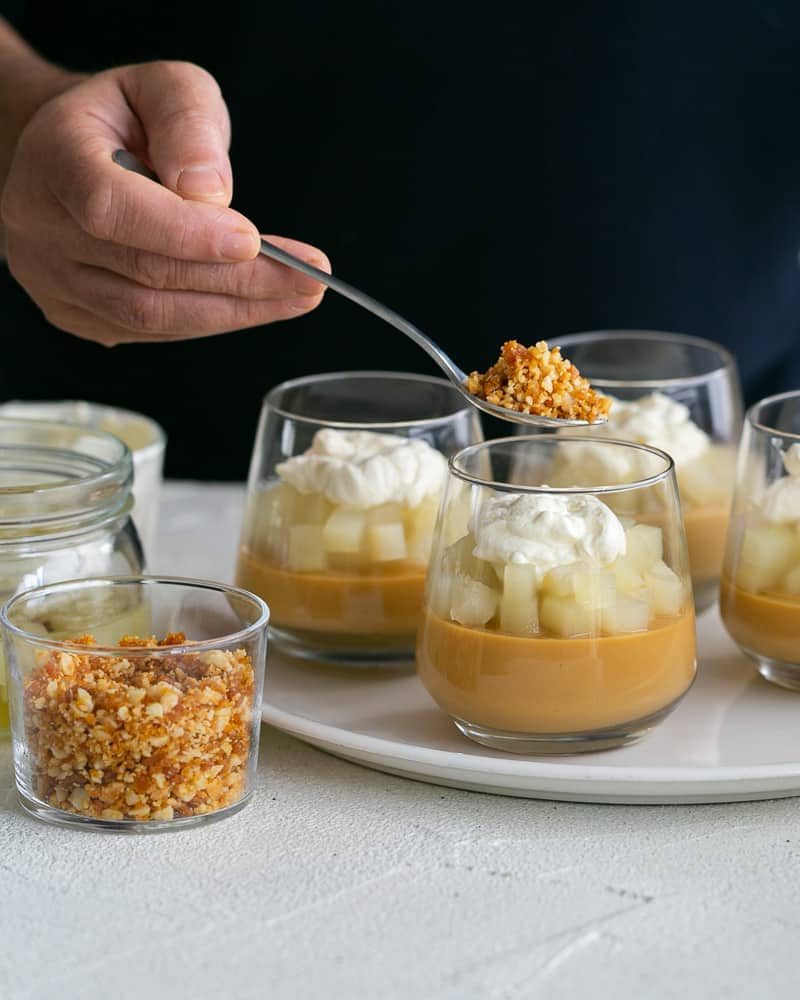
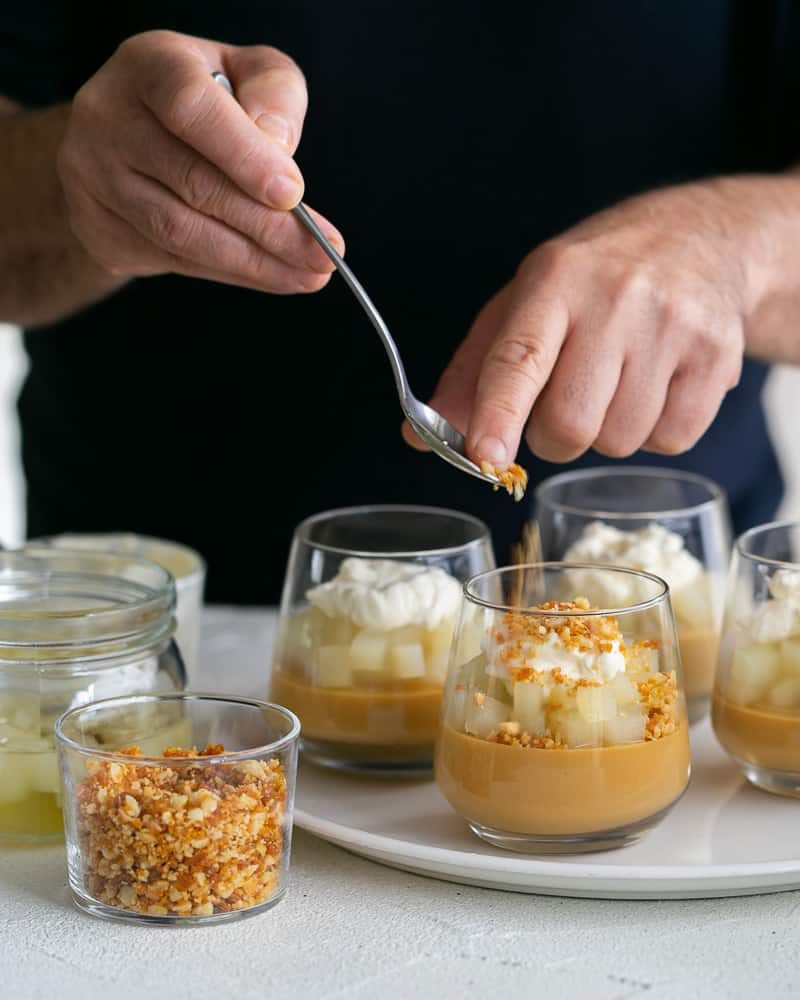
Rich, creamy, and decadent, these Caramel Petit pots with poached pears make the perfect make-ahead ending to a special meal.
To give these a gourmet look, we topped them with star anise poached pears, whipped cream and some Macadamia brittle crumble, but the caramel pots are very nice on their own too.
No one can resist these! So, next time you have a dinner party and are looking for some dessert inspiration, look no further and give these Caramel Petit Pots a go!
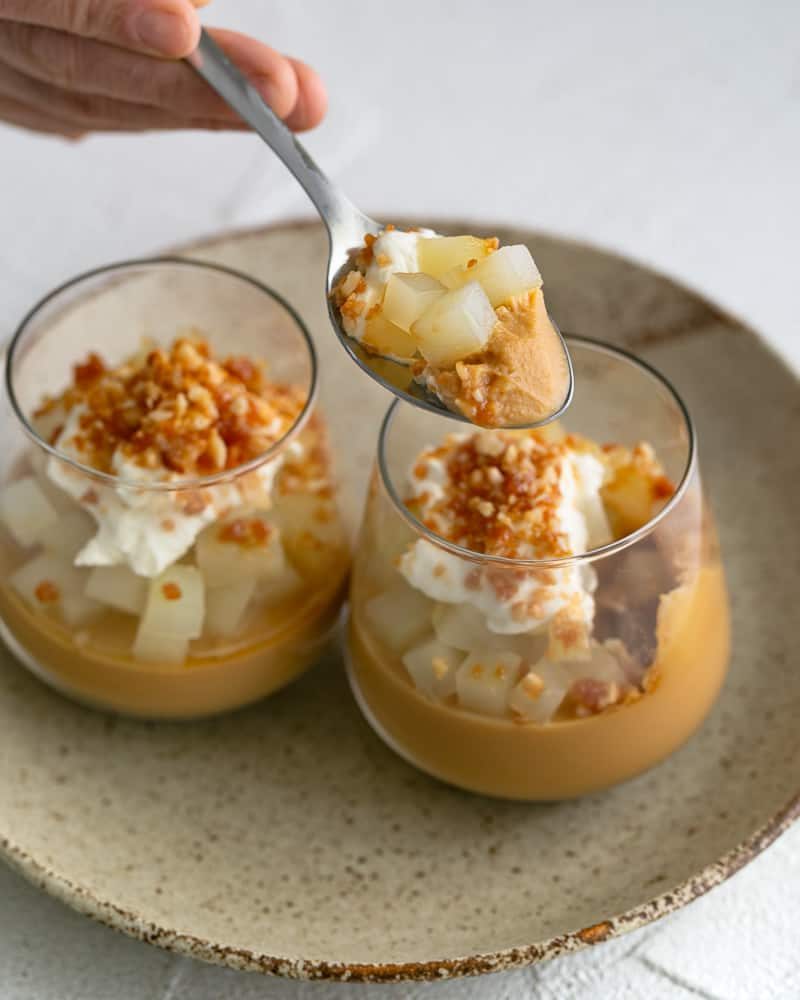
As with many custard desserts, there are endless variations to this magical dish. Oh, and if you are a fan of caramel, why not try out salted caramel fondant, oven baked and oozy good!
After you have made our version, you might want to get creative with more flavours or try other restaurant style desserts like our pina colada panna cotta with pineapple salsa.
Caramel Pots with Poached Pears
Ingredients
For the Caramel Petit Pots
- 450 ml heavy cream
- 80 ml full fat milk
- 5 egg yolks
- ½ teaspoon sea salt
- 1 teaspoon vanilla essence
- 100 g caster sugar
For the Poached Pears
- 4 pears
- 800 ml water
- 200 g caster sugar
- 2 whole star anis
- ½ lemon
For the Garnish
- 100 ml heavy cream
- 50 g macadamia brittle blended to a crumble
Instructions
For the Caramel Petit Pots
- In a bowl whisk the egg yolks until well blended and set aside.
- In a medium size pot, combine the cream with milk, salt and vanilla essence and bring to a simmer. Meanwhile, start making the caramel by adding the sugar in a heavy bottomed pan on medium heat.
- Let the sugar start to melt and stir occasionally. The sugar will start browning after 5-10 minutes. The darker the caramel, the more taste you will have in your final dessert. Once it reaches an amber dark colour, add the cream mixture carefully while whisking.
- Keep whisking until all the bits of caramel are dissolved. Now slowly pour the caramel mixture over the egg yolks while whisking. When the mixture is smooth add it back into the pot and heat up on medium temperature.
- Bring the mixture to a temperature between 70 and 80 degrees while whisking constantly. If you don't have a thermometer, test the consistency of the caramel, by running the mixture over a back of a spoon. When the spoon is well coated, the custard is ready. Fill the glasses with the custard and leave to set in the fridge for at least 2-3 hours.
For the Poached Pears
- Prepare a bowl with cold water and add the juice of half a lemon. Peel the pears and keep them in the lemon water to avoid them going brown. Cut each pear into even sized cubes and place them back in the lemon water.
- In a medium pot bring the the water and sugar to a boil. Add the star anis and cook for another 2 minutes. Add the diced pears and poach on medium heat for about 8 minutes. Cool the pears in the cooking syrup and keep chilled until before plating up the dessert.
For the Garnish and final plating
- In a kitchen bowl, whisk the cream until stiff and set aside.
- Garnish the caramel custard with the poached pears and top with a spoon of the whipped cream and a sprinkle of the macadamia crumble.
- Serve straightaway. If making in advance, you can assemble the dessert minus the crumble to keep in the fridge. Sprinkle the crumble right before serving.



Claude VAUTE
Un grand merci pour ces sympathiques petits pots !
Shilpi & Etienne
Merci Claude!
Sharyn Montgomery
A Wonderful taste Sensation!
Luxurious, rich and creamy. An explosion of flavours throughout the layers. So Delicious.
Shilpi & Etienne
Thank you Sharyn, couldn't agree more!
Renu
Mouth watering dessert!
Shilpi & Etienne
Thank you Renu!
Sarah
Caramel and pears, my kind of dessert! This would be perfect for a dinner party or a cozy night in 🙂
Shilpi & Etienne
You summed it up perfectly Sarah! Thanks! This dessert not only has the looks but tastes pretty good too! Making Caramel first time can be tricky that's why we have included step by step instruction with pictures. We want anyone and everyone to be able to make this dessert coz it really is that good!
Sylvie
What a mouthwatering dessert! Love the combination of caramel, pears and macadamias. They would make a great dinner party dessert!
Shilpi & Etienne
Thanks Sylvie! These are quite the crowd pleaser! One of those desserts, that you can make ahead and just assemble before serving!
Lucette
Un délice!
Alejandra
Made this amazing dessert for a very important dinner and I got so many compliments 🙂
Thank you so much for your help!!! The flavour and consistency are delicious!!! Thanks for the time and effort to make these recipes available to all!!!
Just as a note, I only added half of the amount of salt specified. in my first attempt, they were too salty, but maybe it's because in UK salt is stronger? I used plain table salt by the way! Would it be better to use Maldon flakes or sea salt???
Love this page!!! It's been shared with my friends!!!!
Shilpi & Etienne
Hi Alejandra! Thank you!! This dessert is our absolute favourite!!! So glad you gave it a go!!
We feel honoured you chose our recipe to make for your important dinner🙂 Hope everyone enjoyed it!
If you have to impress someone with a dessert, then these caramel pots are perfect!
We initially liked the saltiness but if it is overpowering the flavour and coming across too strong then definitely feel free to adjust it.
In fact based on your feedback we have updated the recipe and Sea salt is always my preferred option especially for desserts!
Thank you once again for making our recipes and sharing them with your friends.