An easy to make, creamy mini cheesecake with a burnt top, that tastes of sticky toffee. Can be whipped up in 10 minutes, no crust required.
When I walked past these mini spring forms at a shop, I couldn't resist, I had to have them! Armoured with my new cake forms, I now needed the perfect recipe to try them out.
What better than a burnt basque cheesecake. Yes they can be baked as mini cakes. This delicious soufflé like cake has a lighter texture than most cheesecakes and comes with a stunning looking burnt top that surprisingly tastes nothing like bitter.
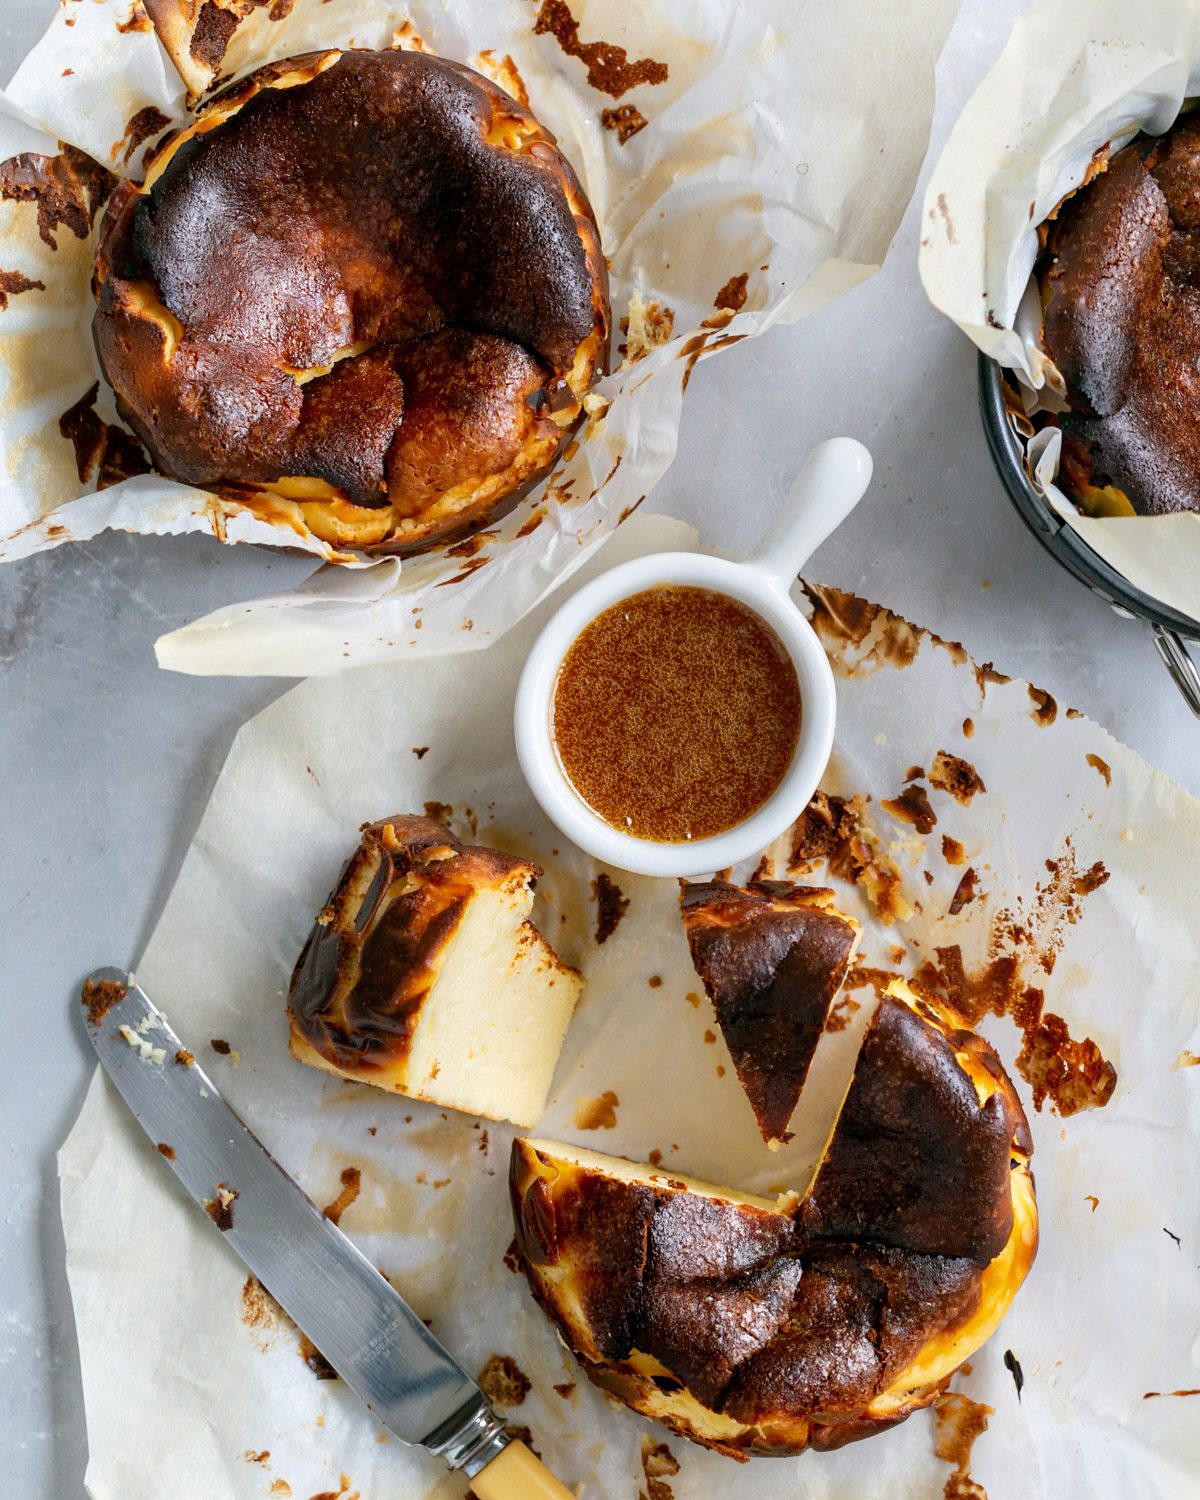
What is basque cheesecake?
Basque cheesecake or San Sebastian cheesecake is like no other cake. It has a more gooey like centre and is baked at a higher temperature hence the burnt top and caramelized sides.
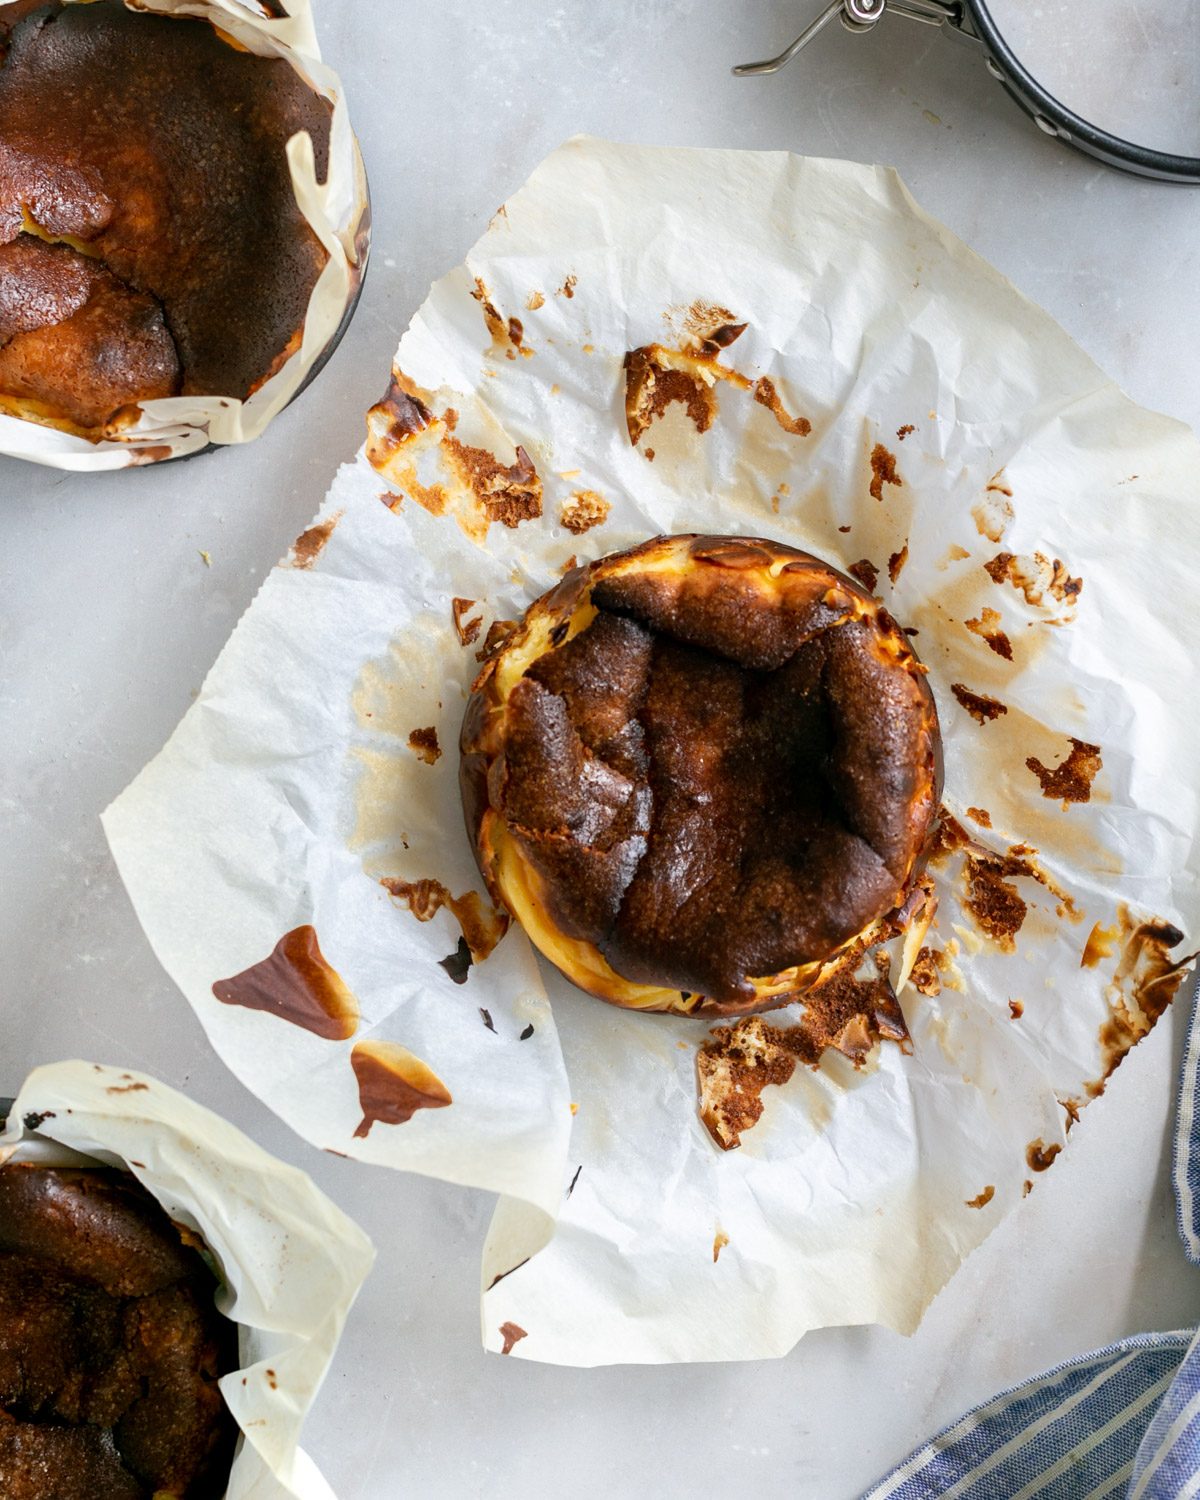
The recipe however is not one with a long history or a mind blowing story. It was only invented in 1990 by a chef in San Sebastian at a restaurant called La Vina.
Gracias cocinera!
What's so special about it?
- It is quick to make
- Does not require a tart shell or any other type of crust
- The steps are easy to follow
- It can be made ahead, hence great for entertaining
- Doesn't need any decoration, as it looks stunning as is
The ingredients you need
Cream cheese is the main ingredient as with most cheesecakes. Good quality full fat cream cheese is the best way to go.
Cream is a must for this recipe. Use heavy full fat cream.
Eggs fresh, large eggs for a light, soufflé like texture.
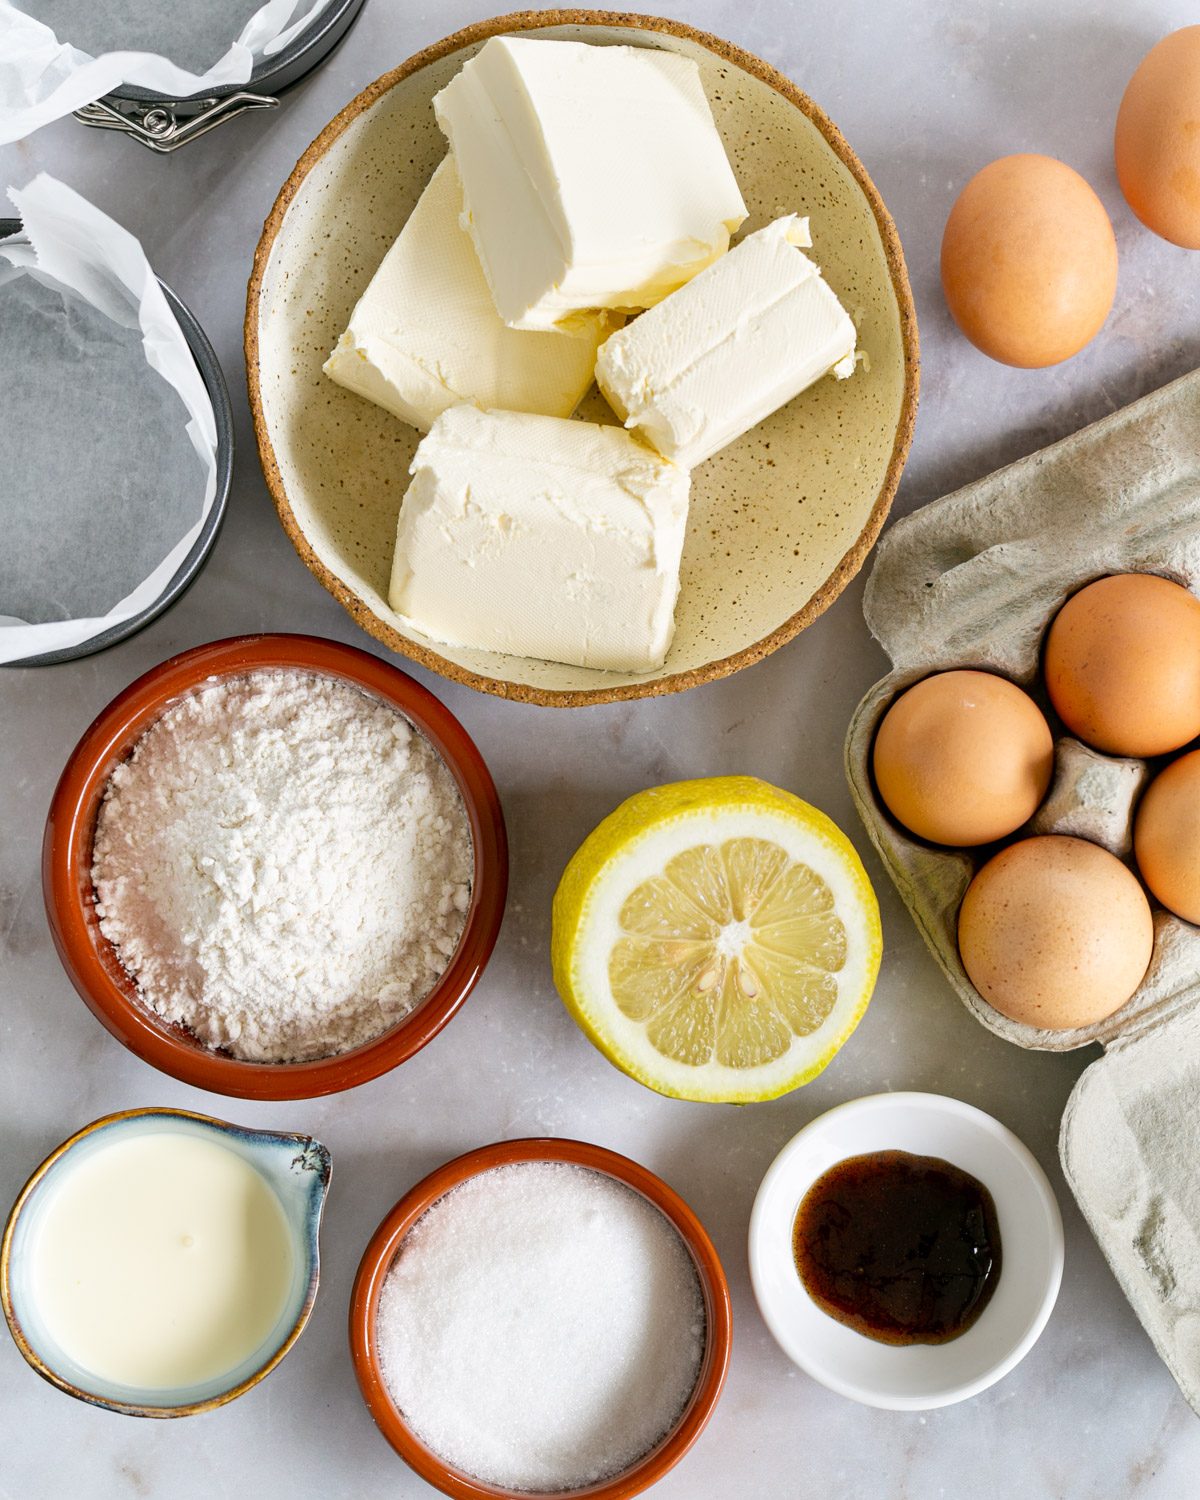
Sugar use white caster sugar and don't substitute or reduce the amount.
Flour there is only a small amount in this recipe. Use all purpose flour.
Lemon and Vanilla to add more flavour. I use the rind of the lemon and a squeeze of the juice. A small amount of vanilla essence is enough.
How to make it
Making the mini cheesecake is straight forward, it couldn't be any easier! However, you have to consider a few things:
- make sure the ingredients are at room temperature, especially the cream cheese, cream and eggs.
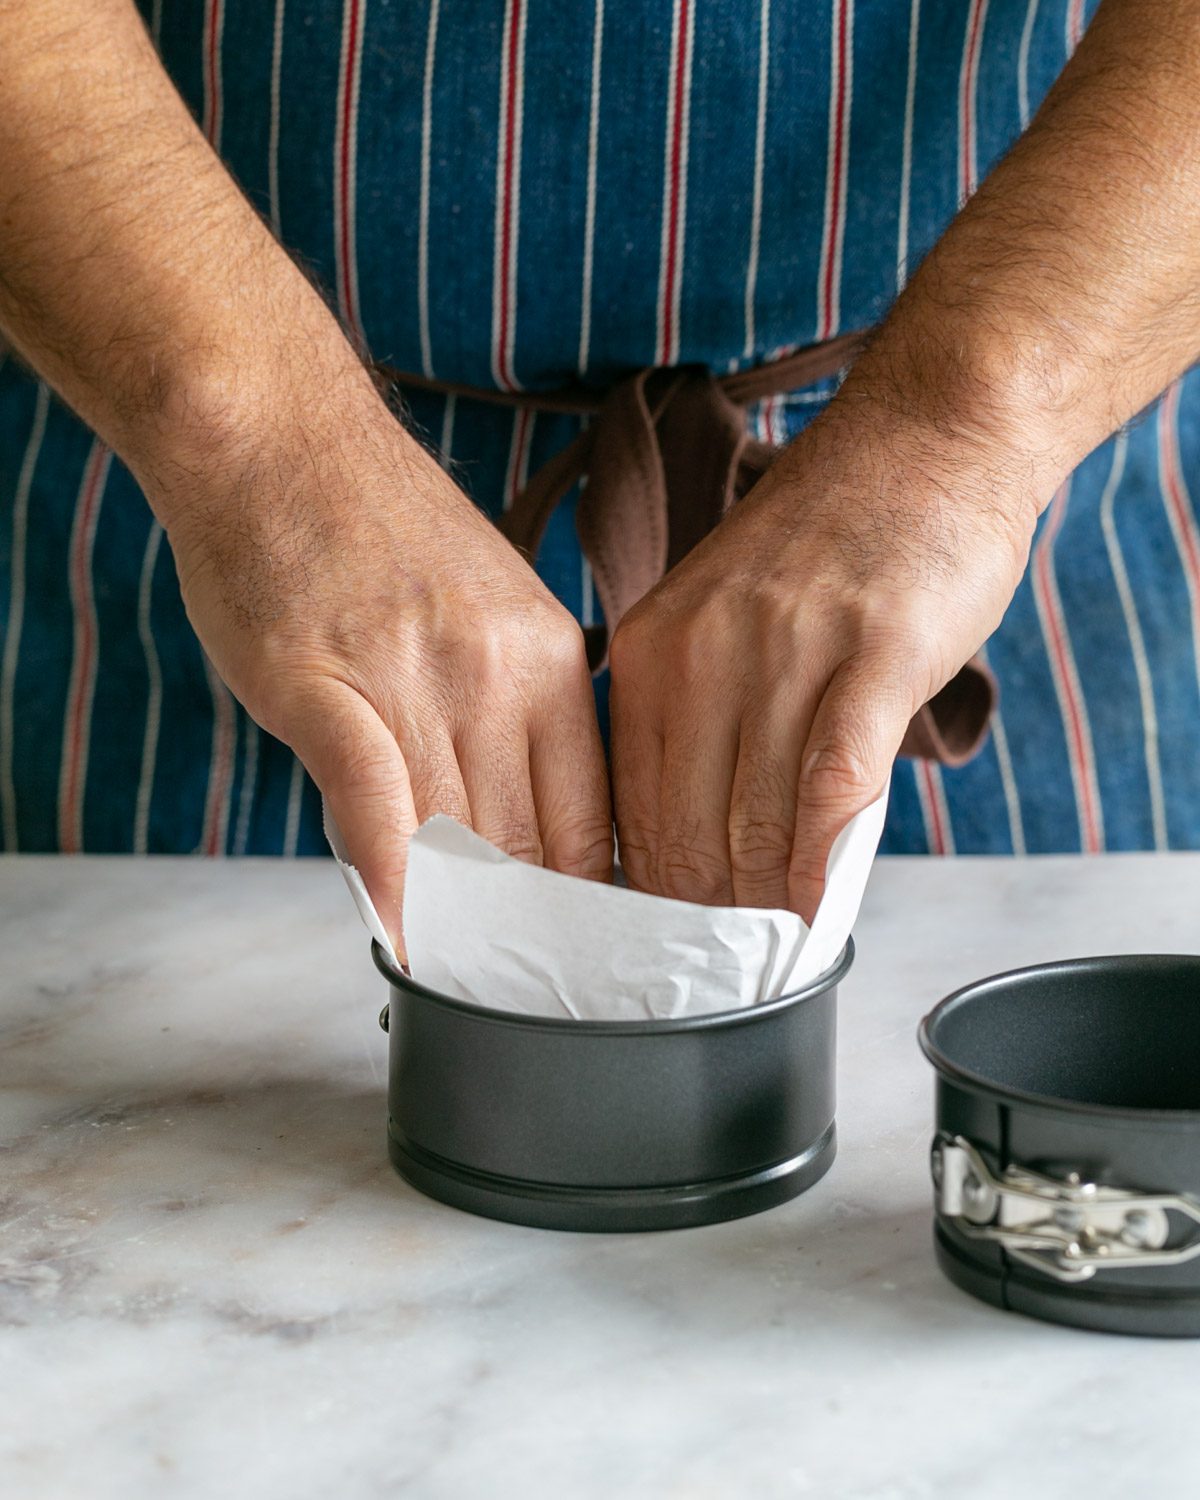
- Line your baking forms with baking paper, generously covering the bottom and the borders
- Chill the cake for 30 minutes before baking, this helps getting this lovely burnt outside without overcooking the inside.
the cheesecake batter
The batter for the cheesecake can be prepared in less than 10 minutes, that is, if you have all ingredients ready to go😁
Before starting, line your baking forms with baking paper.
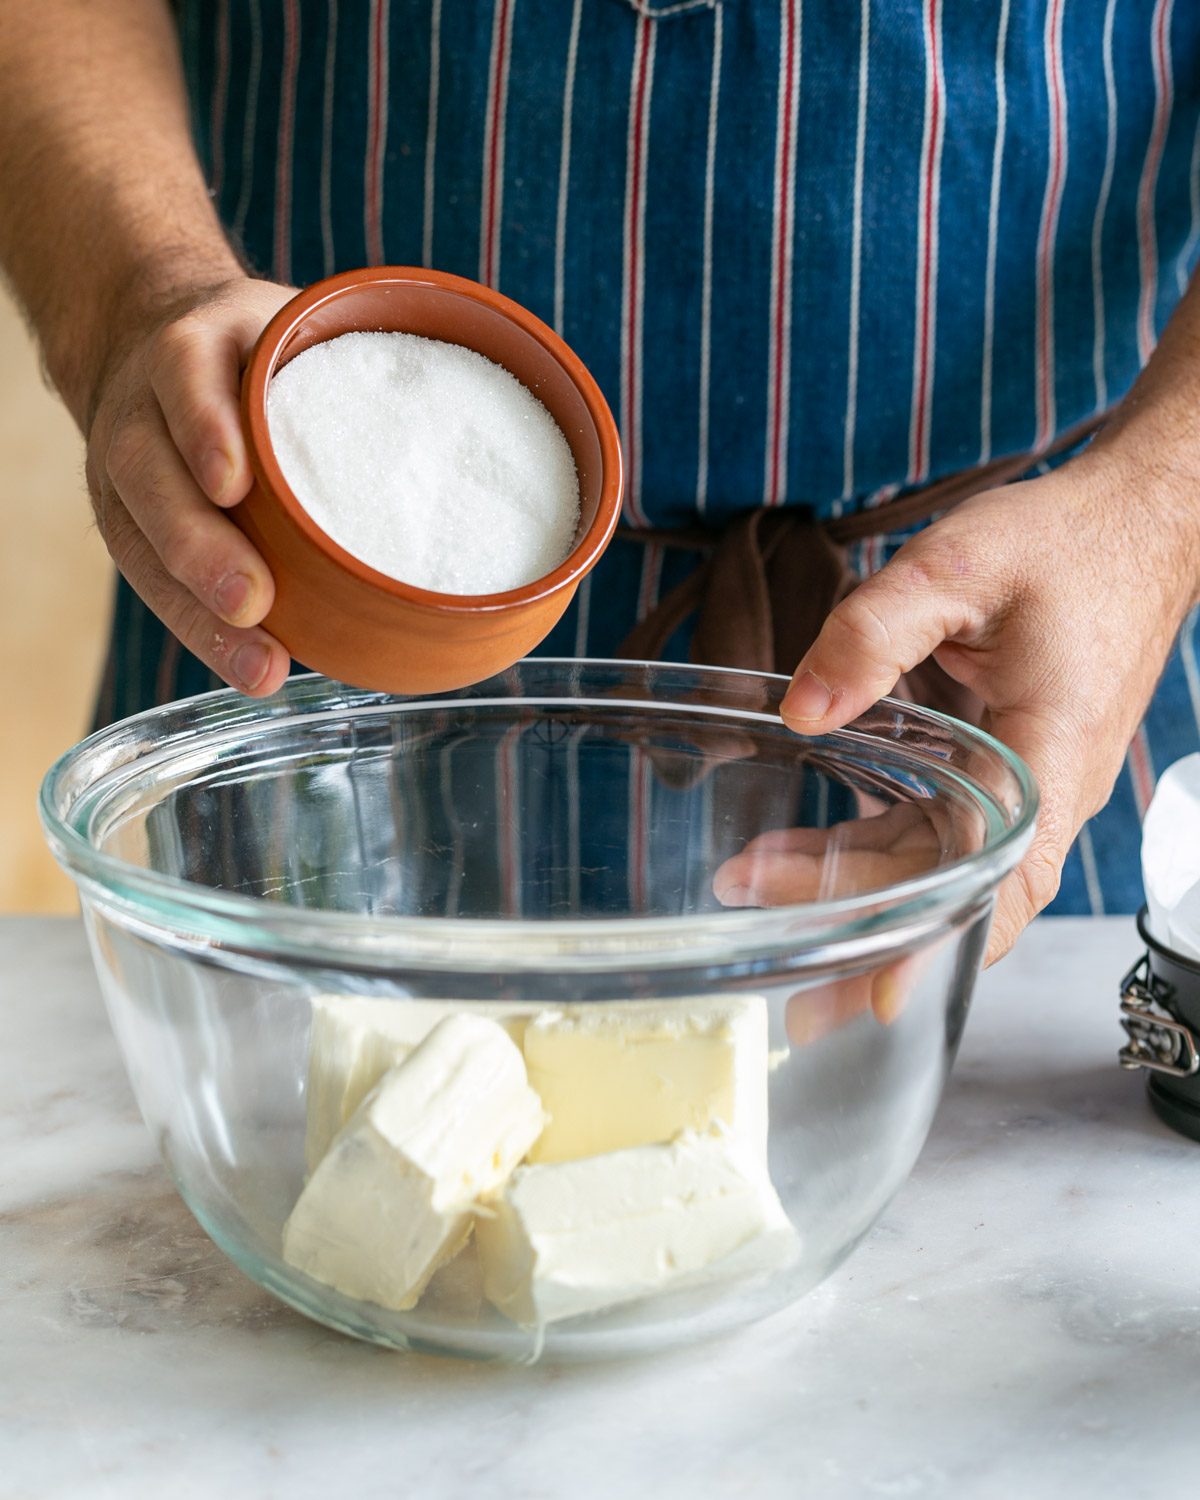
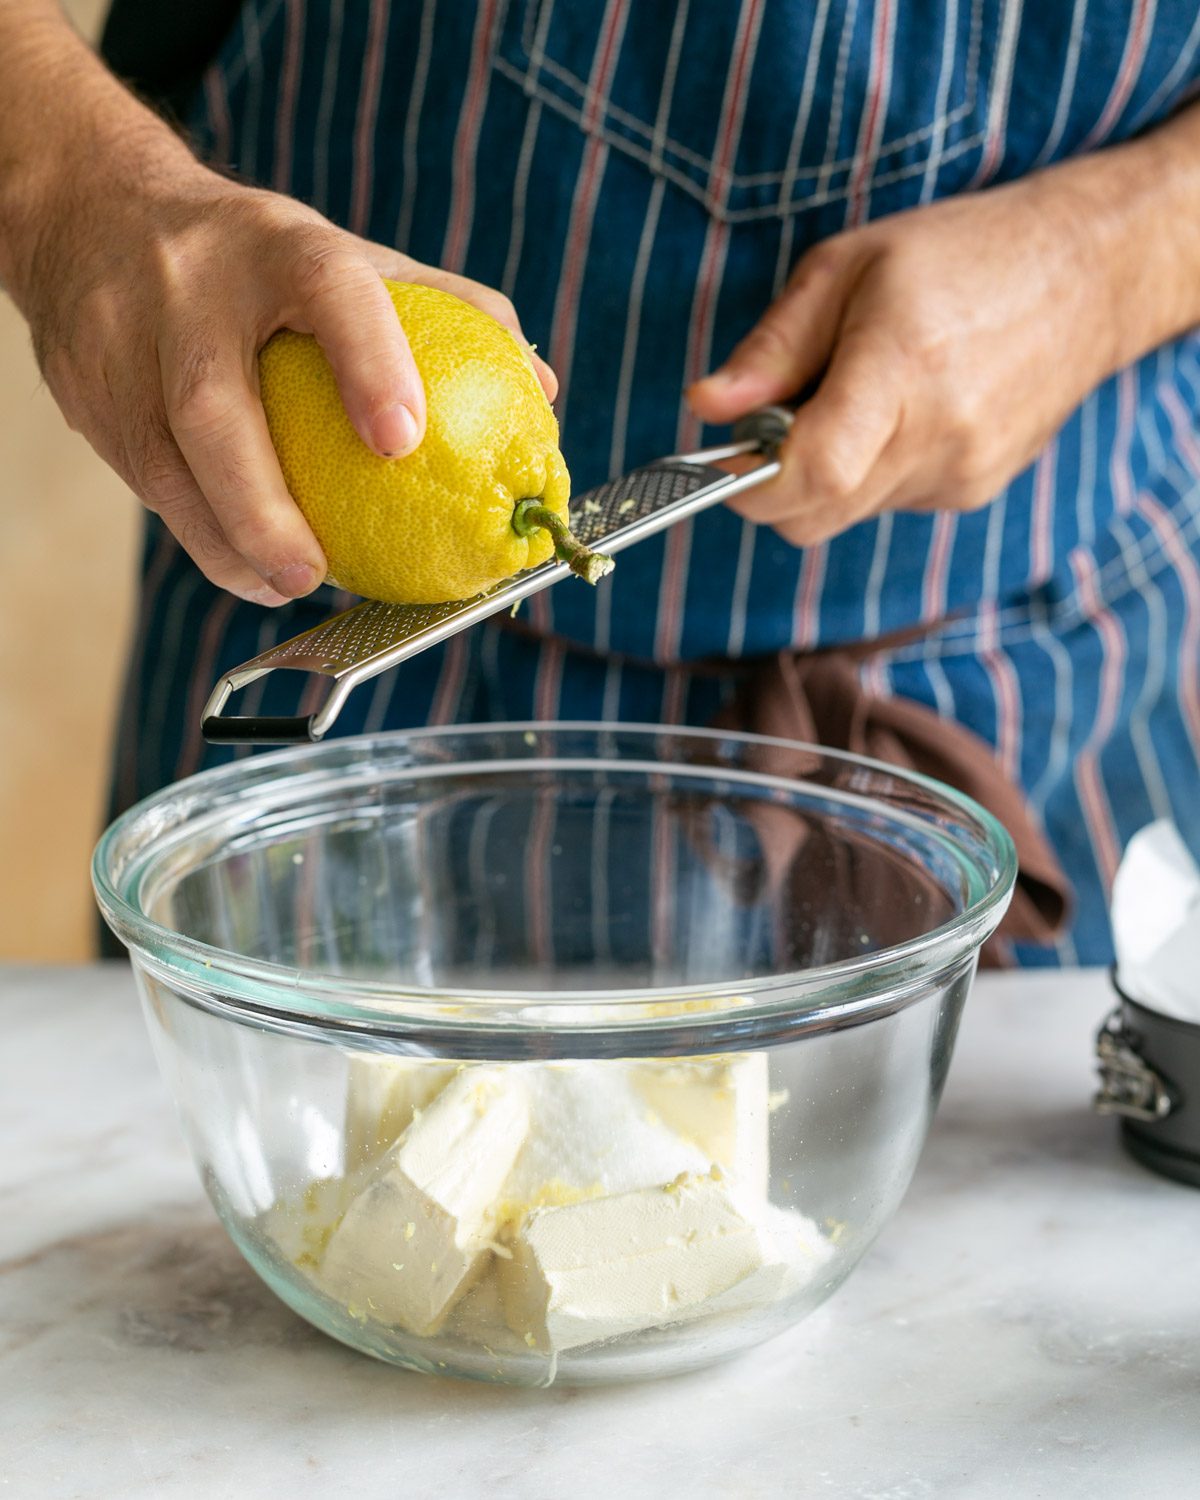
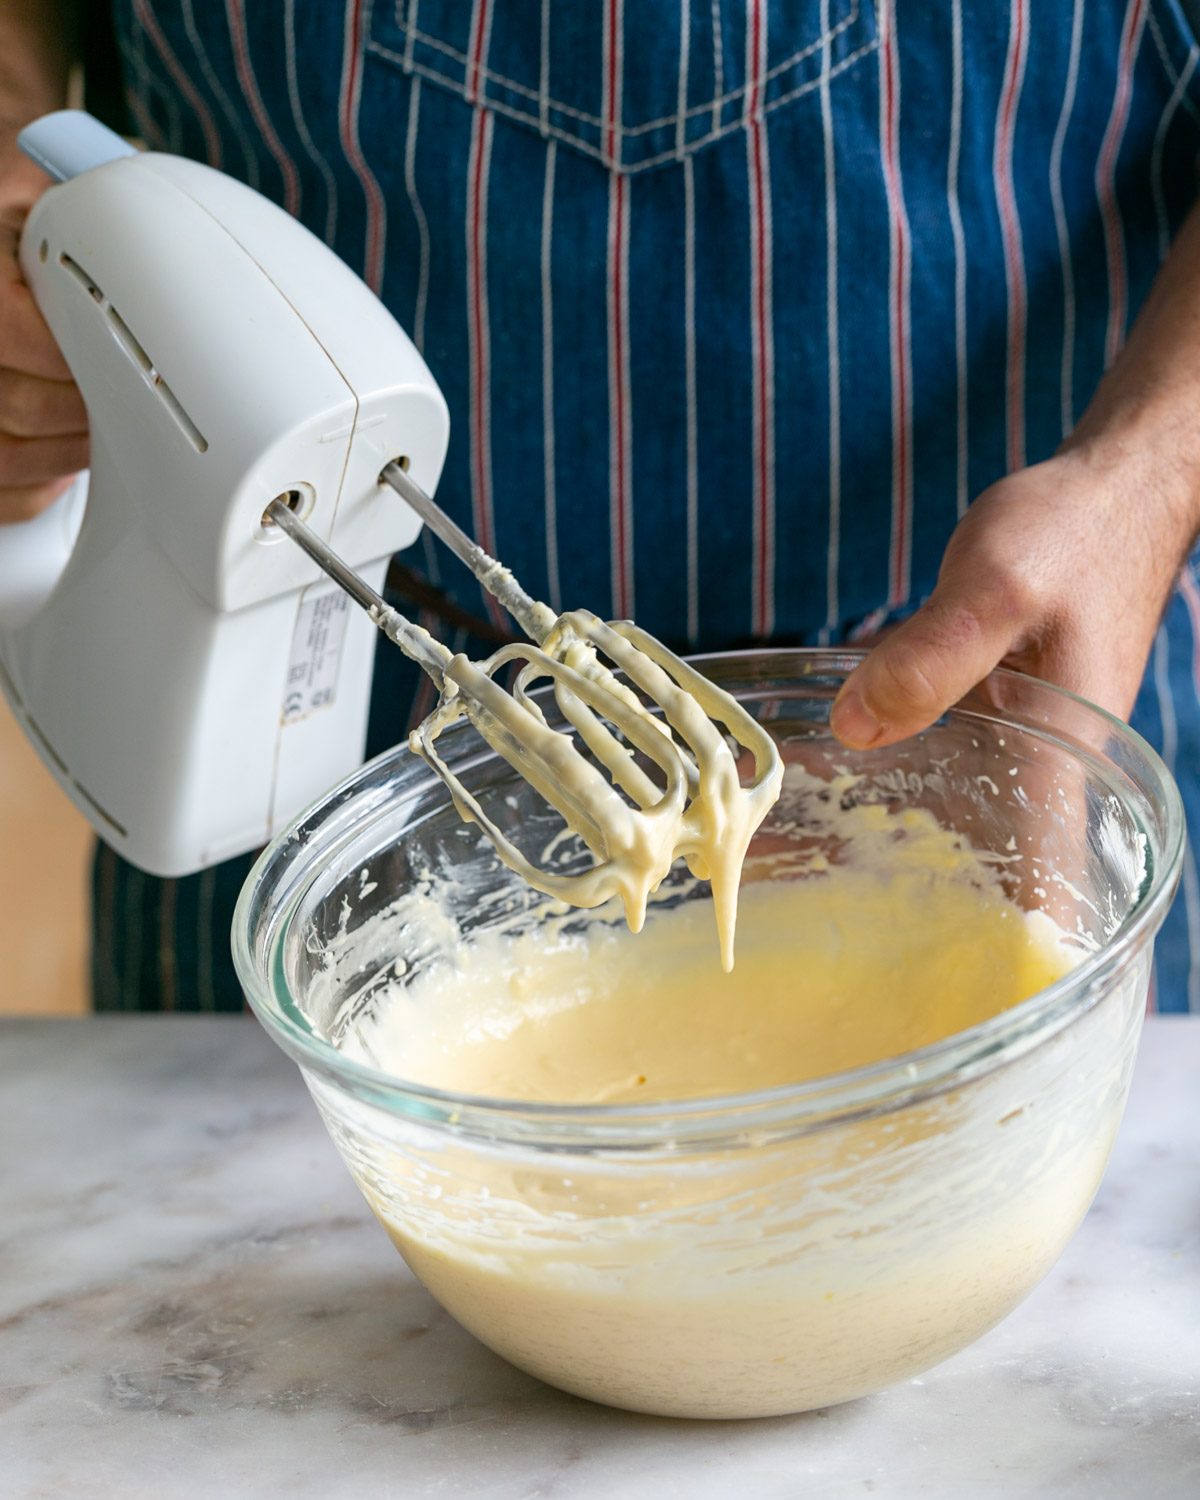
Then, combine the cream cheese, sugar and lemon zest in a bowl. Using a hand mixer or kitchen aid, whisk the mixture until smooth.
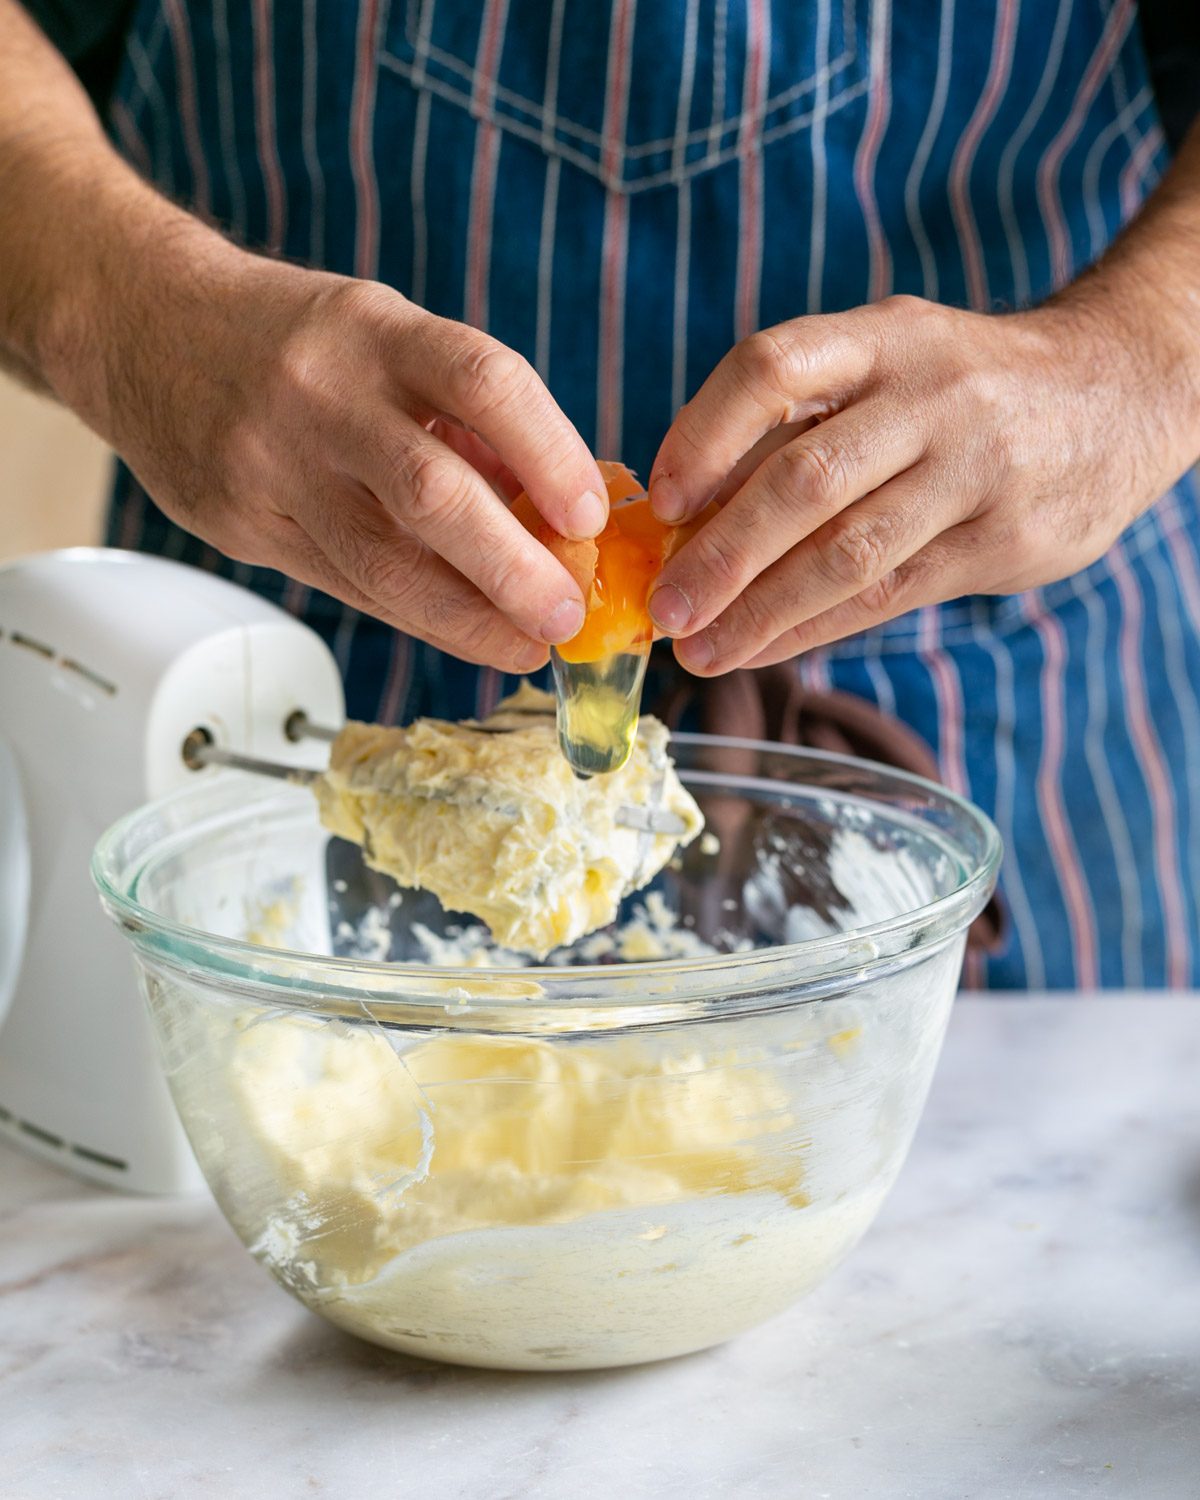
Next, add the eggs one by one, mix well for 10 seconds in between before adding the next egg. Finally, add the cream, vanilla, flour and a squeeze of the lemon juice.
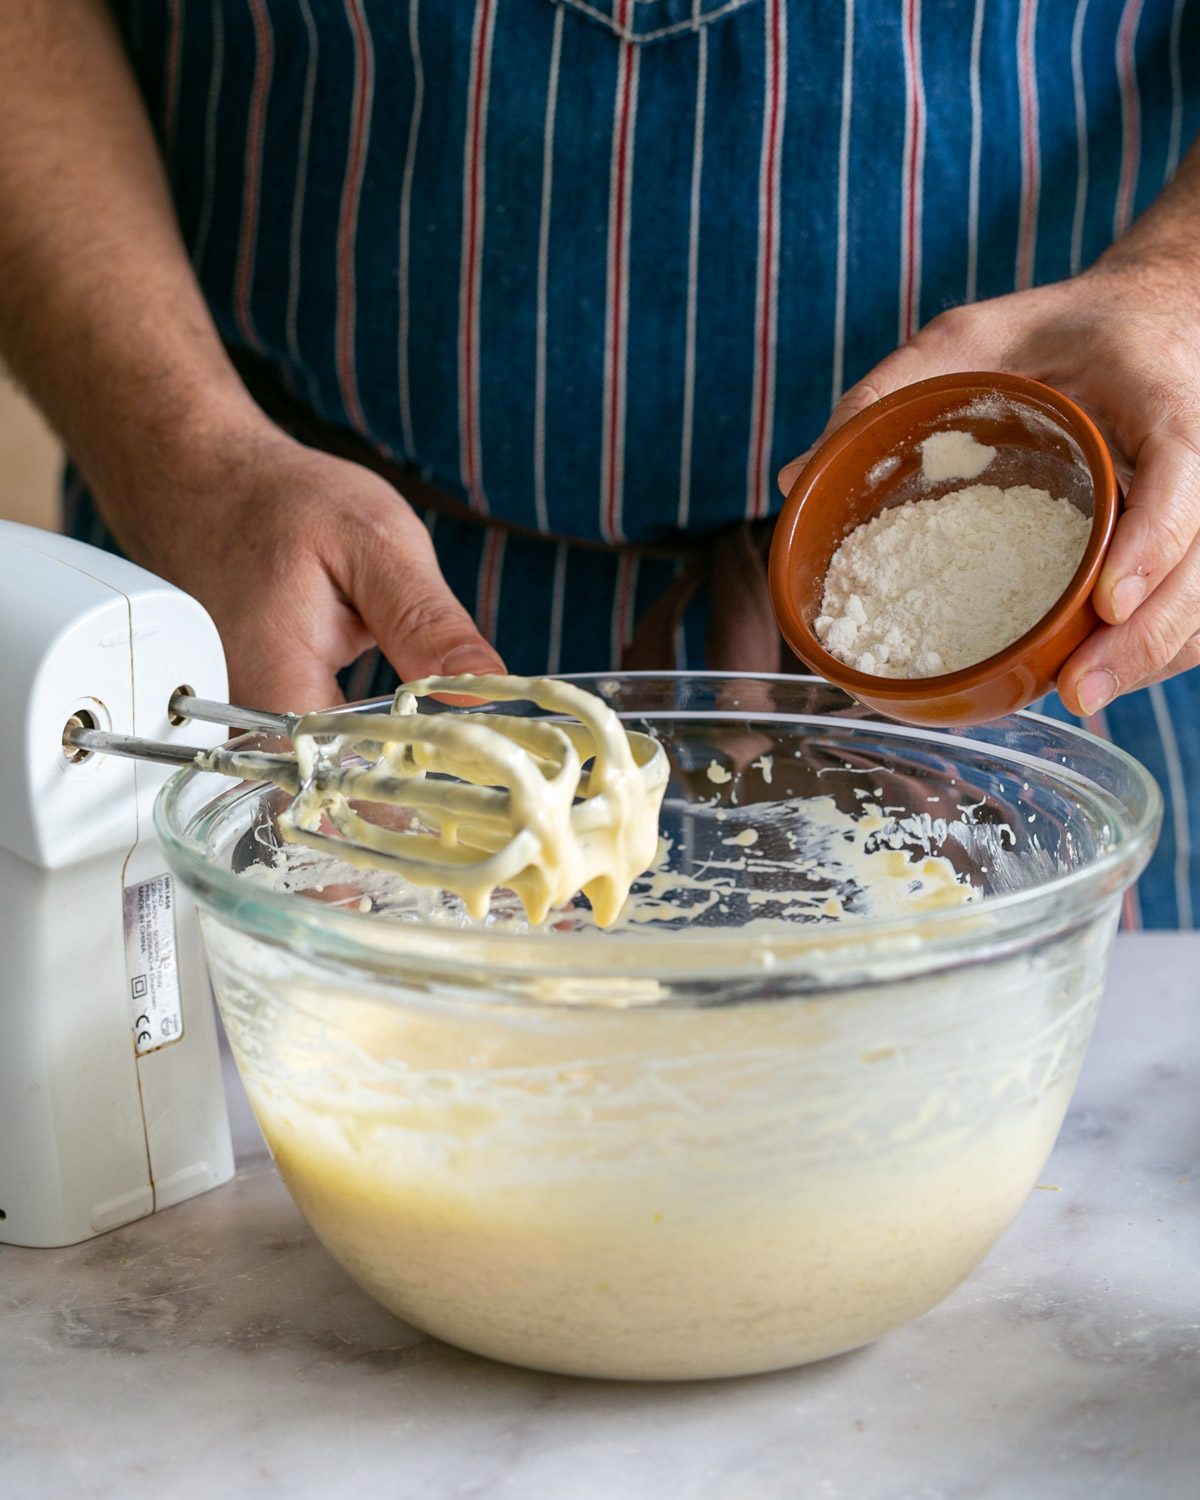
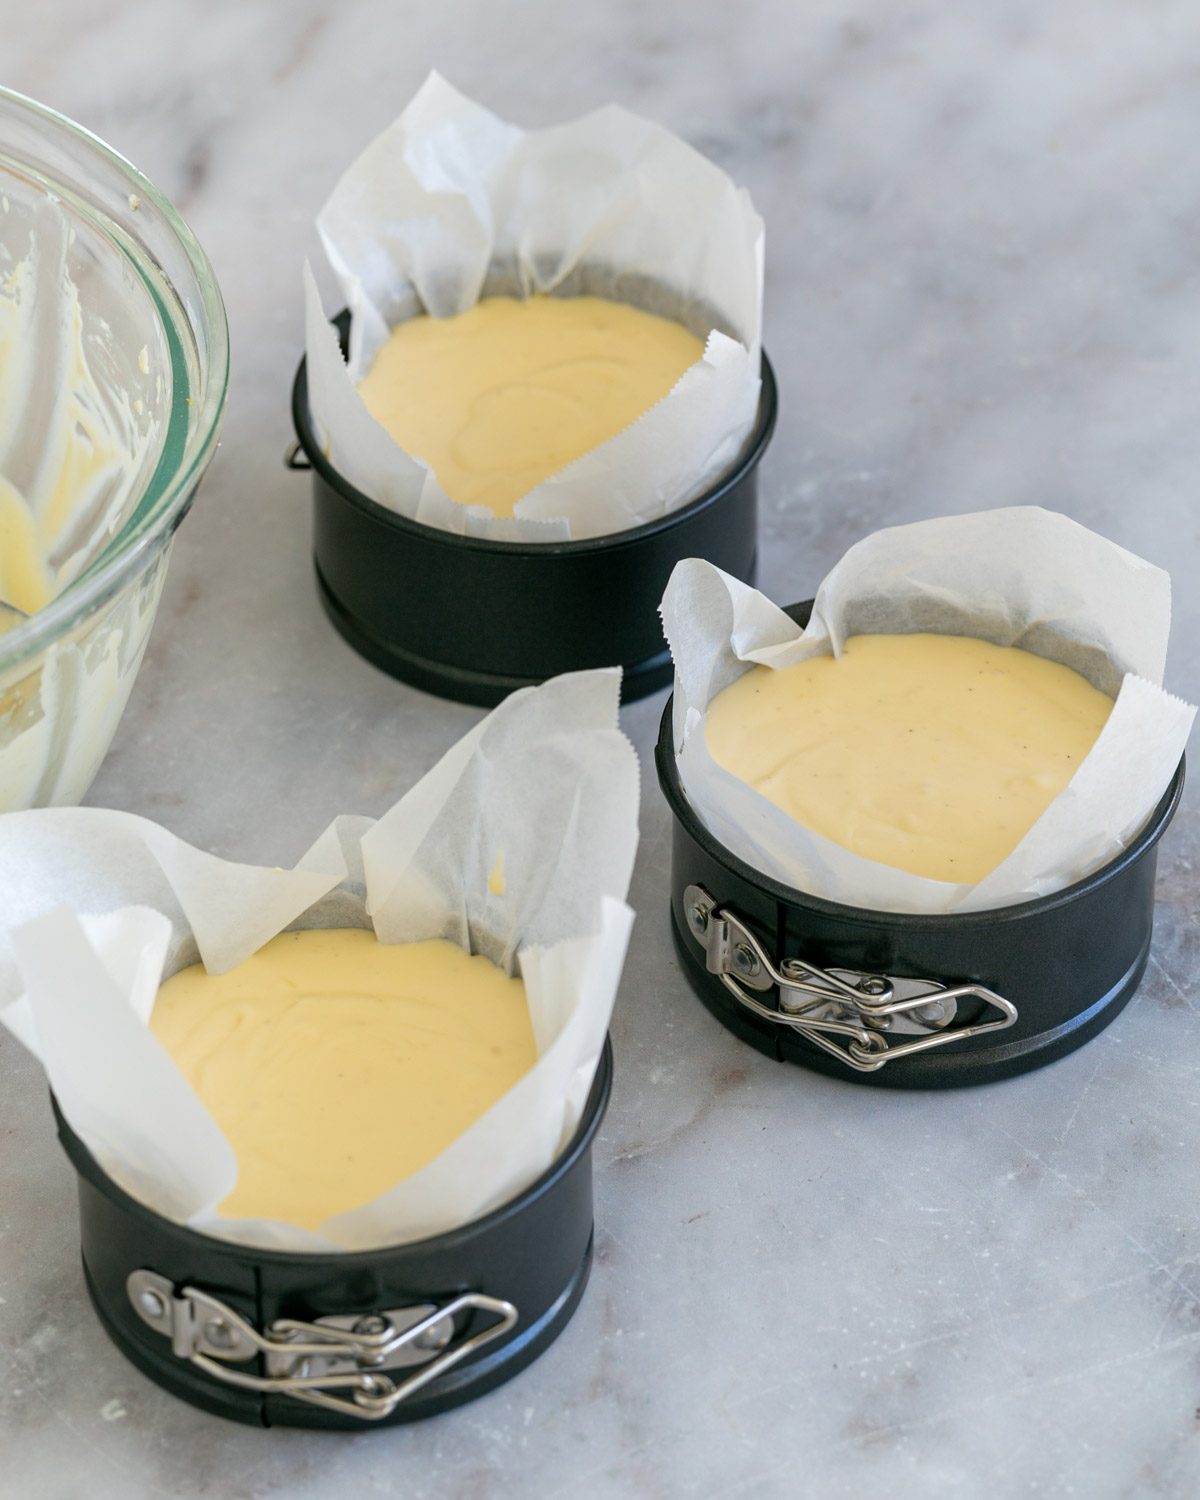
Mix well again until you get a smooth batter but avoid overmixing. Now, pour the creamy cheesecake mixture into the prepared baking forms lined with baking paper.
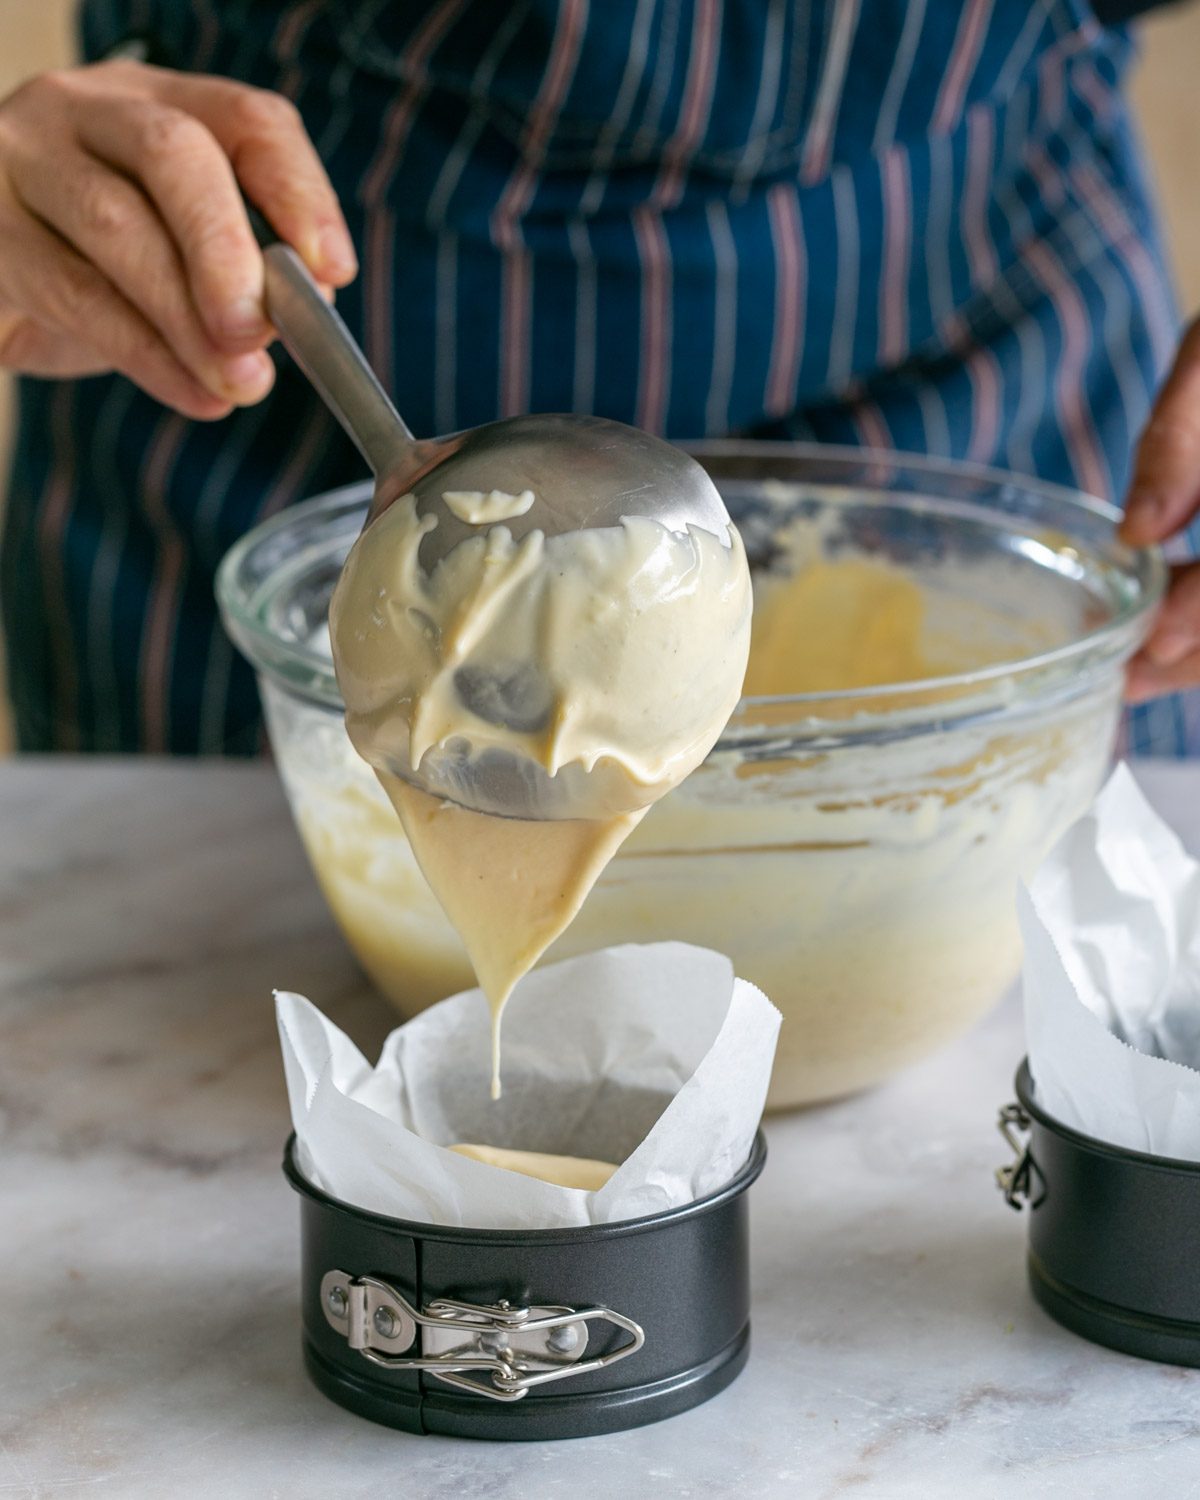
Chill in the fridge for at least 30 minutes.
baking the cheesecake
While the cheesecake is in the fridge, pre-heat the oven to 200°C (392°F). Keep in mind every oven is different and since you know your oven best, you can increase or decrease the temperature accordingly.
Remove the cheesecake from the fridge and sprinkle the surface lightly with white sugar.
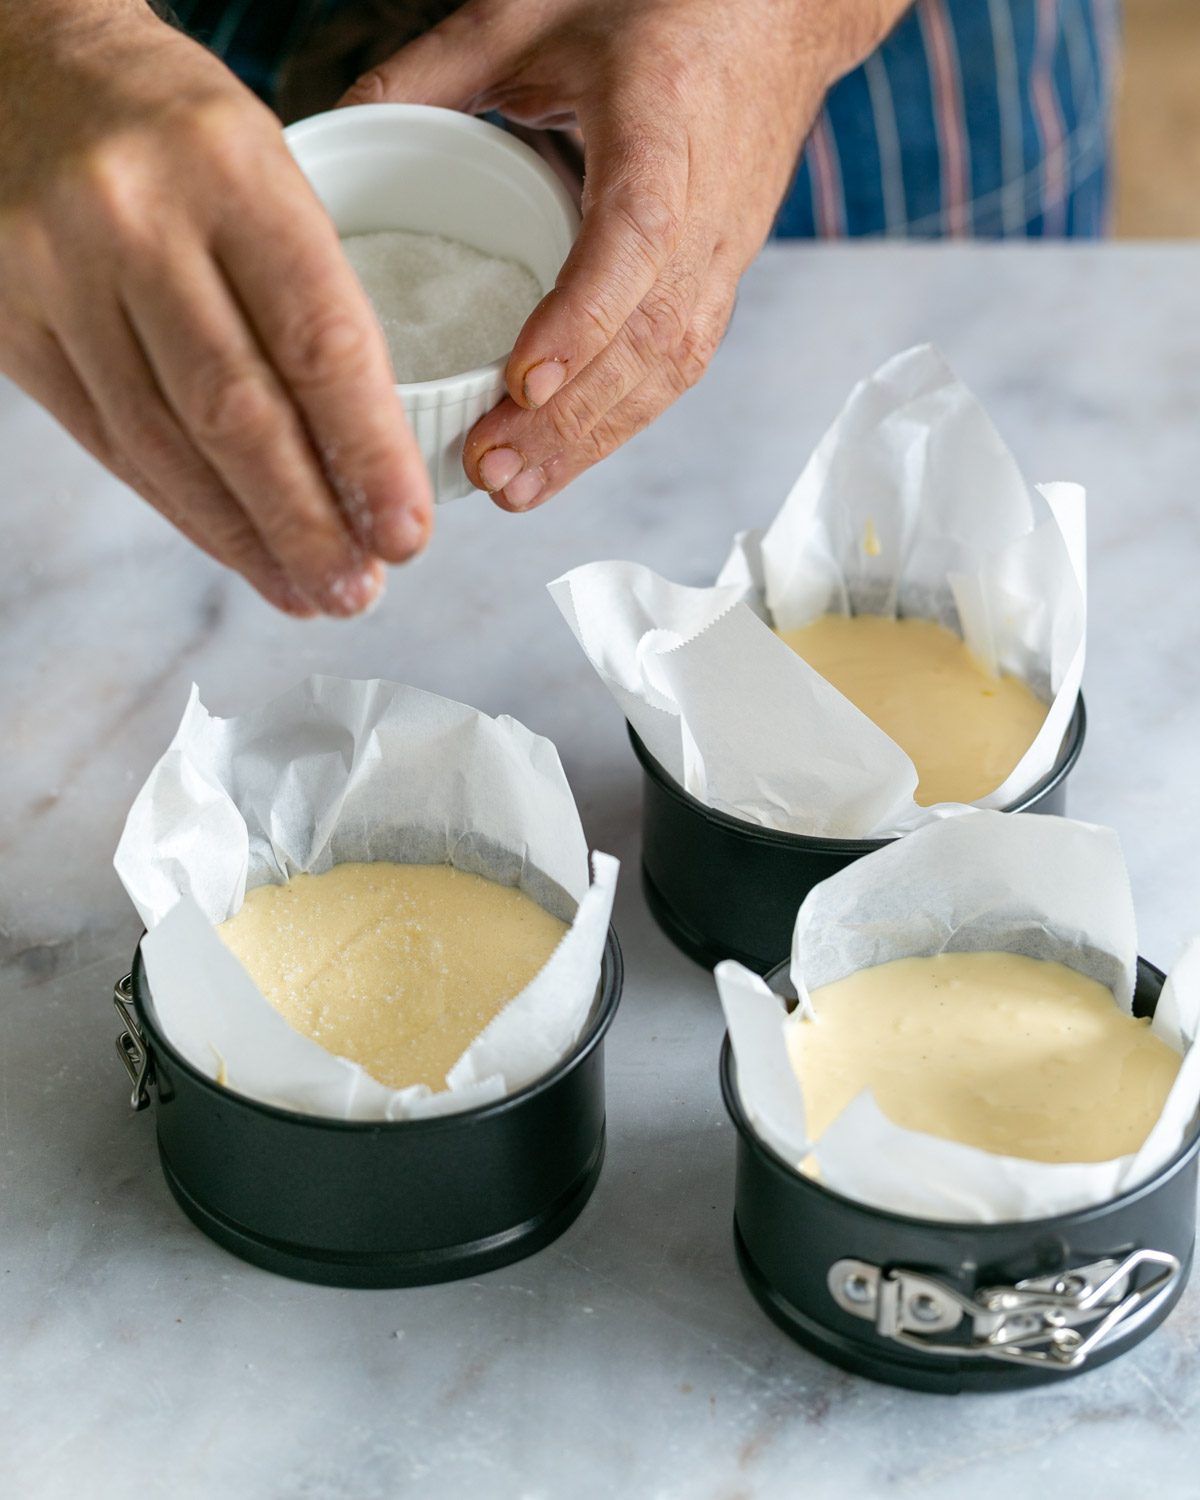
Place in the oven and bake.
what happens now
Starting with the right temperature, the cheesecake will slowly change colour on the surface, eventually turning dark brown to a slightly burnt black.
Due to the sugar in the cake and the sugar sprinkled on the surface, it will not taste burnt or bitter.
While the cheesecake is cooking, it will start rising like a soufflé and most probably start cracking. I find this happens only when making mini cheesecake's and not when I bake a large sized one.
You will also notice, the centre will still be wobbly and that's totally fine.
After baking, chill the cheesecake for at least 2 hours in the fridge.
Once chilled, open the springform and carefully peel off the baking paper from the cheesecake.
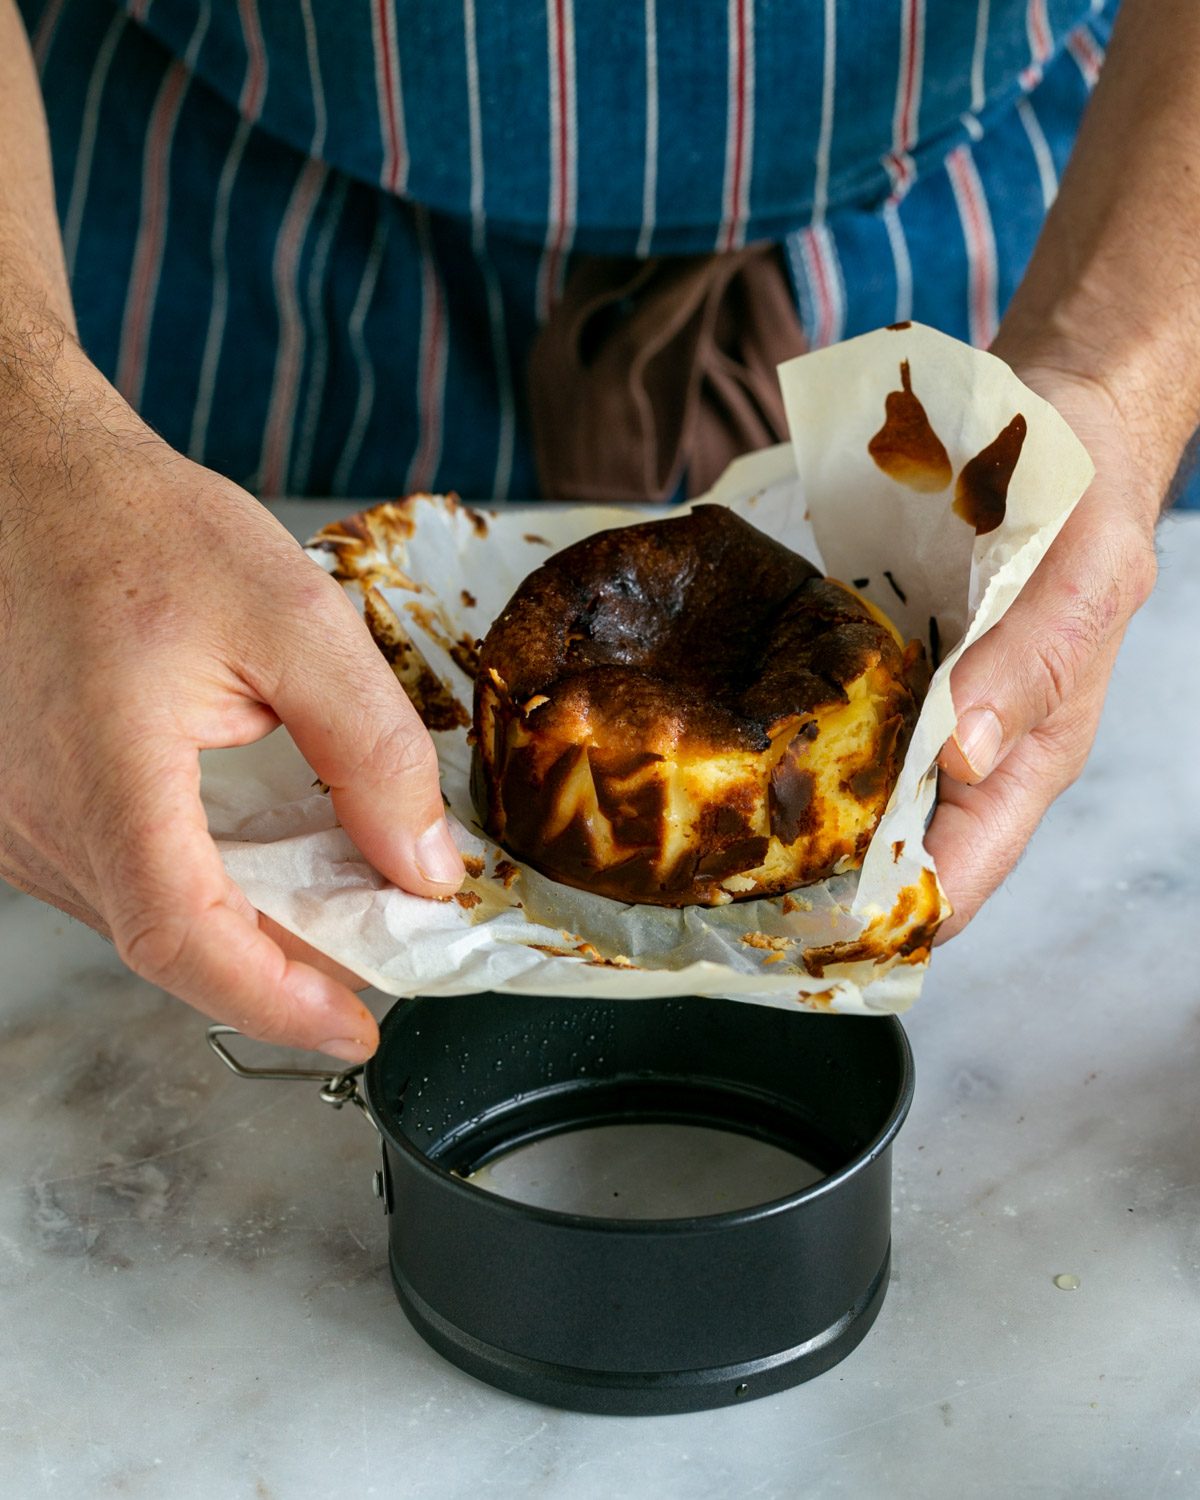
It can now be served whole or you can cut it into smaller portions using a sharp knife.
Why make a mini basque cheesecake
We love these mini cheesecakes, especially when we go on picnics. They are also great food gift for friends and family, packed in a nice small cake box.
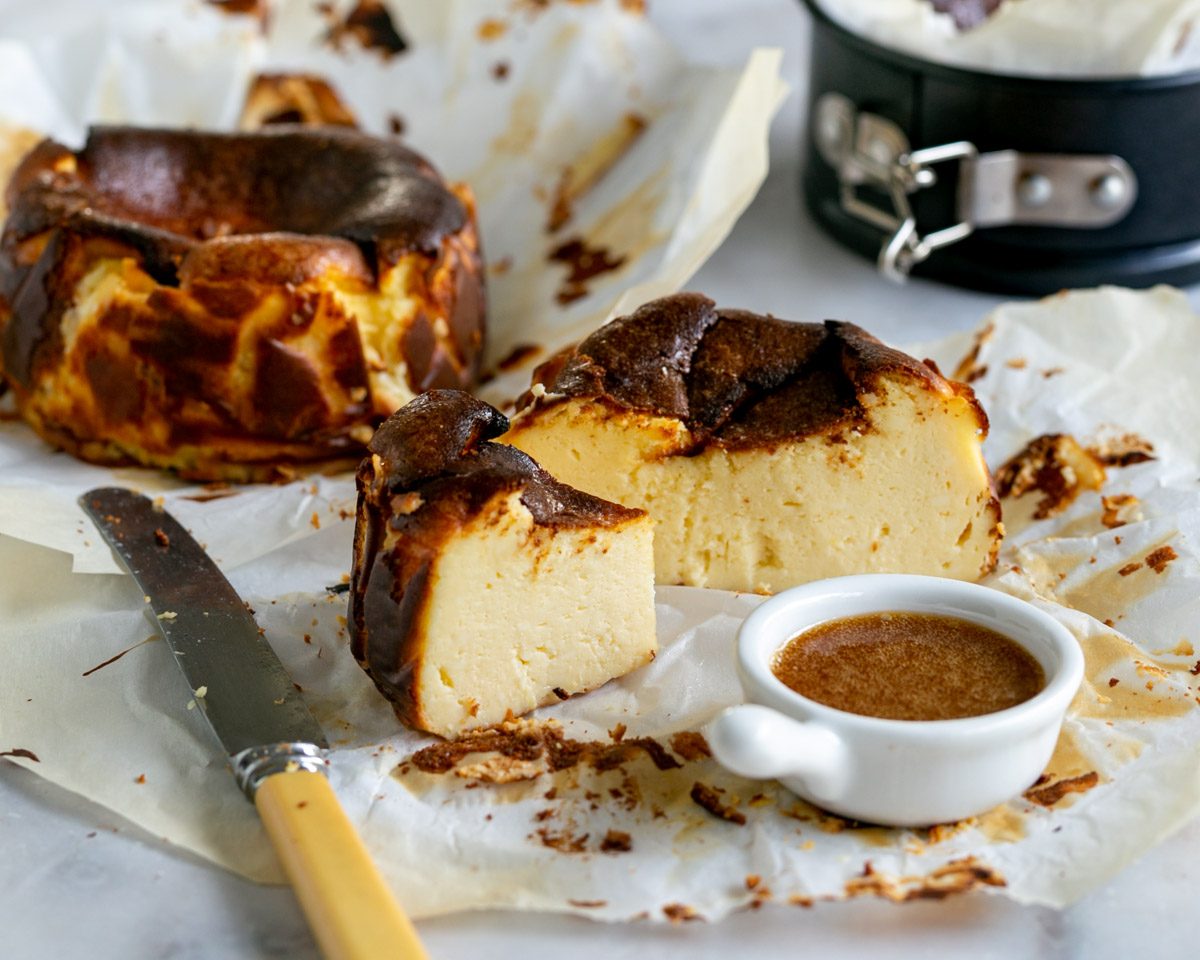
But if you prefer baking a full size cake, then just double the recipe and use a 22-25cm (9-10 inch) cake form instead. Increase the baking time to 1 hour and chill the cake as for this recipe.
FAQ's
Yes that is normal! Due to the high oven temperature the cake rises and the top cracks. After baking the cake, it collapses again and these cracks are almost not visible.
while it is tempting to eat the cheesecake straight from the oven, I recommend serving it once it has been chilled for several hours. This ensures the cheesecake has that perfect velvety smooth texture.
cheesecake can be stored in the fridge for 3 to 4 days. Store the cake in an airtight container, so it doesn't absorb any fridge odours.
What to serve it with
Traditionally basque cheesecake is not served with any garnish. But that doesn't mean you can't add any!
Here are some suggestions to jazz up these mini basque cheesecakes:
- add a warm caramel sauce on the side or poured onto the plate (like we did)
- Serve with vanilla whipped cream and fresh berries
- add a scoop of your favourite ice cream
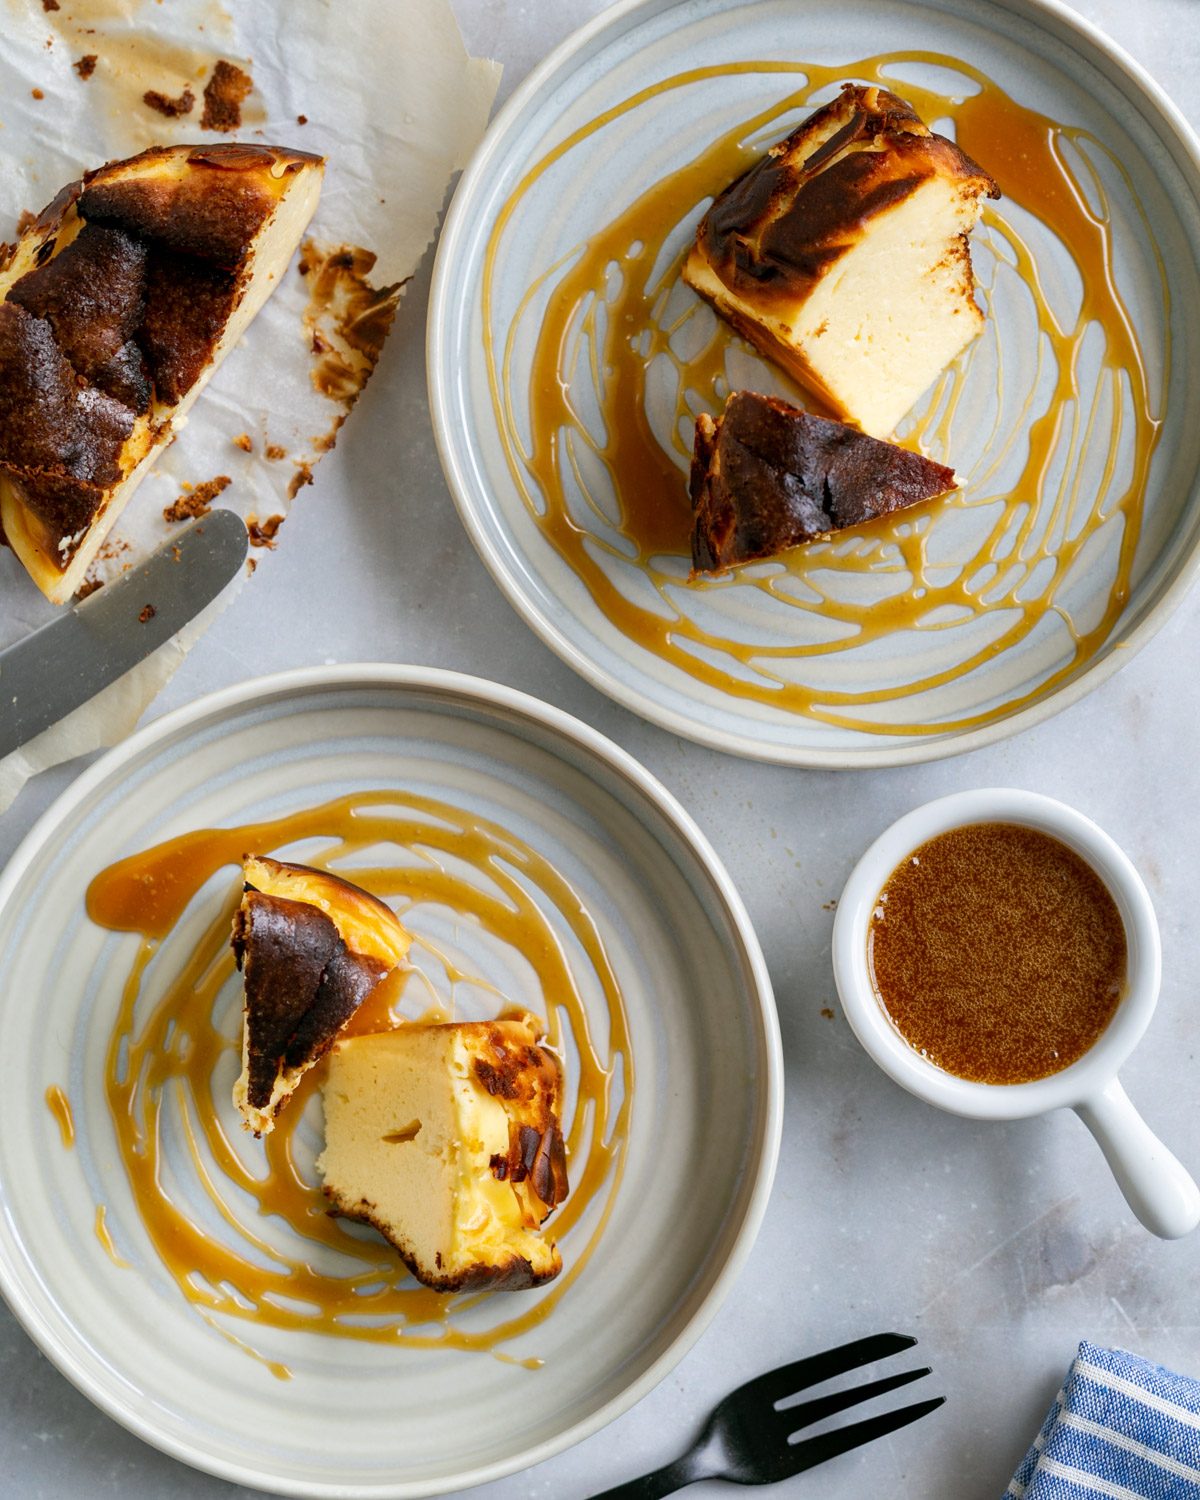
Otherwise, it's great served as is!
Other cheesecake recipes
Cheesecake is one of our favourite recipe's and we enjoy making them in all shapes and forms, like:
- cheesecake mousse with poached peaches presented elegantly in a glass
- baked ricotta cheesecake topped with figs
- lemon myrtle cheesecake garnished with a macadamia crumble
Don't they all just sound amazing? They not only make pretty desserts but are so delicious, that your family and friends will want the recipe too! Give any of these a go and you'll know exactly what I mean😉
Happy baking!
Mini Basque Cheesecake
Equipment
- mixing bowl
- spatula
- mixer
- springform cake pan 4 inch (10.5cm)
- baking paper
Ingredients
- 500 gram cream cheese
- 140 gram caster sugar and 1 tablespoon more for baking
- 1 lemon for zest and a squeeze of juice
- 3 large eggs
- 1 egg yolk
- 125 millilitre cream
- 1 teaspoon vanilla essence
- 20 gram all purpose flour
Instructions
- Arrange a piece of baking paper in the springform cake pan. Leave the baking paper hanging over the rim on all sides and set aside to use later.
- Combine the cream cheese, sugar and lemon zest in a bowl. Use a hand mixer or kitchen aid to whisk the mixture until smooth and no lumps of cheese remain.
- Next add the eggs one by one and mix well for 10 seconds in between before adding the next one.
- Add the cream, lemon juice, vanilla essence and flour. Mix until fully combined.
- Pour the batter into the cake pan and refrigerate for at least 30 minutes and up to 1 hour.
- Meanwhile pre-heat the oven to 200°C (392°F).
- Remove the cheesecake from the fridge and sprinkle the surface lightly with the remaining sugar.
- Bake the cheesecake for 35-40 minutes. The surface should look burnt with a chocolate-brown color and the centre wobbly when you shake the pan.
- Cool the cheesecake in the fridge for at least 2 hours.
- Open the springform and peel off the baking paper from all sides carefully. Use a sharp knife to cut into portions if desired otherwise serve as is.


Sven
I like the look of these, great idea.
Andrea
This cheesecake is just superb, it definitely has a soufflé like texture. Particularly good with side of caramel sauce and cream!
Shilpi & Etienne
Thank you for the lovely feedback Andrea!
Glad you enjoyed it! The caramel sauce definitely makes a difference☺