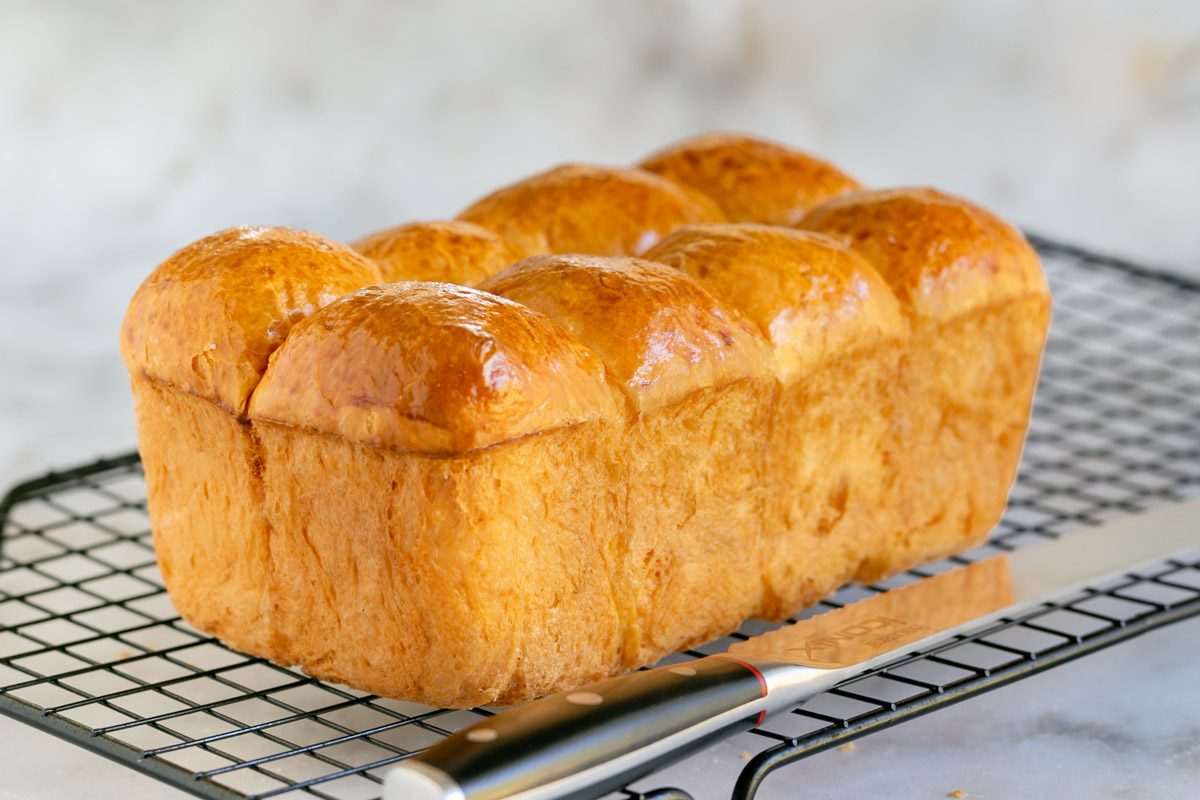
Airy, buttery and fluffy, this soft French brioche, is the perfect sweet bread for breakfast, brunches or to make French toast the next day.
Growing up, making Brioche on weekends, has always been a common ritual for the French side of my family.
The smell of fermented buttery dough rising under the kitchen towel and watching it then taking on colour in the oven, would get us kids excited for our occasional Sunday brunch.
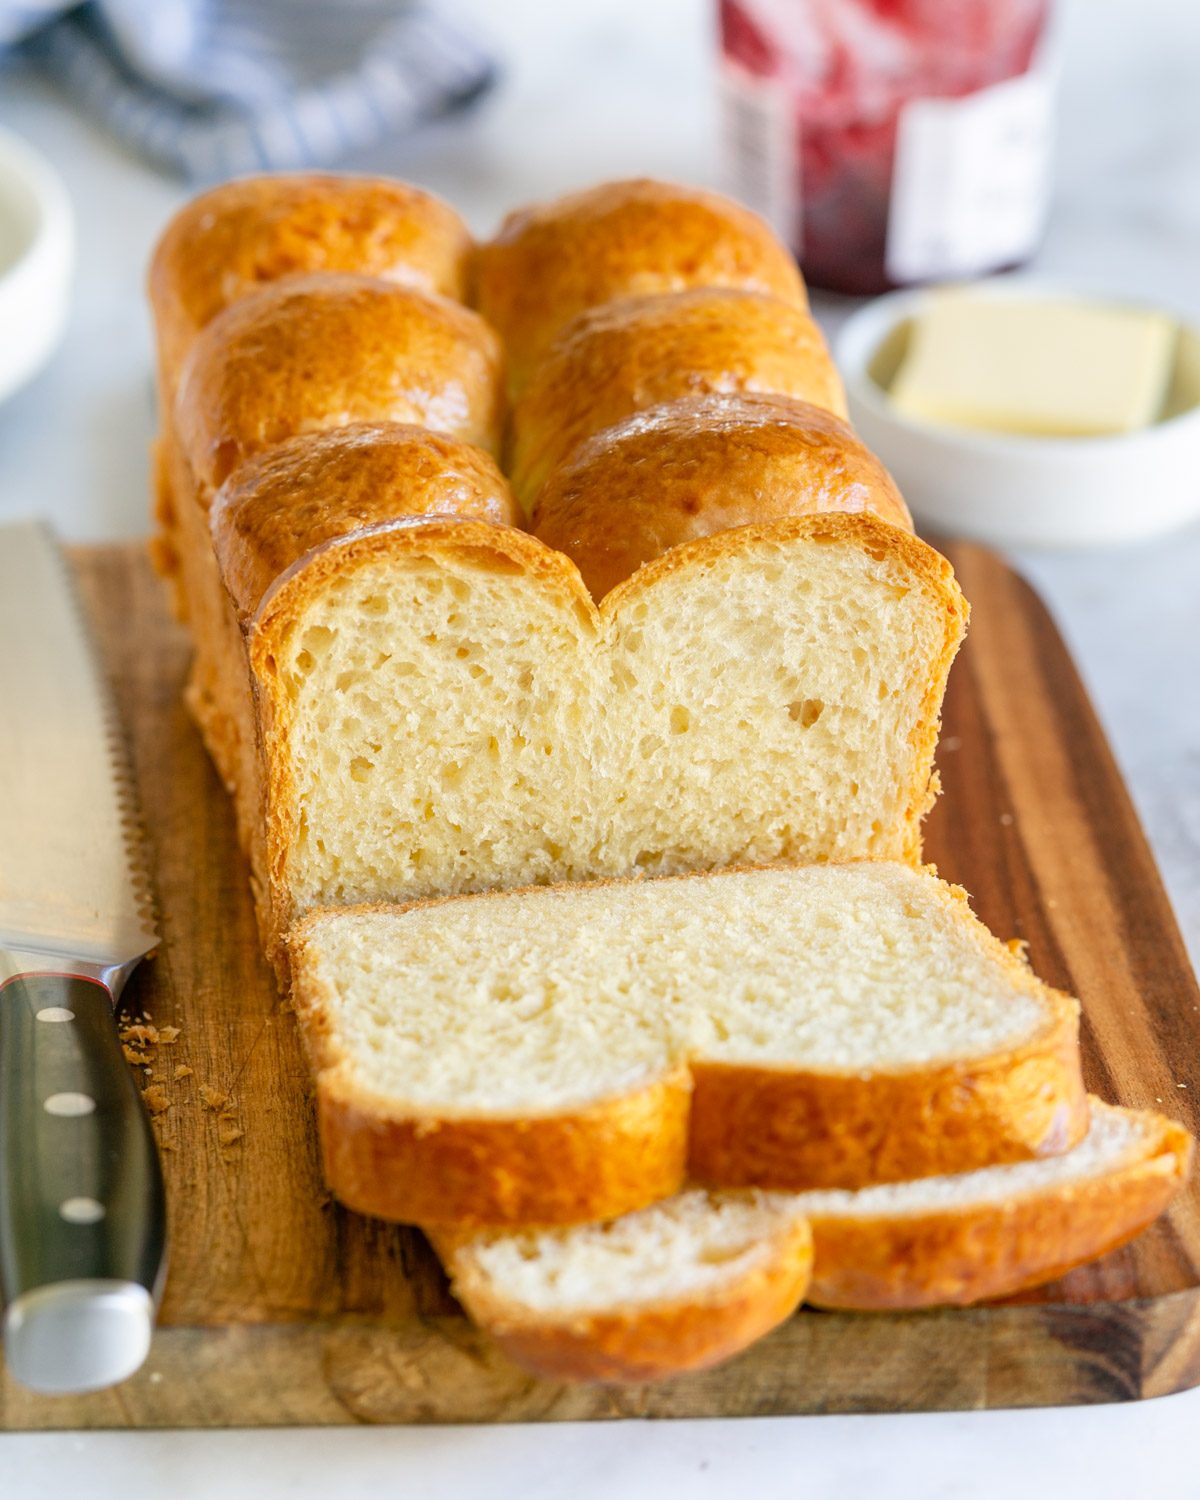
What seemed such an easy task back then, became a bit more intimidating when I started making Brioche myself. The kneading, rising, fermenting and baking cannot be done as quickly as one would have hoped.
Jump to:
But luckily there Is plenty of time in between the steps, while the Brioche dough does all the hard work on it's own. With a reliable recipe like this, you will be making your own bakery-quality Brioche at home!
Brioche recipe
I will not say this is an easy recipe, for the simple reason that there are many steps involved. But one thing is for sure, even though Brioche takes time to make, the result is very rewarding!
Here are the steps it involves:
- weighing the ingredients accurately and making the dough
- letting the dough rise
- fermenting the dough in the fridge
- shaping the dough into a loaf and letting it rise again
- finally, baking the brioche
Most of these steps don't actually require you, so relax.... and let's bake an awesome Brioche!
Ingredients needed for brioche
You most probably will have these ingredients in your kitchen already. Once again, it’s important to use really good quality ingredients, so do spend that little bit extra on organic flour and good butter😉
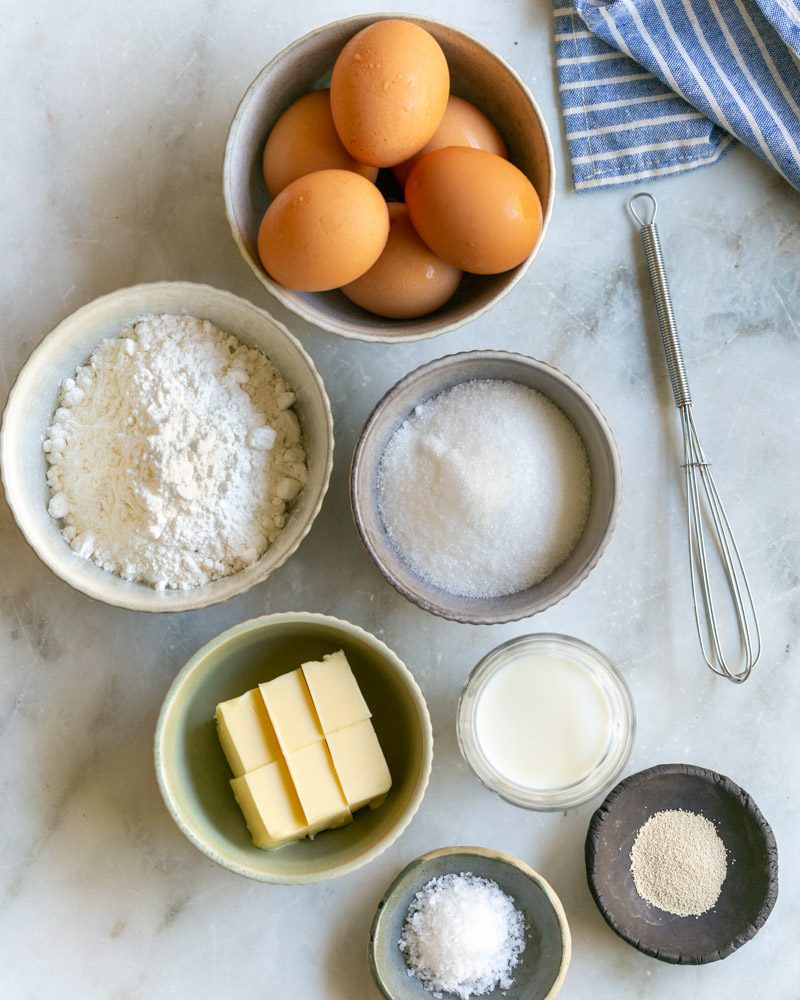
Yeast fresh yeast is not easily accessible to everyone hence this recipe is based on dry yeast.
Milk I use full fat milk to activate the yeast.
Flour plain/all purpose flour is needed for this recipe as it gives a soft and fluffy crumb.
Eggs You can use any eggs you have on hand but organic is better. Remember to take eggs out of the fridge as we need them to be at room temperature.
Sugar use caster sugar. Also note, I prefer my brioche made with less sugar than most recipes since it's mostly eaten with jam in our house.
Butter yessss... lot's of unsalted butter kept at room temperature but make sure it's not too soft.
Salt as with most baking recipes, a pinch of sea salt brings out more flavour.
Making the dough
The dough requires a lot of kneading, so let a kitchen tool give you a hand with it! I still use my old hand held mixer but a stand mixer will most probably give you the best result.
And if you are built like a baker, then kneading by hand is fun too😉
So first, activate the yeast:
Mix the warm milk with the dry yeast and sugar. Let it sit for 10 minutes until it becomes bubbly and frothy.
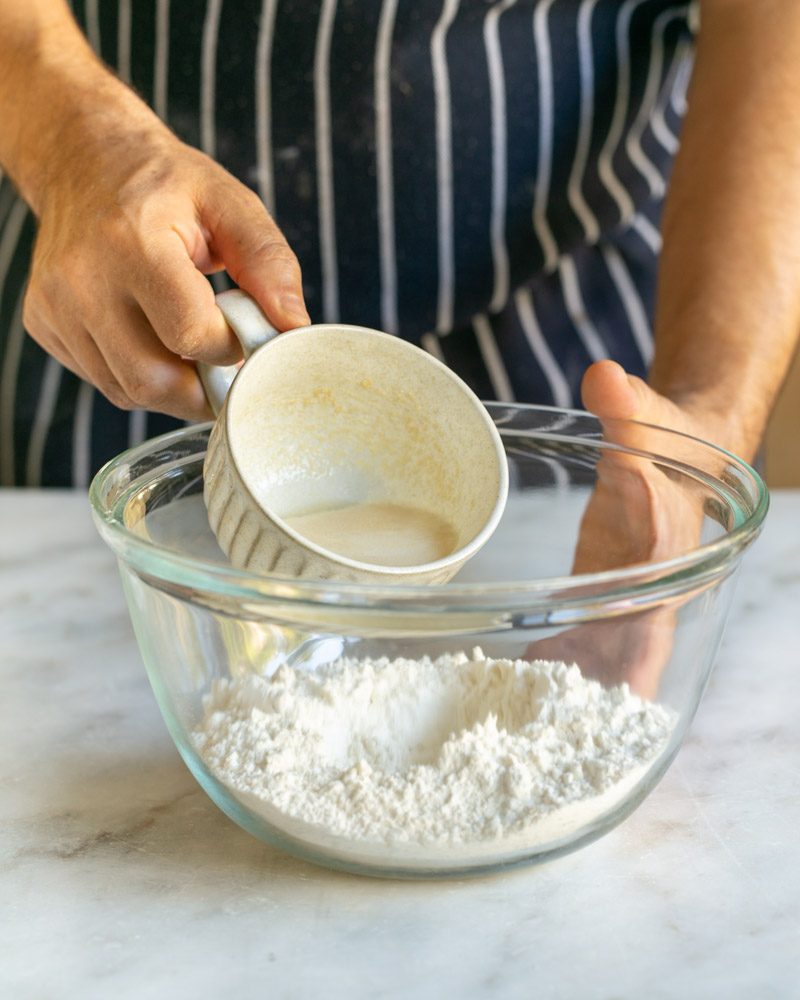
Then, in a large bowl combine flour, salt, eggs and the yeast mixture and knead using a mixer for about 10 minutes.
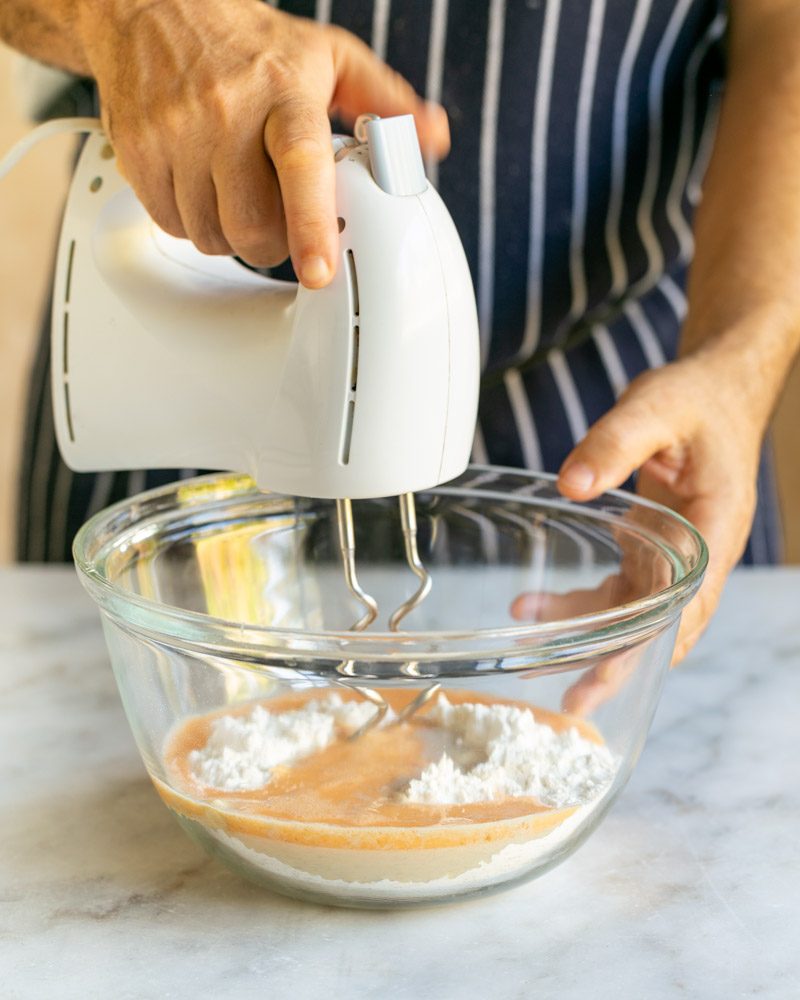
The dough at this stage should become smooth and slightly elastic but also wet and sticky.
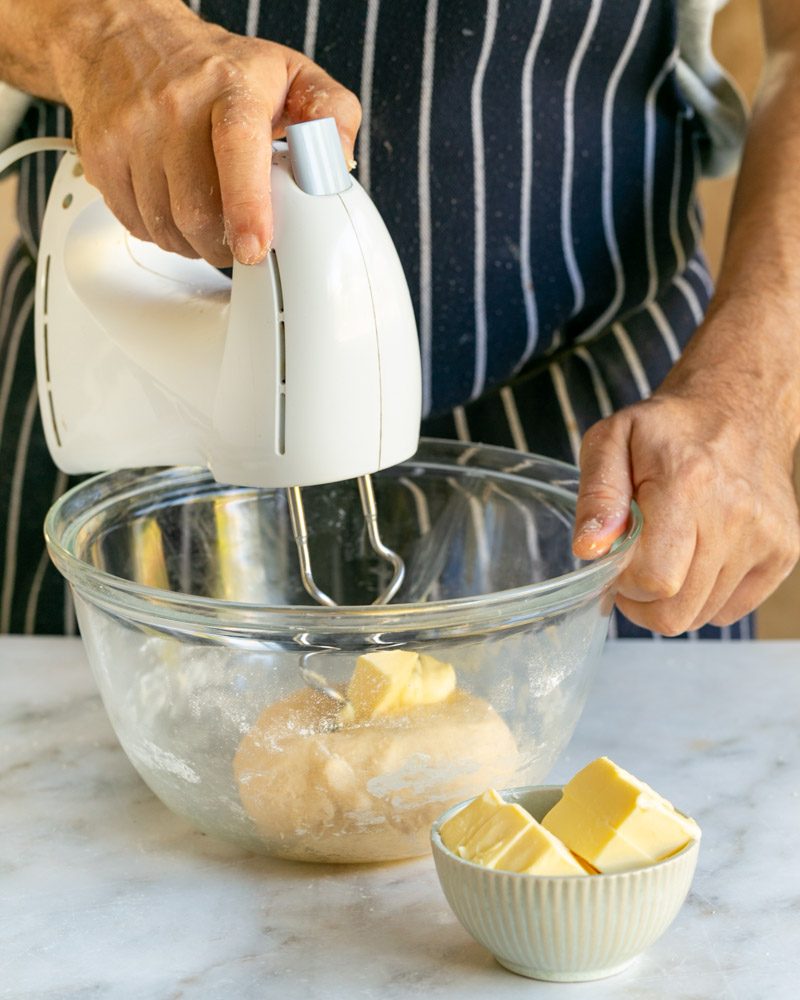
Adding the butter
The butter cubes need to be added one by one. Leave at least a minute between every butter cube, to make sure it has incorporated well into the dough.
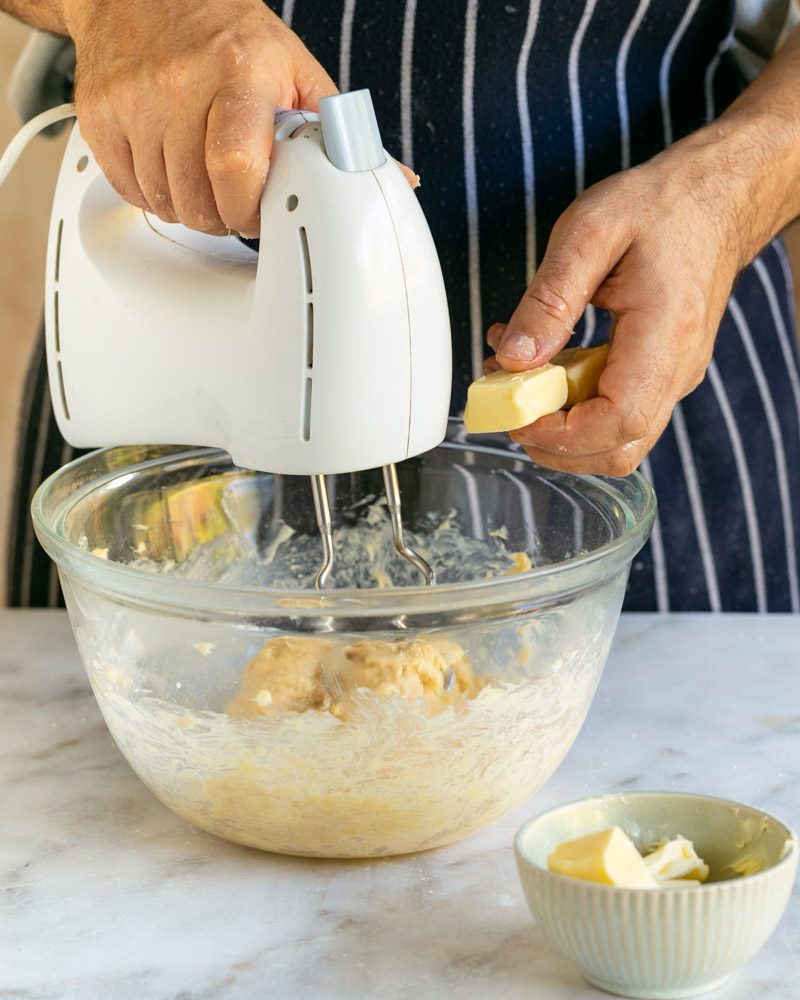
Keep kneading for a further 5-10 minutes until the dough is glossy, smooth and very elastic. It will seem like a long time but the kneading develops the gluten. Test by stretching some dough with your fingers.
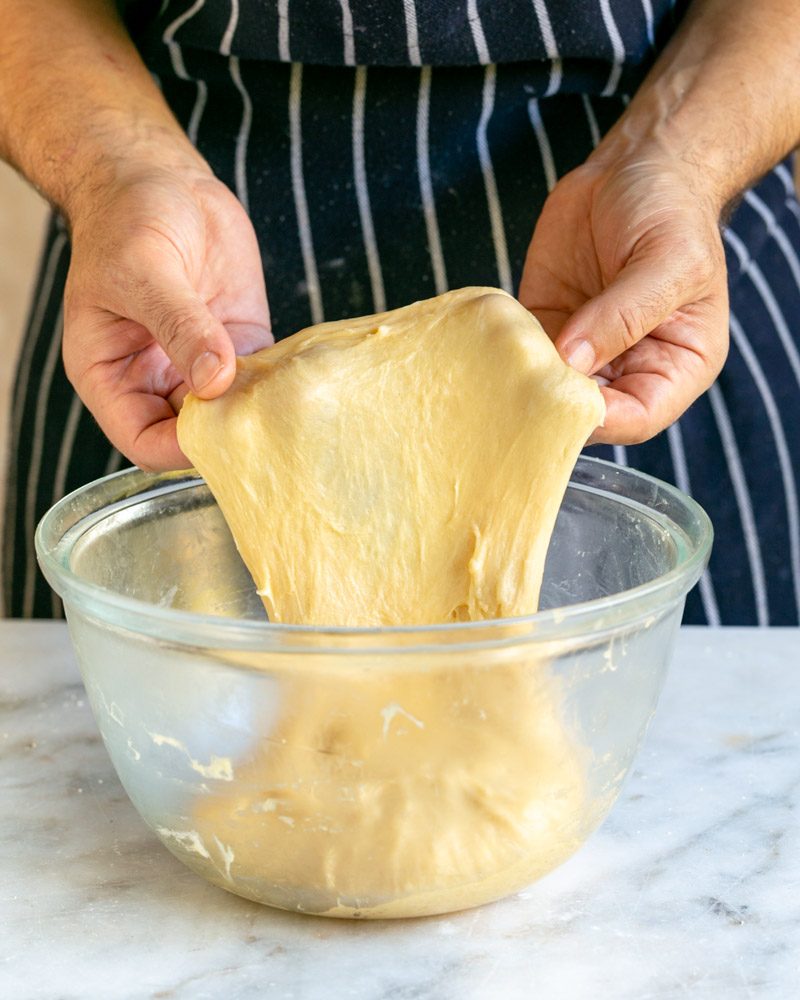
letting the dough rise
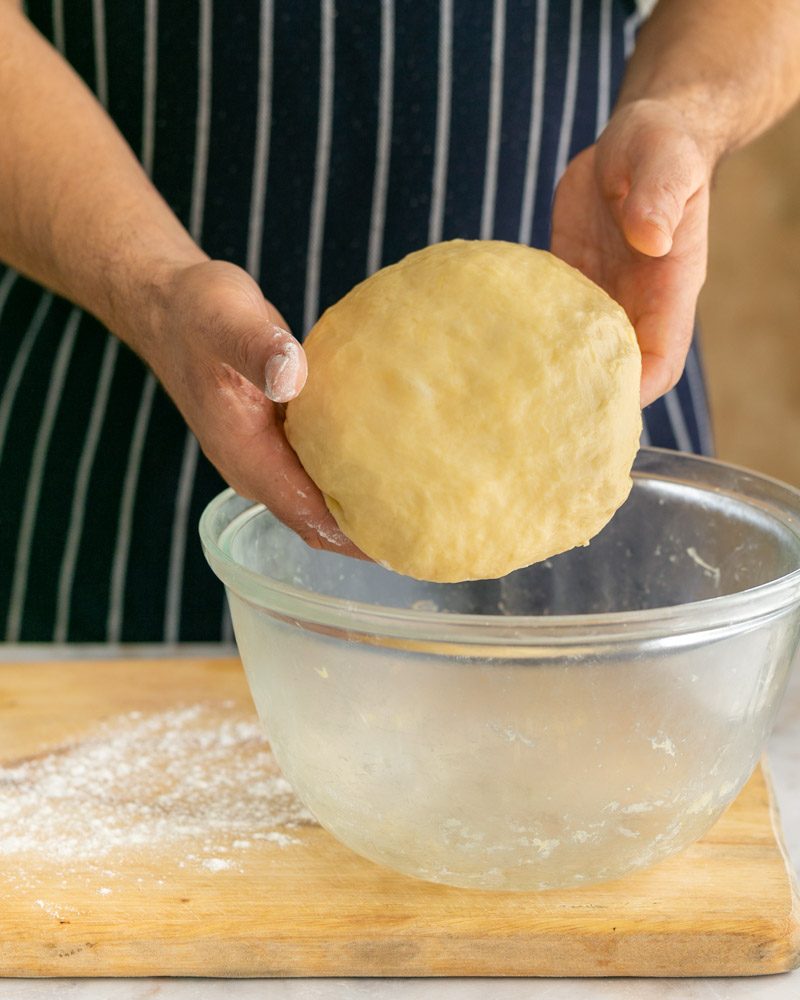
Now, place the dough in a bowl and cover with a towel.
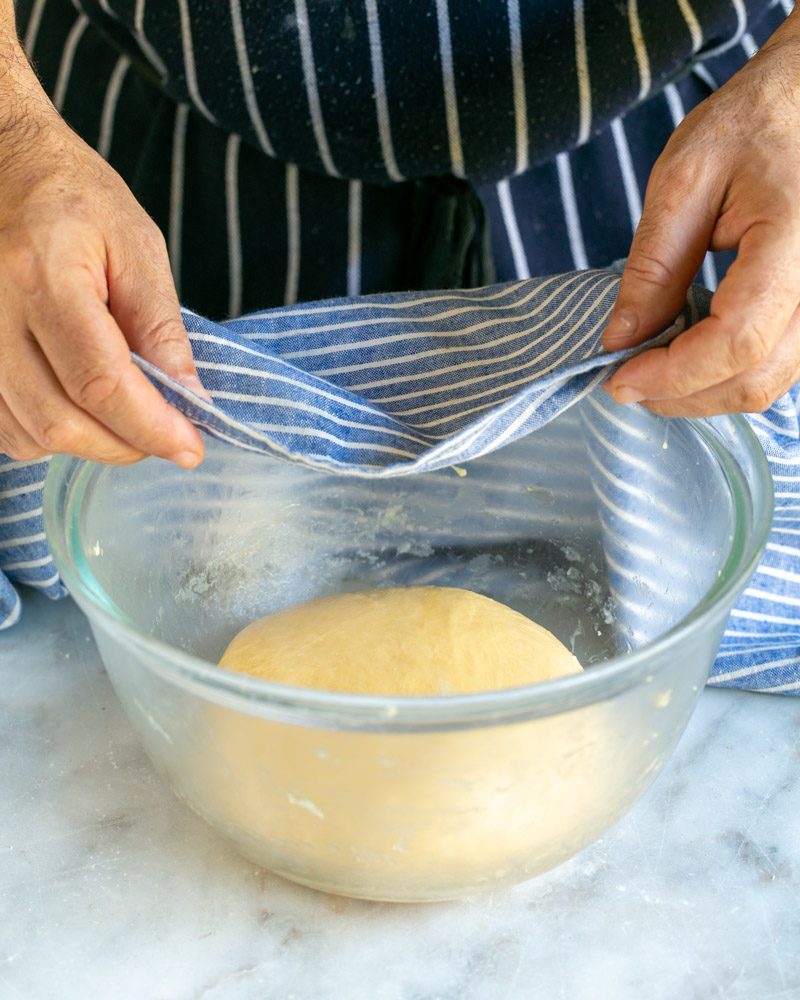
Leave the bowl in a warm place for about 2 hours, by which time the dough should double in volume.
Fermenting the dough
Once the dough has risen, knock it back by flipping it over 3 times with your fingers. Place in the fridge and leave covered for at least 6 hours but not longer than 24 hours.
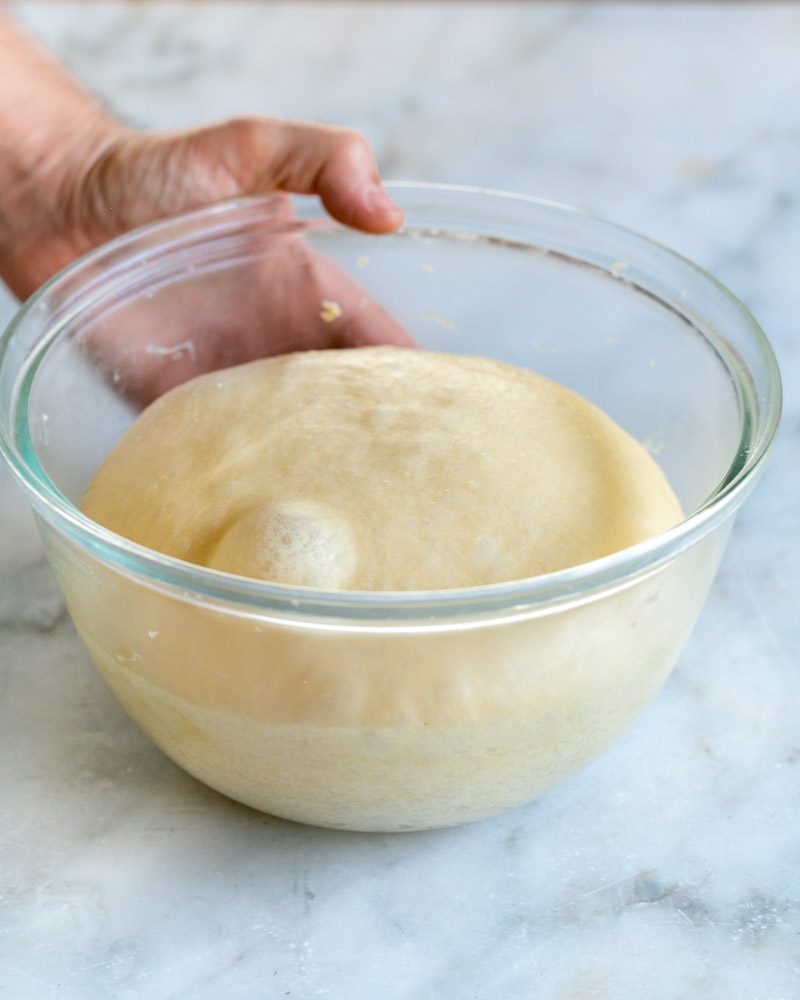
This step will intensify the taste of the brioche and let's the dough rest. The butter will also harden in the fridge which makes it easier to shape the dough afterwards.
Shaping into a brioche loaf
The shaping of the brioche loaf can be done in many ways. If you want to learn how to make a braid with your dough, then see our zopf recipe as it is similar to brioche and looks very pretty.
Brioche "Nantaise"
The quickest version is of course a simple loaf shape with no patterns. For this recipe, I am shaping the brioche "nantaise" style, which means small individual buns are placed in a zig zag pattern together to form one loaf. This adds a nice bumpy surface similar to a braided one.
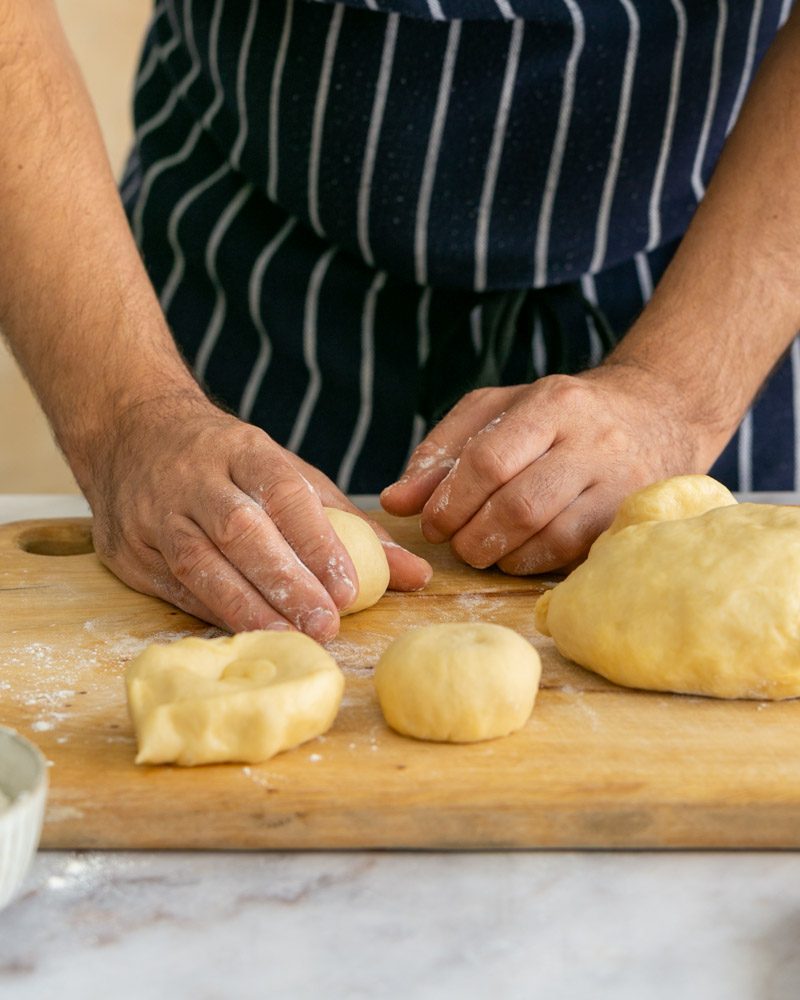
To do this you need to divide the dough into 8 portions, and shape each into a smooth ball as shown in the step by step images below:
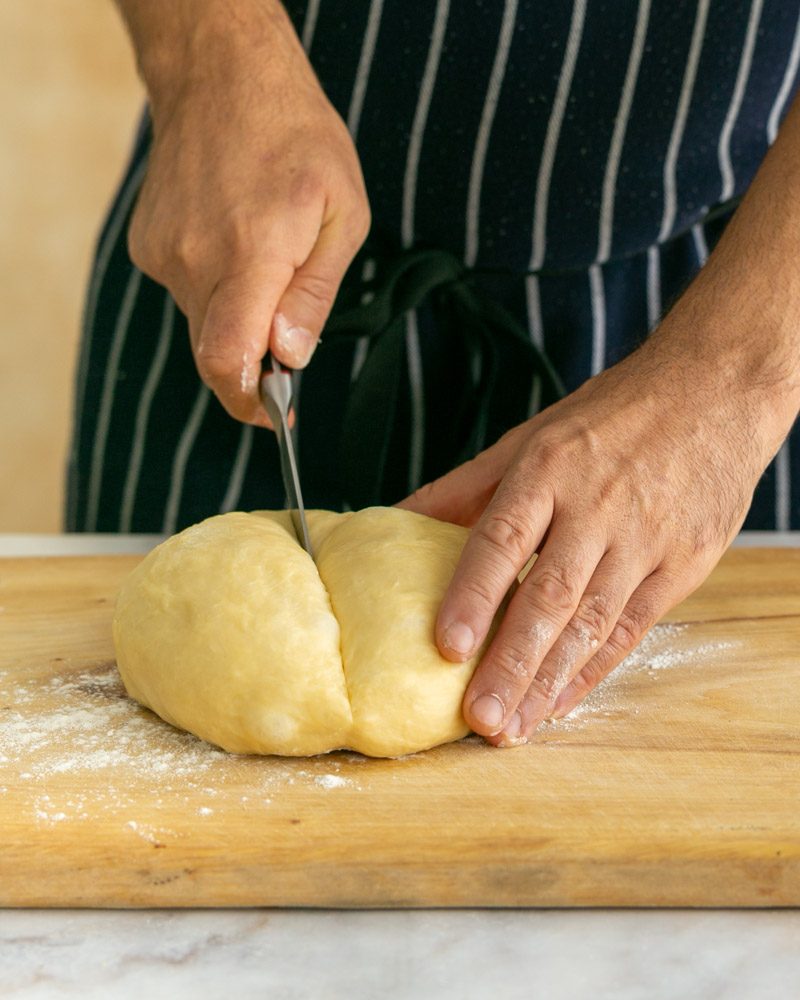
Shape each portion by folding in the edges towards the middle, and pressing them in. Carefully flip it over, and lightly flour the smooth surface of the dough portion.
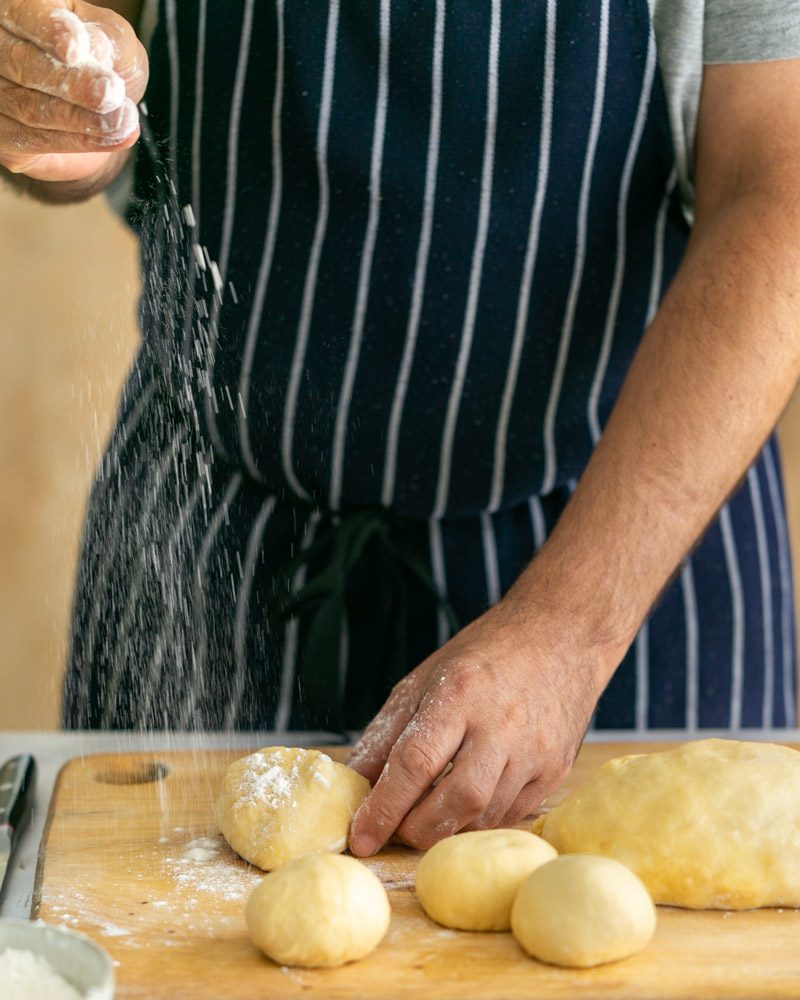
With the floured side up, cup your palm around the dough ball, and gently roll the dough on your work surface to form a round ball.
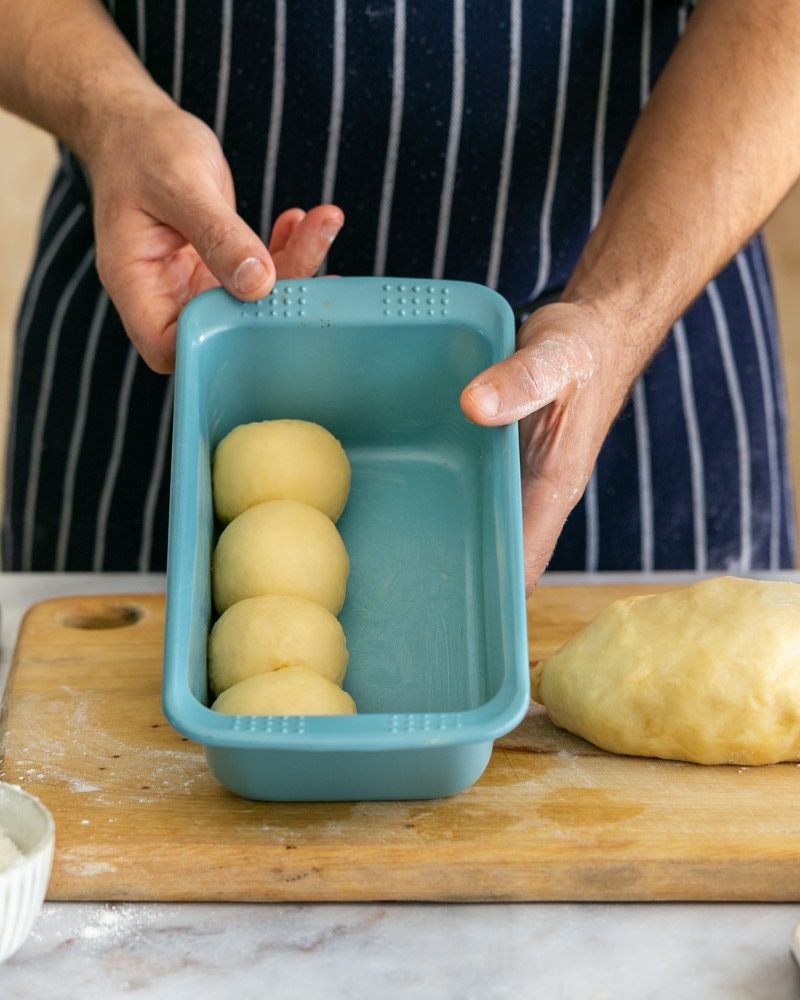
Line 4 balls in a row on the right of your baking form and then 4 balls to the left of the form filling the gaps.
Second proofing
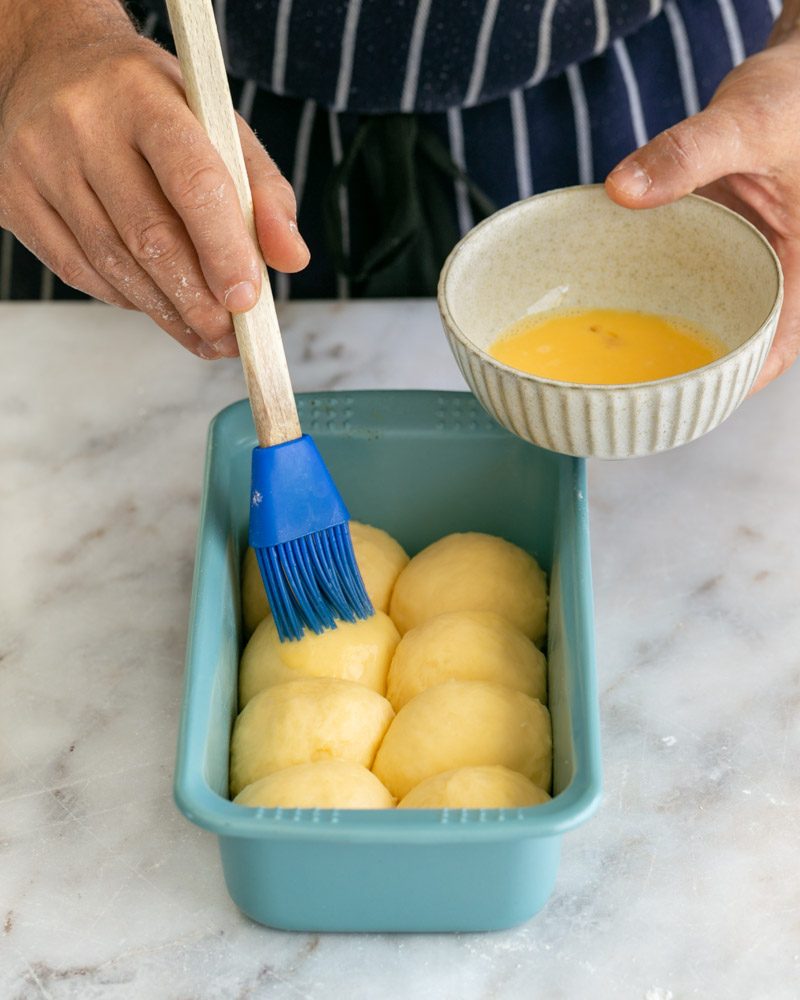
Brush the brioche with egg wash (milk and egg) cover it and let it rise for 1 ½ hours in a warm spot. About 30 minutes before baking, preheat the oven to 200°C (390°F).
Baking the dough
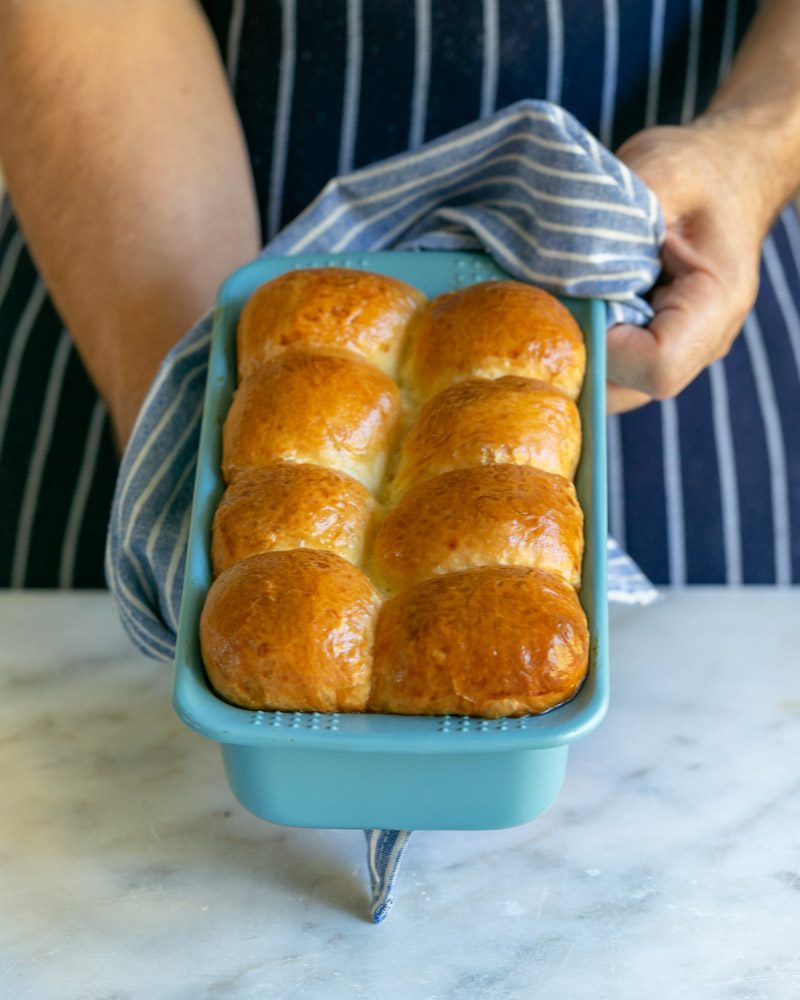
Brush the loaf again with egg wash, to give your brioche a beautiful shiny crust and golden brown colour.
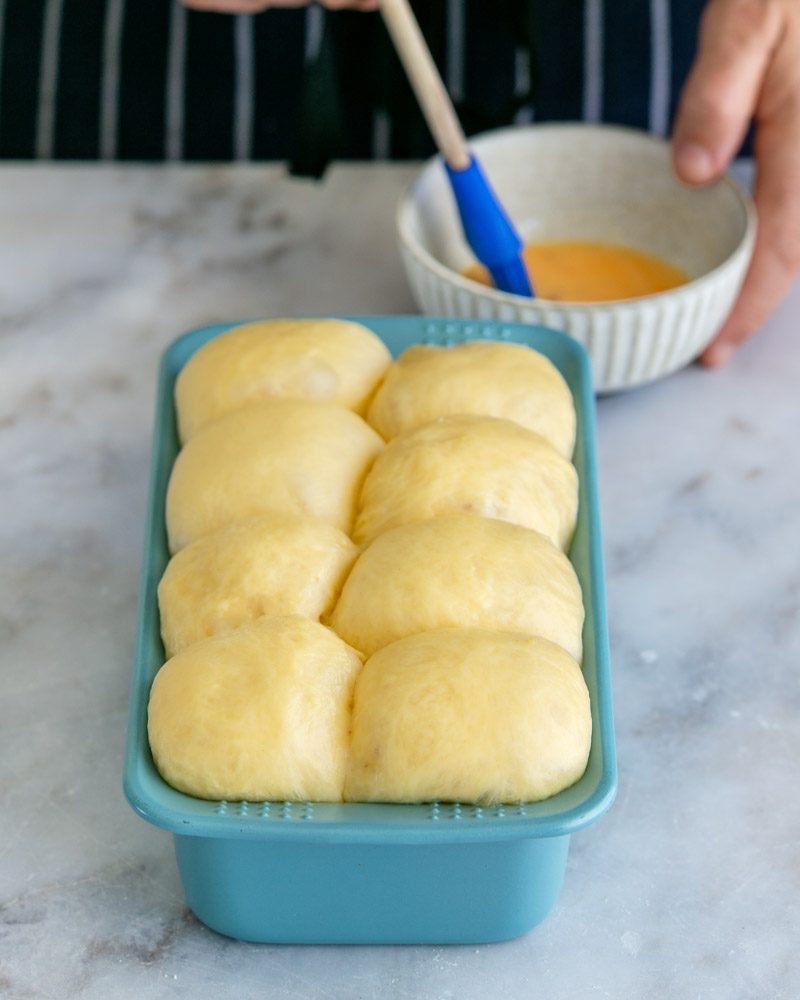
Bake the brioche for 35 minutes in total. Check after 15-20 minutes if it has taken on the desired colour. If yes, cover the loaf with aluminium foil to avoid it from burning on the top.
Cooling the brioche
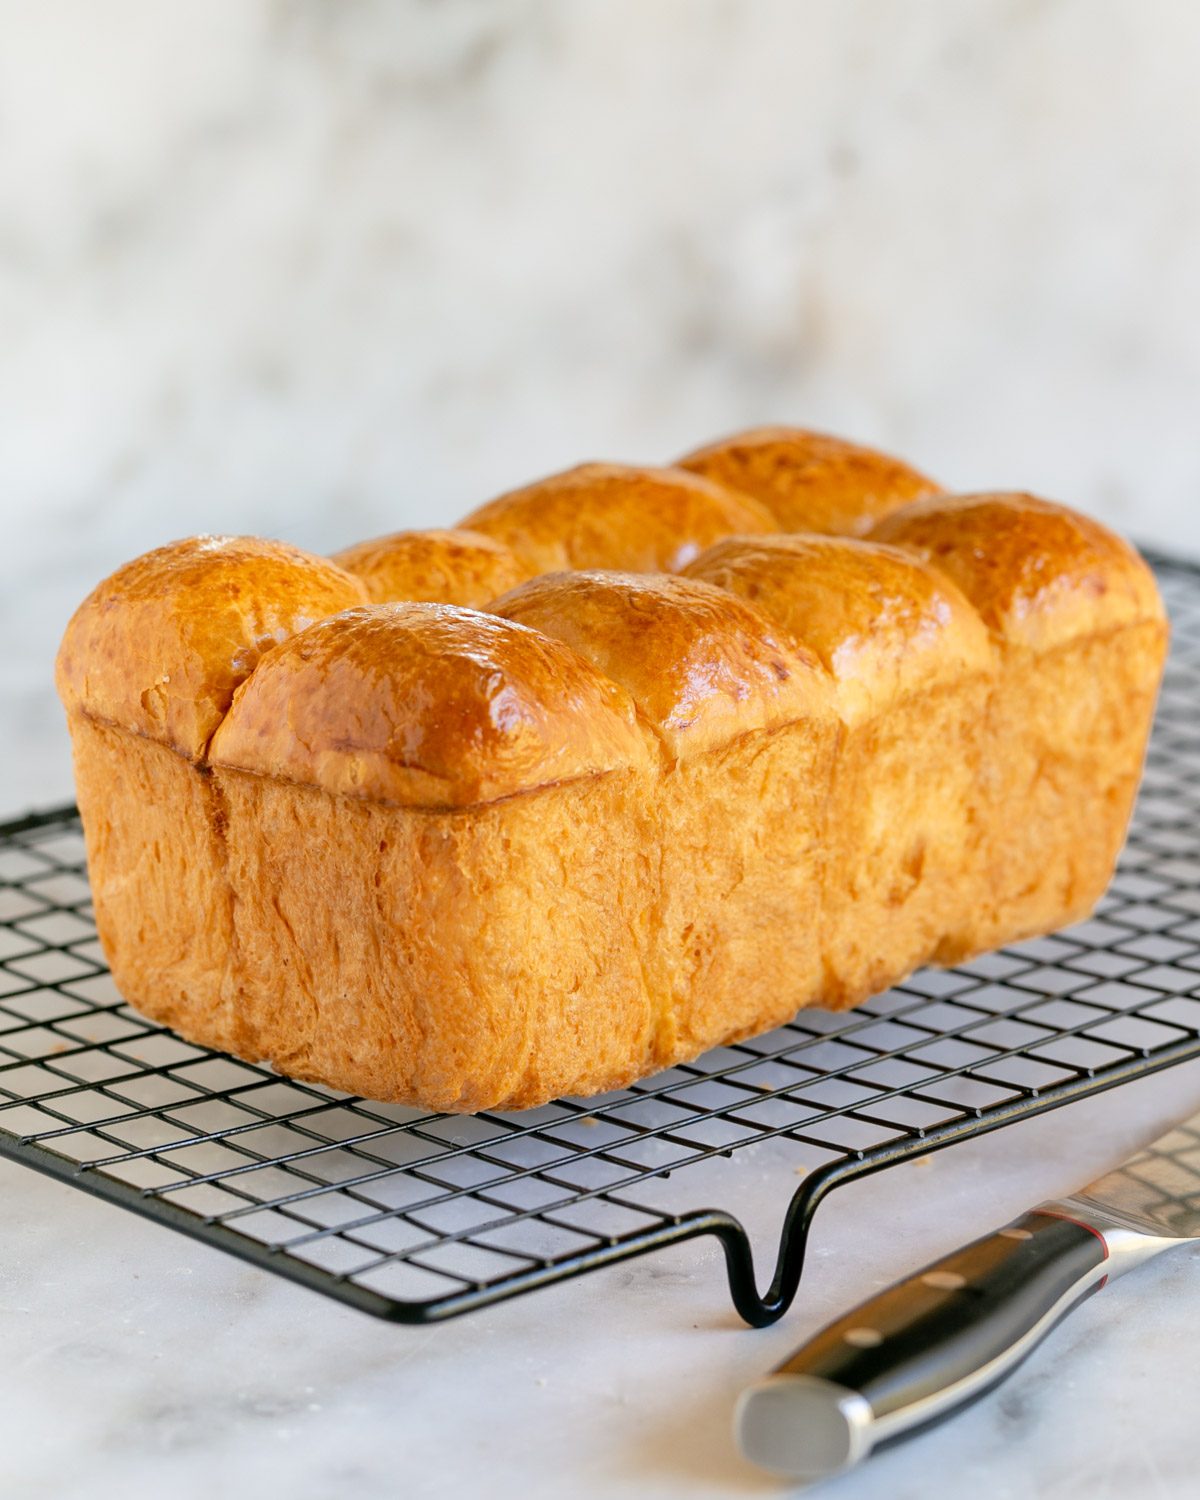
Let the brioche cool slightly before removing it from the baking form. Place it on a wire rack for another 15 minutes, before you slice into it.
FAQ's
Same like bread, brioche should be stored at room temperature in a bread box or paper bag (don't use plastic). Fresh made brioche is best eaten within 2-3 days. Alternatively you can freeze brioche for up to 3 months.
Well, you can but I don't recommend it. Kneading brioche dough by hand can be tricky as it takes a long time. You will end up adding a lot of flour while kneading which can change the outcome of the brioche. You can use a food processor instead.
if you work in a warm kitchen it can happen that the butter melts while kneading. You can tell when the surface looks oily. To avoid that, place the bowl with the dough in the fridge for 10 minutes to chill the butter and continue kneading the dough.
This is usually a sign that the dough has been over-proofed. Over-proofed dough resembles a balloon and the brioche will be very crumbly after baking. Make sure to process the dough when it has doubled in size.
What to eat it with
As a chef, I use brioche in many ways. Below are some suggestions, hope you discover some new ideas😉
for breakfast and dessert
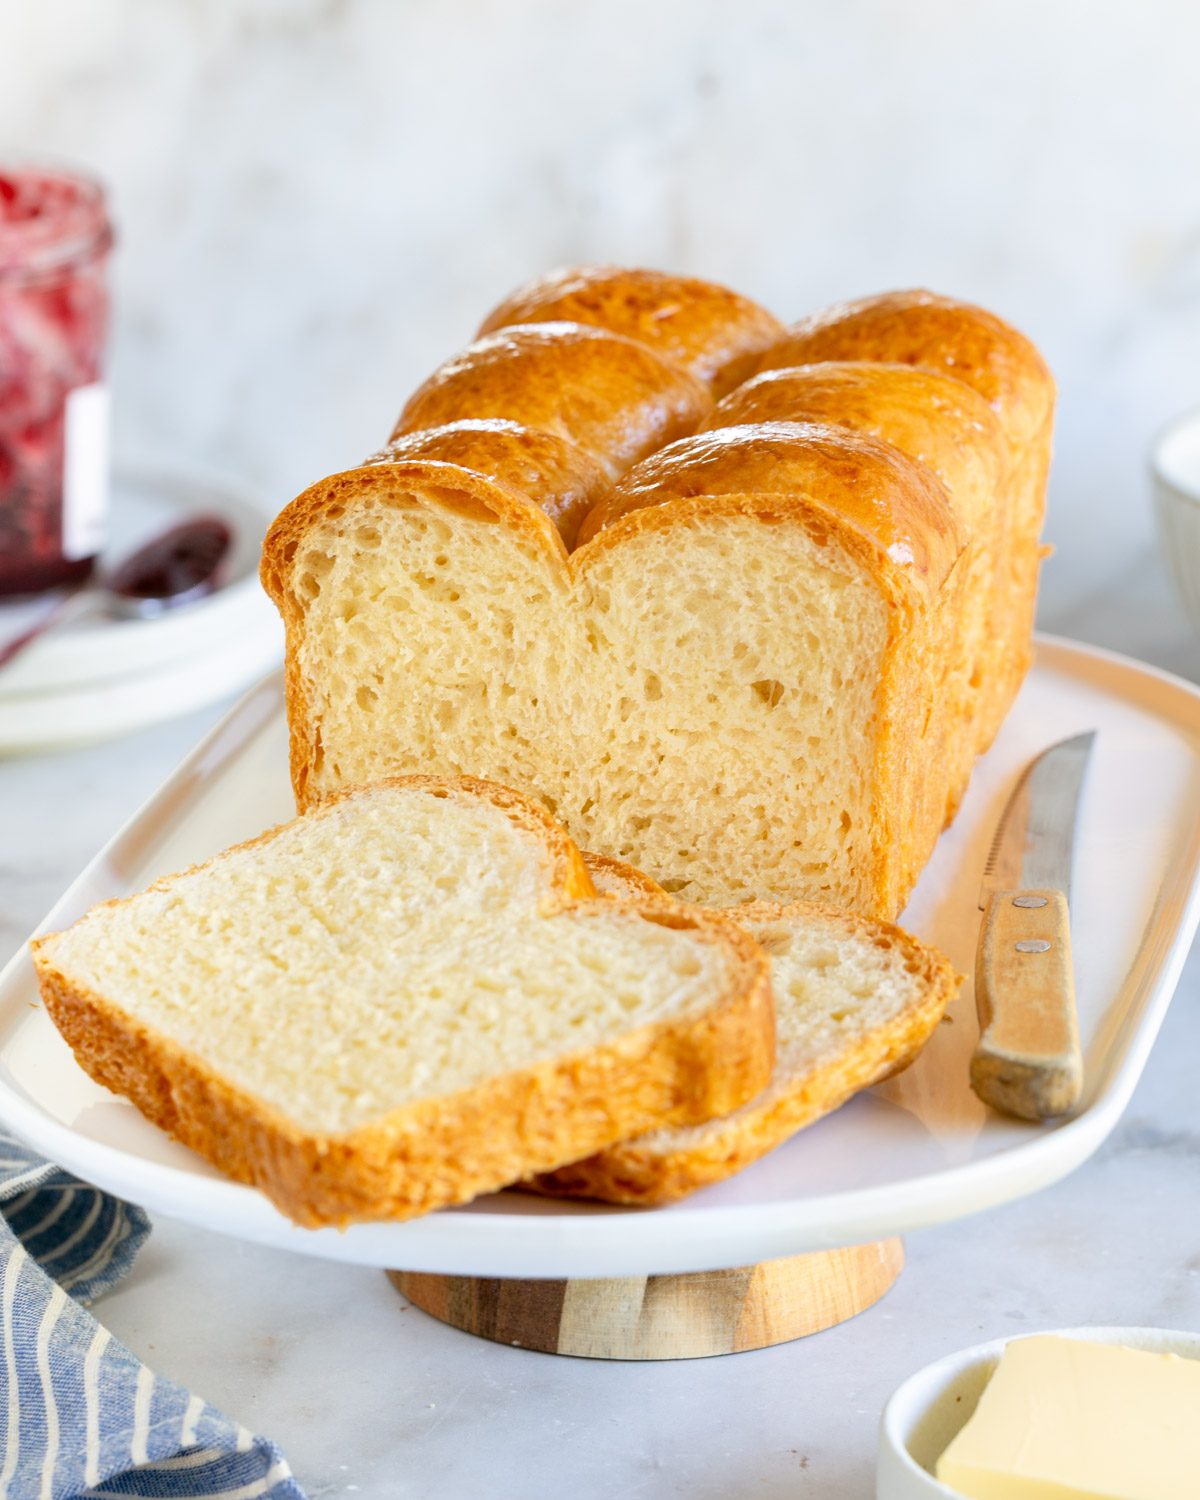
Jam and butter is the go to with homemade brioche but try it with this passionfruit curd or yuzu curd for a bit of zing or our mandarin marmalade
Make a classic French toast served with homemade apricot stew, always a treat for breakfast
In a delicious bread and butter pudding
Topped with poached eggs and hollandaise sauce
for sandwiches and canapes
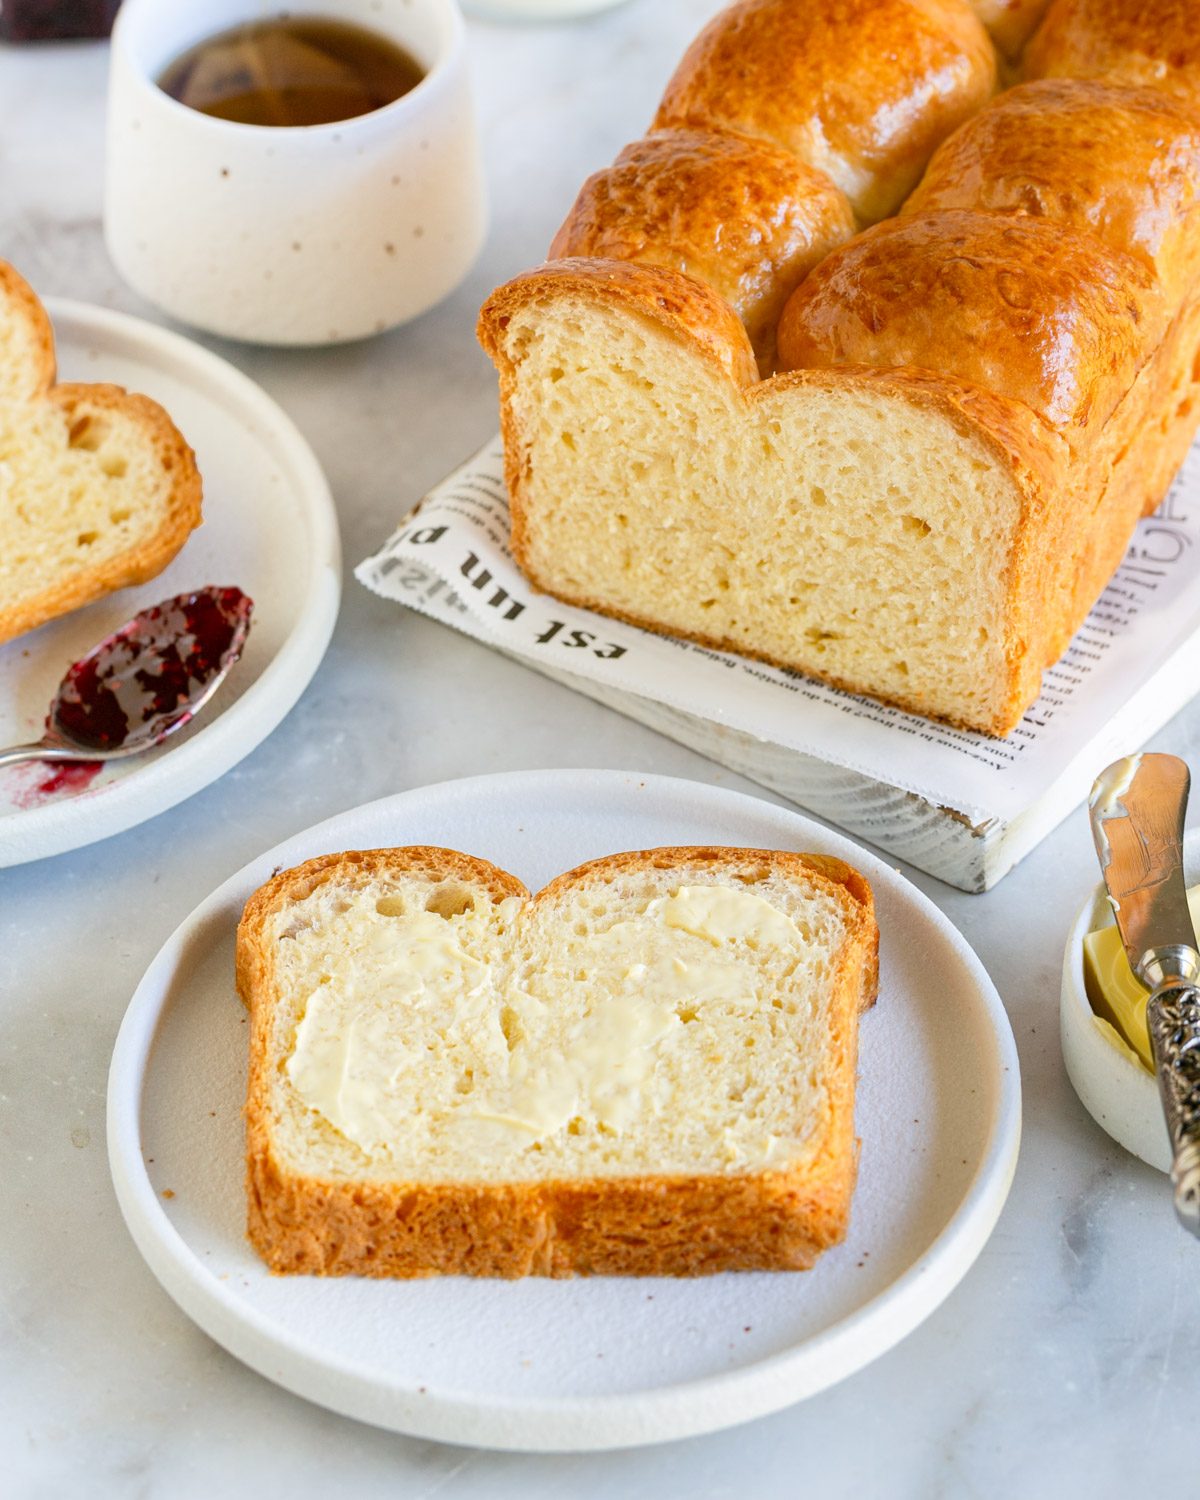
As a sandwich bread, think ham and cheese toasties
For canapes, cut out round and topped with cured salmon or prawn salad
Toasted and served with a cheese course or quince paste
How to use leftovers
Don't throw away any leftover brioche as there are many uses for it:
- blend it into bread crumbs
- make into croutons to sprinkle over salads
- use in stuffing's or bread dumplings
- add it to a trifle, charlotte or fool dessert
And if you made the recipe twice and have dough leftover, use it like puff pastry to wrap it around salmon or chicken and then bake in the oven. Otherwise you can even make small rolls for burger buns!
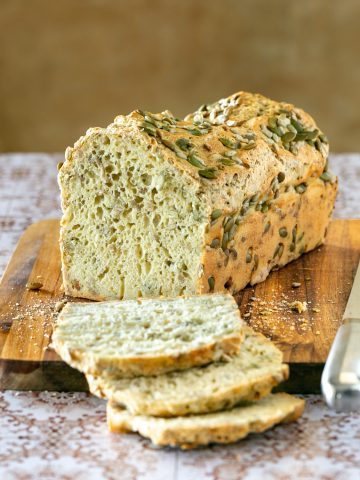
If you’ve tried this French Brioche Loaf recipe, then don’t forget to rate it and hey if you don't feel like waiting for so long make a no knead spelt bread, it's fast and easy but delicious too!
Until then Happy Baking!

French Brioche Loaf Recipe
Equipment
- mixer with hook attachment
- mixing bowls
- baking form 22(length)x12(width)x8(height)cm (9x5x3inch)
- weighing scale
Ingredients
for the brioche dough
- 1 pkt dry yeast (7g/¼oz)
- 50 ml full fat milk warm
- 30 gram caster sugar
- 300 gram all purpose flour
- 3 large eggs
- ½ teaspoon salt
- 150 gram unsalted butter
for the egg wash
- 1 tablespoon milk
Instructions
for the brioche dough
- Combine the warm milk with yeast and sugar. Let it sit for 10 minutes until it becomes frothy and bubbly.
- Break the eggs and beat lightly with a fork. Measure 120gm (4.2oz) and keep the rest for the egg wash.
- In a large bowl combine flour, eggs, salt and the yeast mixture. Use a mixer with the hook attachment and knead well for at least 10 minutes.
- Now mix the butter into the dough, one cube at a time. Leave at least a minute between every butter cube, to make sure it has incorporated well into the dough.
- Keep kneading for a further 5-10 minutes until the dough is glossy, smooth and very elastic.
first proofing
- Place the dough in a bowl, cover with a towel and let it rise for 2 hours at a warm place until it has doubled in size.
fermenting in the fridge
- Once the dough has risen, knock it back by flipping it over 3 times with your fingers. Place in the fridge and leave covered for at least 6 hours.
shaping into nantaise loaf
- Divide the dough into 8 equal portions. Shape each portion by folding in the edges towards the middle, and pressing them in. Carefully flip it over, and lightly flour the smooth surface of the dough portion.
- Cup your palm around the dough portion, and gently roll the dough on your work surface to form a round ball.
- Line 4 balls in a row on the right of your baking form and then 4 balls to the left of the form filling the gaps.
second proofing
- Brush the brioche with egg wash (remaining eggs and milk mixed together) and let it rise for 1½ hours covered at a warm spot. About 30 minutes before baking, preheat the oven to 200°C (390°F).
- Brush the loaf again with egg wash before baking.
baking the brioche
- Bake the brioche for 35 minutes in total. Check after 15-20 minutes if it has taken on the desired colour. If yes, cover the loaf with aluminium foil to avoid it from burning on the top.
- Let the brioche cool slightly before removing it from the baking form. Place the loaf on a wire rack for another 15 more minutes before slicing into it.



Leave a Reply